
Why
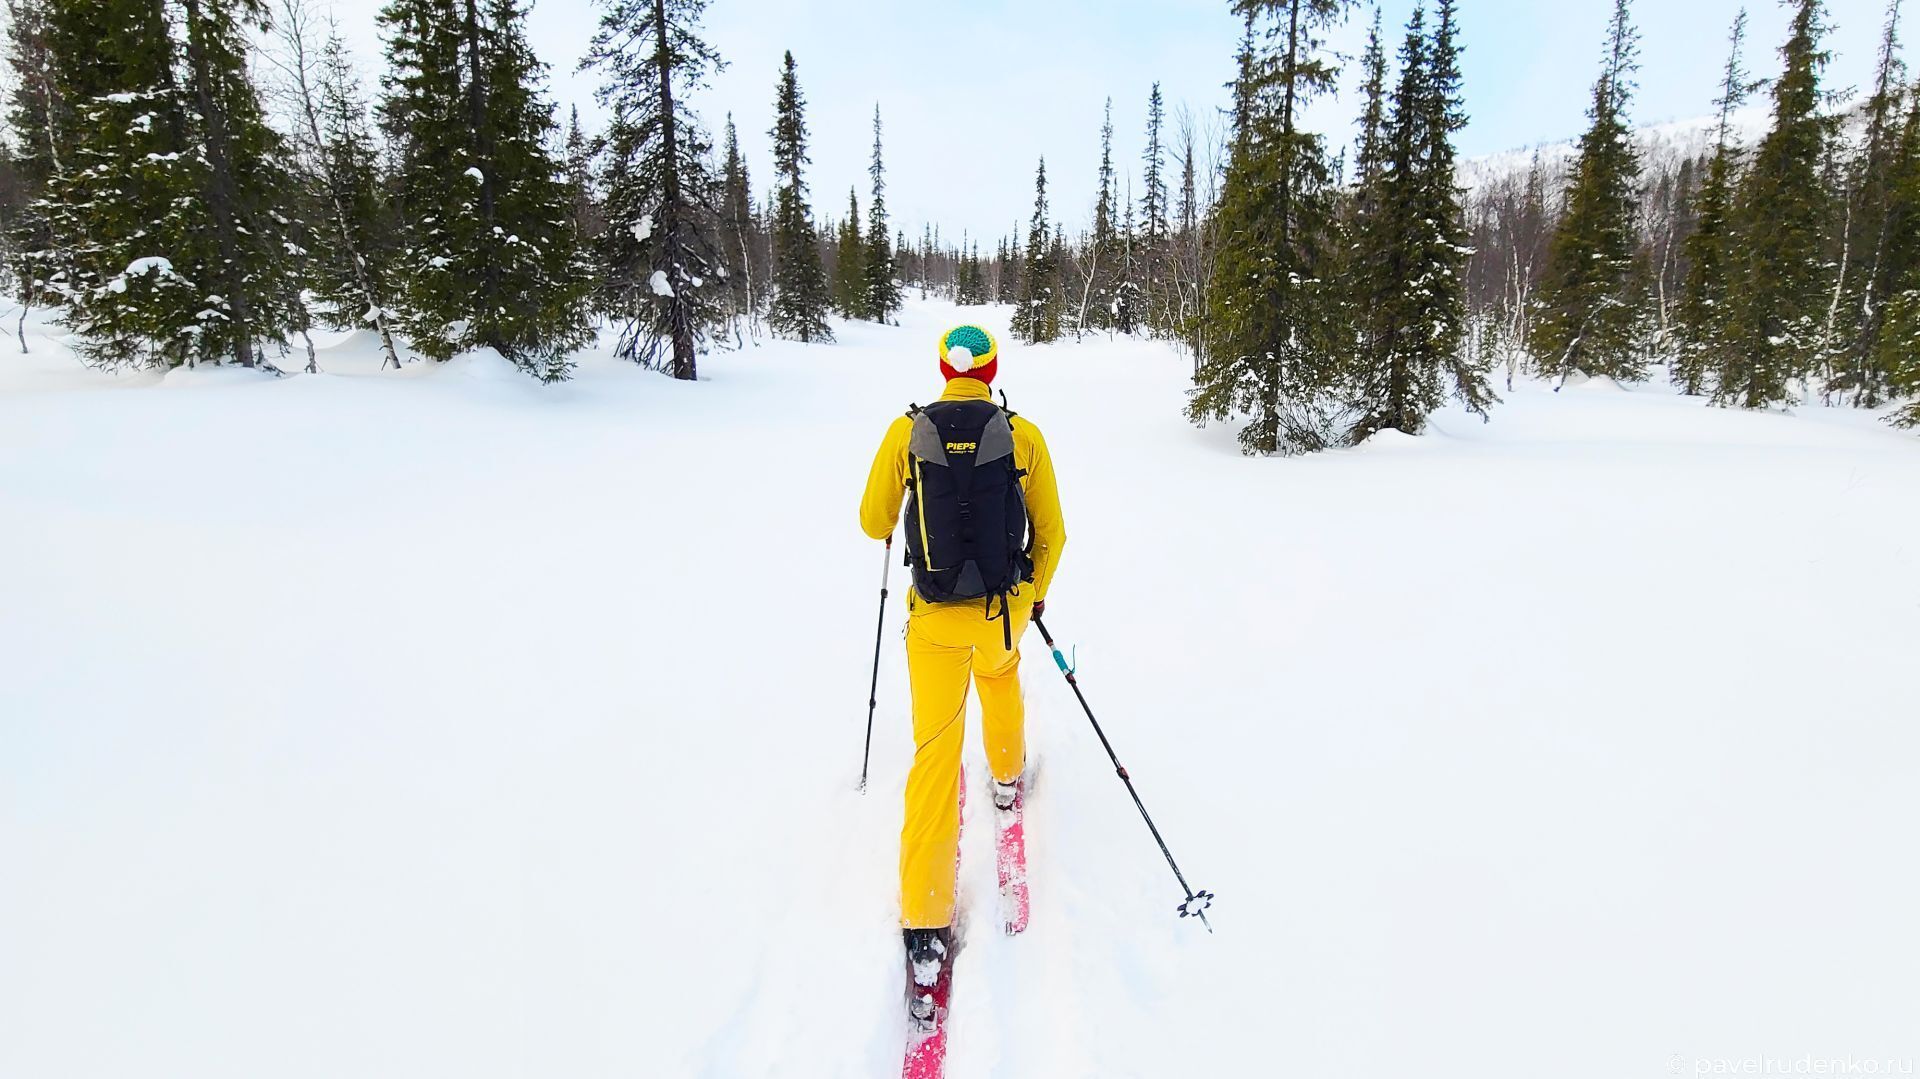
I really love winter hikes for their beauty, the demanding conditions, and the pure joy of civilization's comforts at the end of the route. Winter brings many challenges, one of the greatest being avalanches. I try to avoid avalanche-prone areas and plan routes that bypass dangerous passes and terrain, but doing so while keeping the route exciting and scenic is quite difficult. What to do about this? There is only one solution: learn how to evaluate avalanche hazard on slopes. That is why I enrolled in an avalanche safety course.
Where
After reviewing all available options, I chose Mikhail Ryabchikov's course at Snowsense. There were two reasons for this.
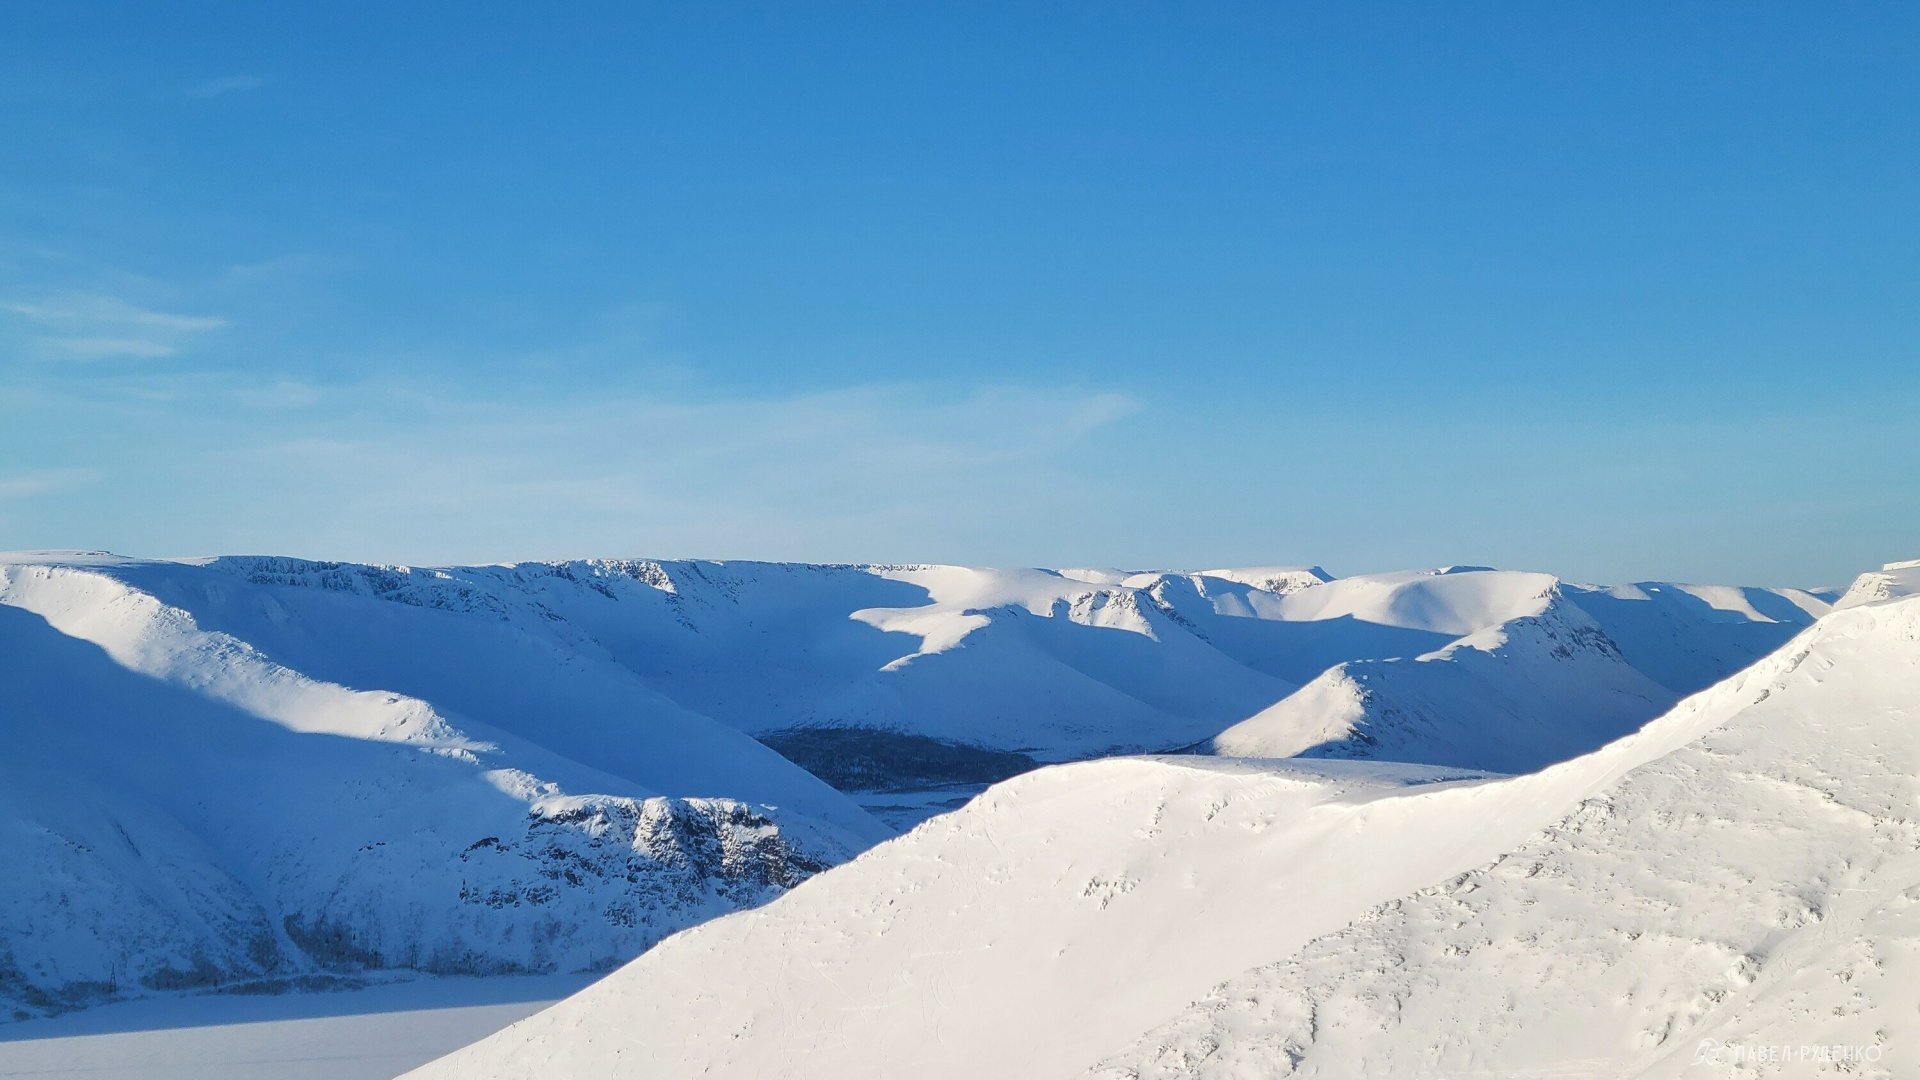
First, the course takes place in the Khibiny, and the Kola Peninsula is the main region for my ski treks. Misha lives here and works for the municipal avalanche rescue service, which means he knows the nuances of these local mountains inside out.
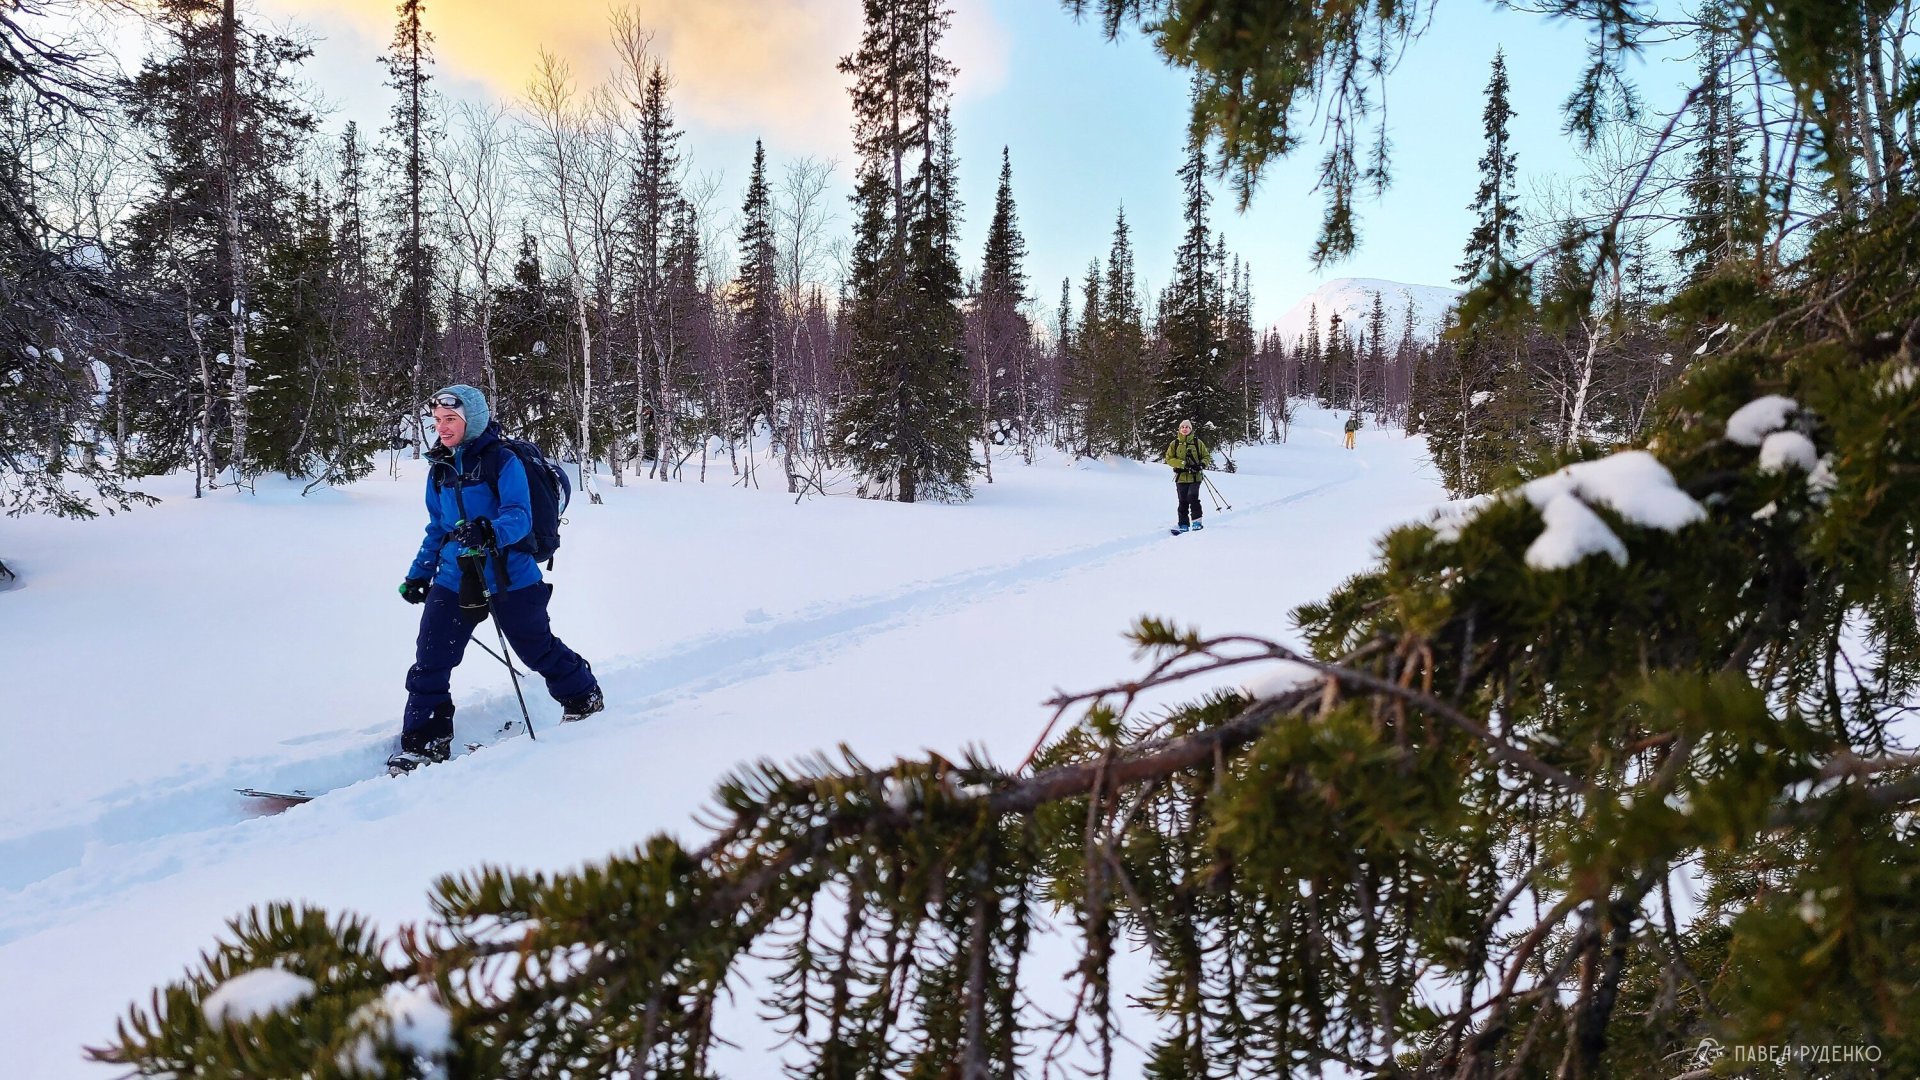
Second, the course is designed not just for freeriders, but also for hikers and mountaineers. Riding is kept to a minimum, and for field practice during the course, you can use snowshoes or touring skis with climbing skins.
How
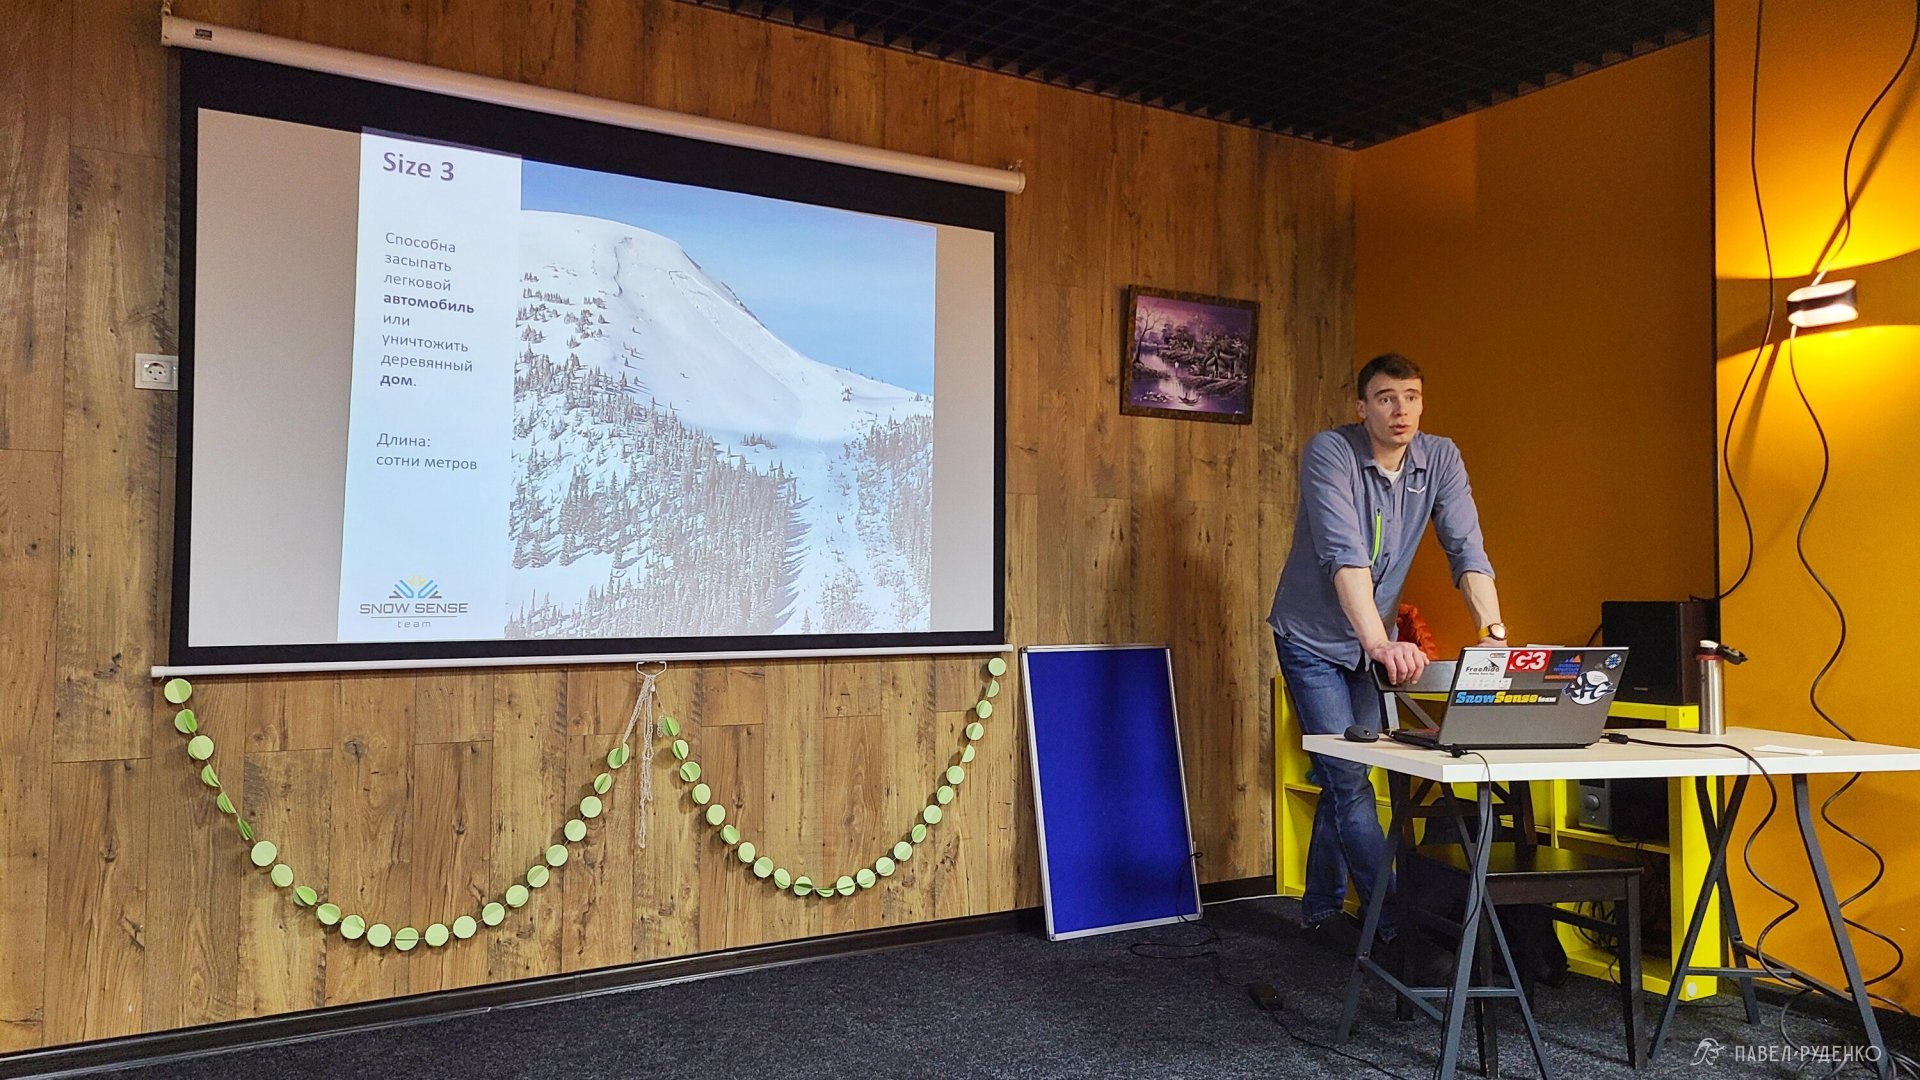
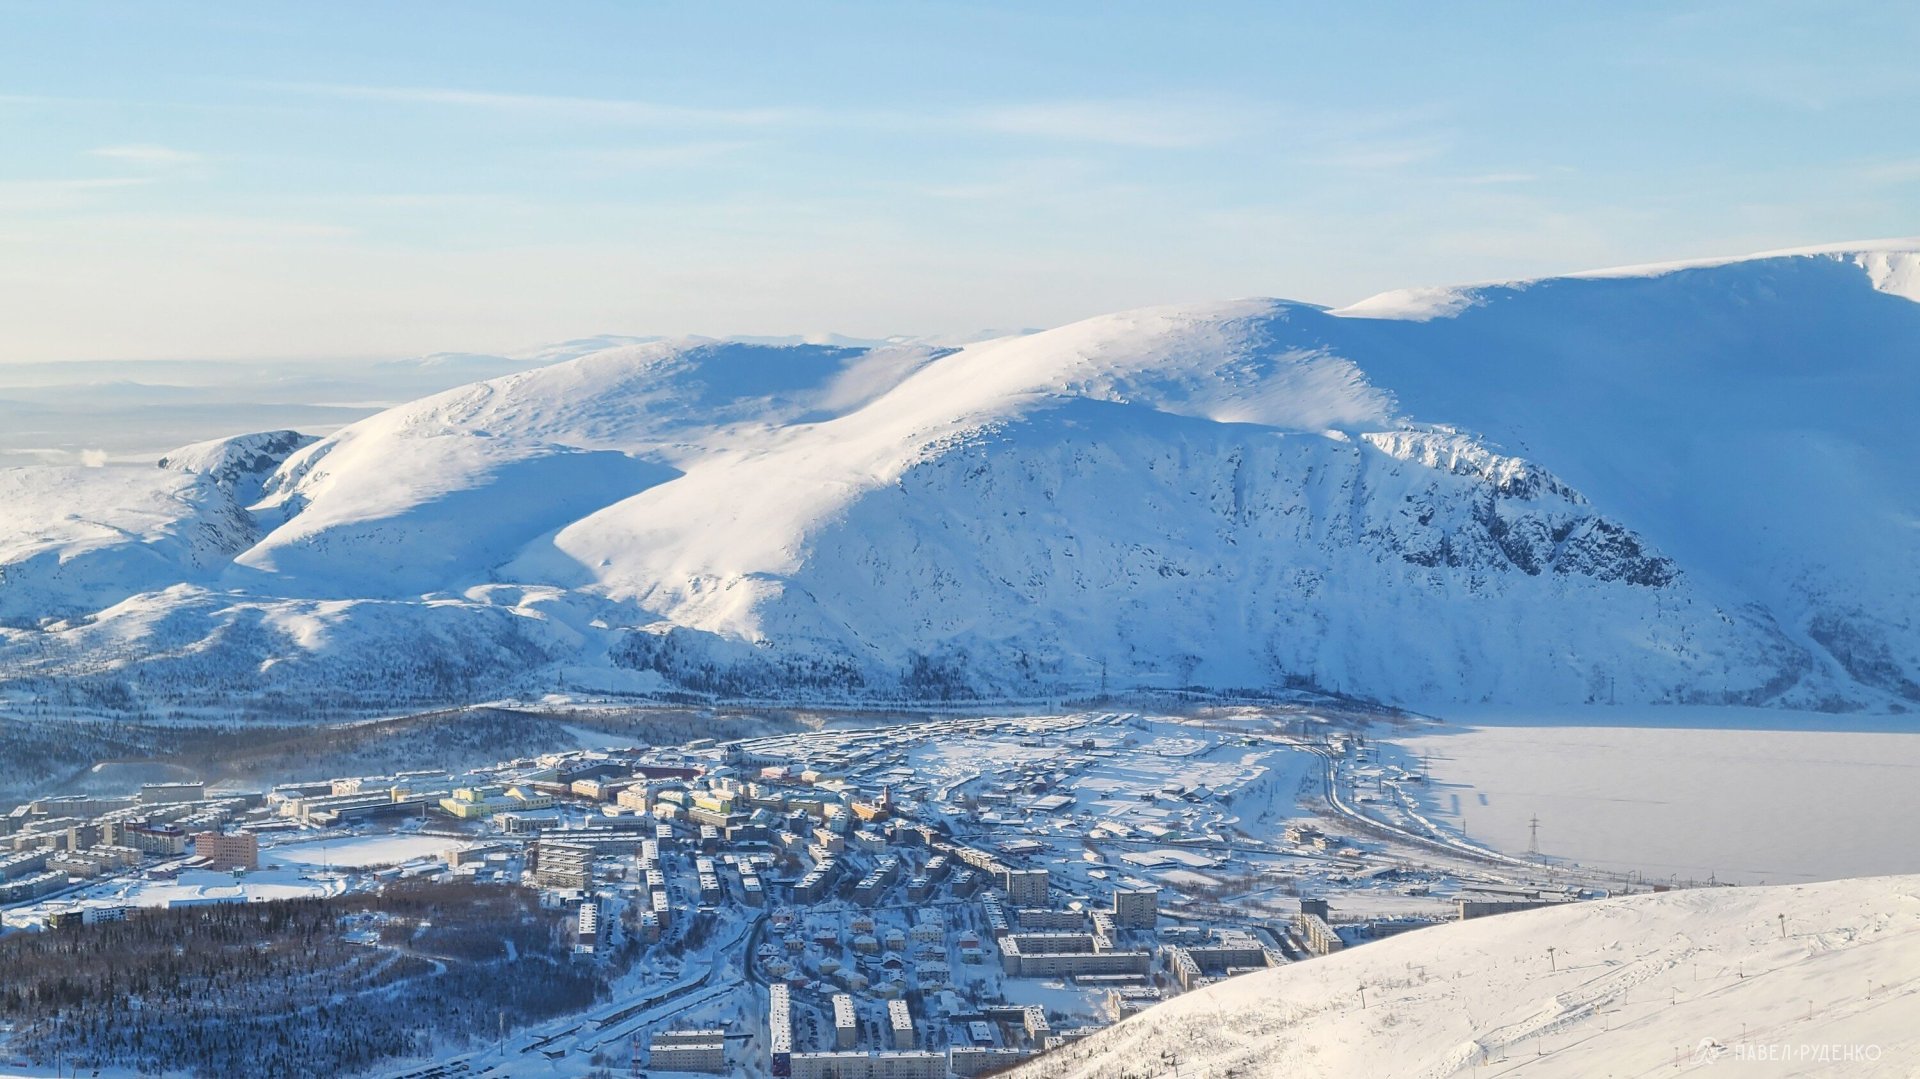
The training took place in Kirovsk, in the Kukisvumchorr district at 48 Kirova Street. This is the "Gornaya Dolina" hotel, with a lecture hall on the ground floor where theory sessions were held. Naturally, it is most convenient to stay as close to this address as possible, as the schedule is very tight and structured as follows:
From 9:00 to 13:00 — theory, followed by a 1-hour break to grab lunch at home, change into outdoor gear for field sessions, and return to the lecture hall.
From 14:00 to 17:00 — field practice on terrain, followed by a 1-hour break to eat, change, and return to the lecture hall.
From 18:00 to 21:00 — theory session, and then back home.
The course lasts 6 days.
Accommodation
There is plenty of accommodation in the Kukisvumchorr area: hostels, small hotels, and apartments. I rented an apartment in a Stalinist-era building with a very atmospheric interior. The walls here are about a meter thick, yet the floor shakes from PHOSAGRO's mining blast operations. Nearby, there are local grocery stores and a "Pyaterochka" supermarket. As for dining out, there are only local neighborhood spots with a very specific vibe, so plan on cooking at home.
Value
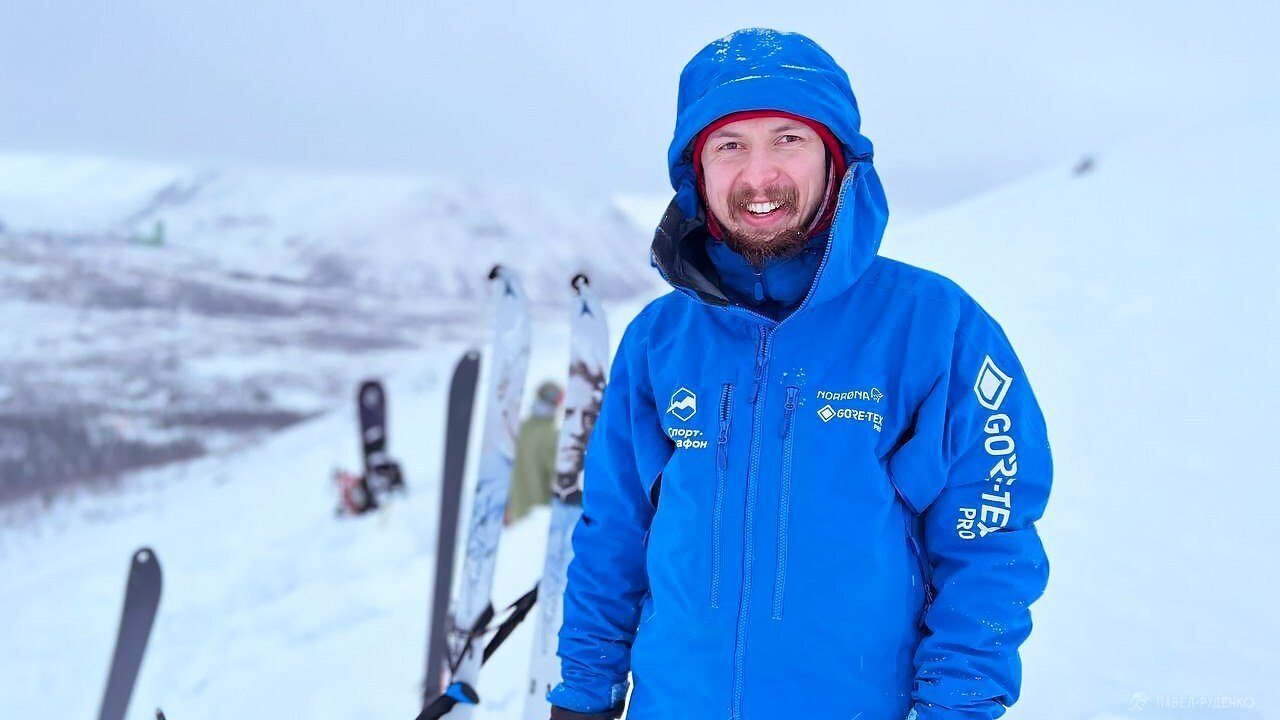
Alternating between theory and field practice in the mountains really helps you grasp how everything works in real life. I gained a noticeably deeper understanding of avalanche-prone slopes, which will allow for better route planning and safer ski expeditions. Below are some notes that might be useful as a refresher; however, they cannot replace proper training and do not serve as a definitive guide. There are always exceptions and nuances.
Increased Avalanche Danger
Conditions worsen when:
- New snowfall exceeds 10 mm — avalanche hazard begins to deteriorate. 30 mm of new snow is very dangerous. A triggered slab thicker than 20 mm is already hazardous.
- Wind gusts exceed 7 m/s — watch for snow drift. Gusts of 8–14 m/s create heavy drifting at the top of leeward slopes, which is extremely dangerous. Gusts of 12–18 m/s transport snow further down the slope, which is slightly less critical.
- Temperatures rise above 0 °C with direct sun. Thin cloud cover causes significant snow warming.
- Following a blizzard (snowfall combined with wind), wind slabs are highly likely to form. Leeward slopes, snow dunes, and sastrugi are hazardous. Blowing snow plumes in the air are a clear indicator of wind transport.
- Rain crust + new snowfall = avalanches.
- Snowpack stabilization takes at least 3 days of fair weather.
Terrain
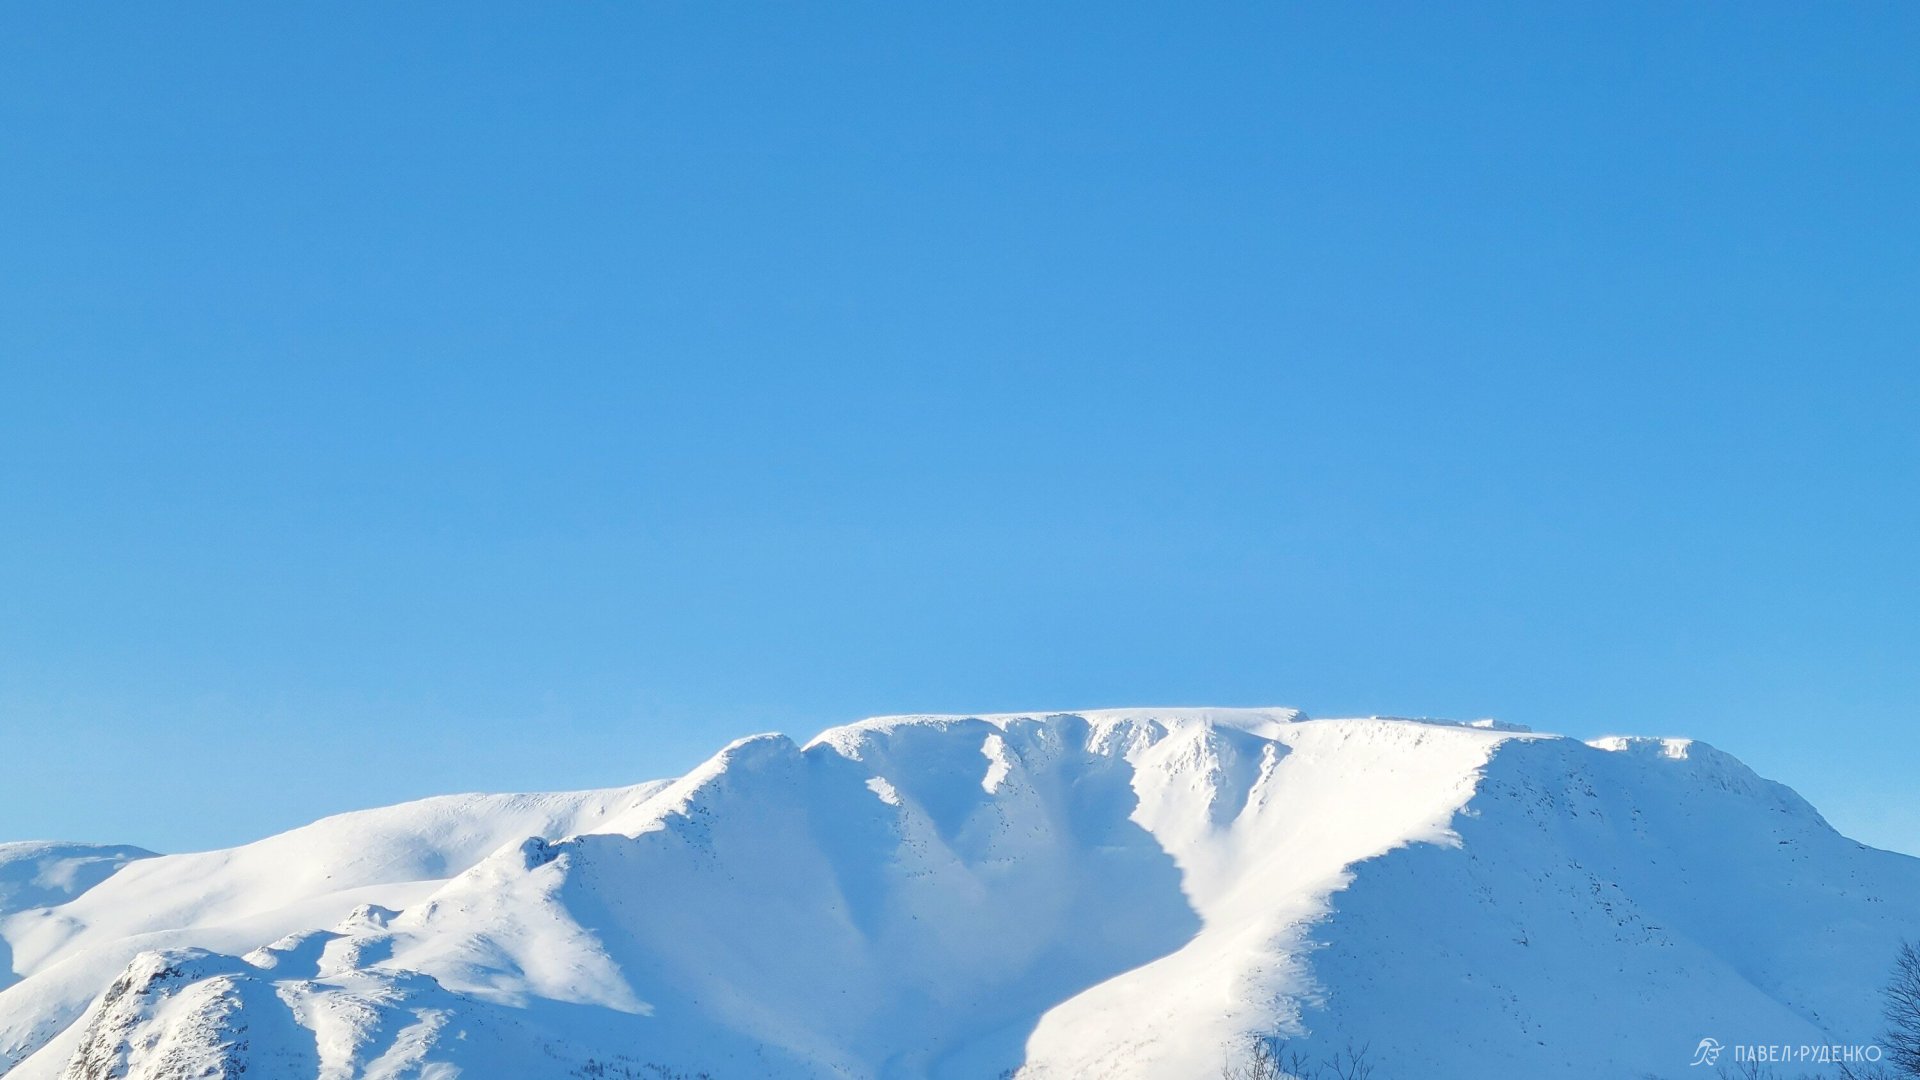
- Slope angle is the primary factor in predicting avalanche hazard.
- Convexities are stress zones; it is safer to travel along the crests of convex terrain.
- Sparse forest is unsafe. It does not anchor the snowpack.
- Open meadows or clearings are avalanche-prone by definition.
- The bottom of a couloir is safer than its side walls.
- A ridge is safer than couloir bottoms and flanks. Always watch for terrain traps.
- Visible rocks act as anchors that help stabilize snow. Rocks buried just below the surface, on the other hand, often trigger slab avalanches.
- In general, north-facing slopes in winter are more dangerous due to shadow and colder temperatures, which accelerate weak layer formation. The Khibiny do not show this distinct pattern due to the strong influence of the polar night and minimal sunlight.
- In spring, the opposite is true: south-facing slopes melt and destabilize faster. This applies to the Northern Hemisphere; in the Southern Hemisphere, it is reversed.
Movement & Travel
- Communicate constantly with the team: report observed slides, shooting cracks, and other signs of snowpack instability.
- Choose ascent angles under 25 degrees, rarely up to 30. Plan your ascent route from the top down (from finish to start) to find the most logical line.
- Maintain a 20-meter spacing between members on slopes; make no stops mid-slope, handling all adjustments before ascending.
- Move at a steady, unified pace without gaps. On avalanche-prone slopes, descend one by one.
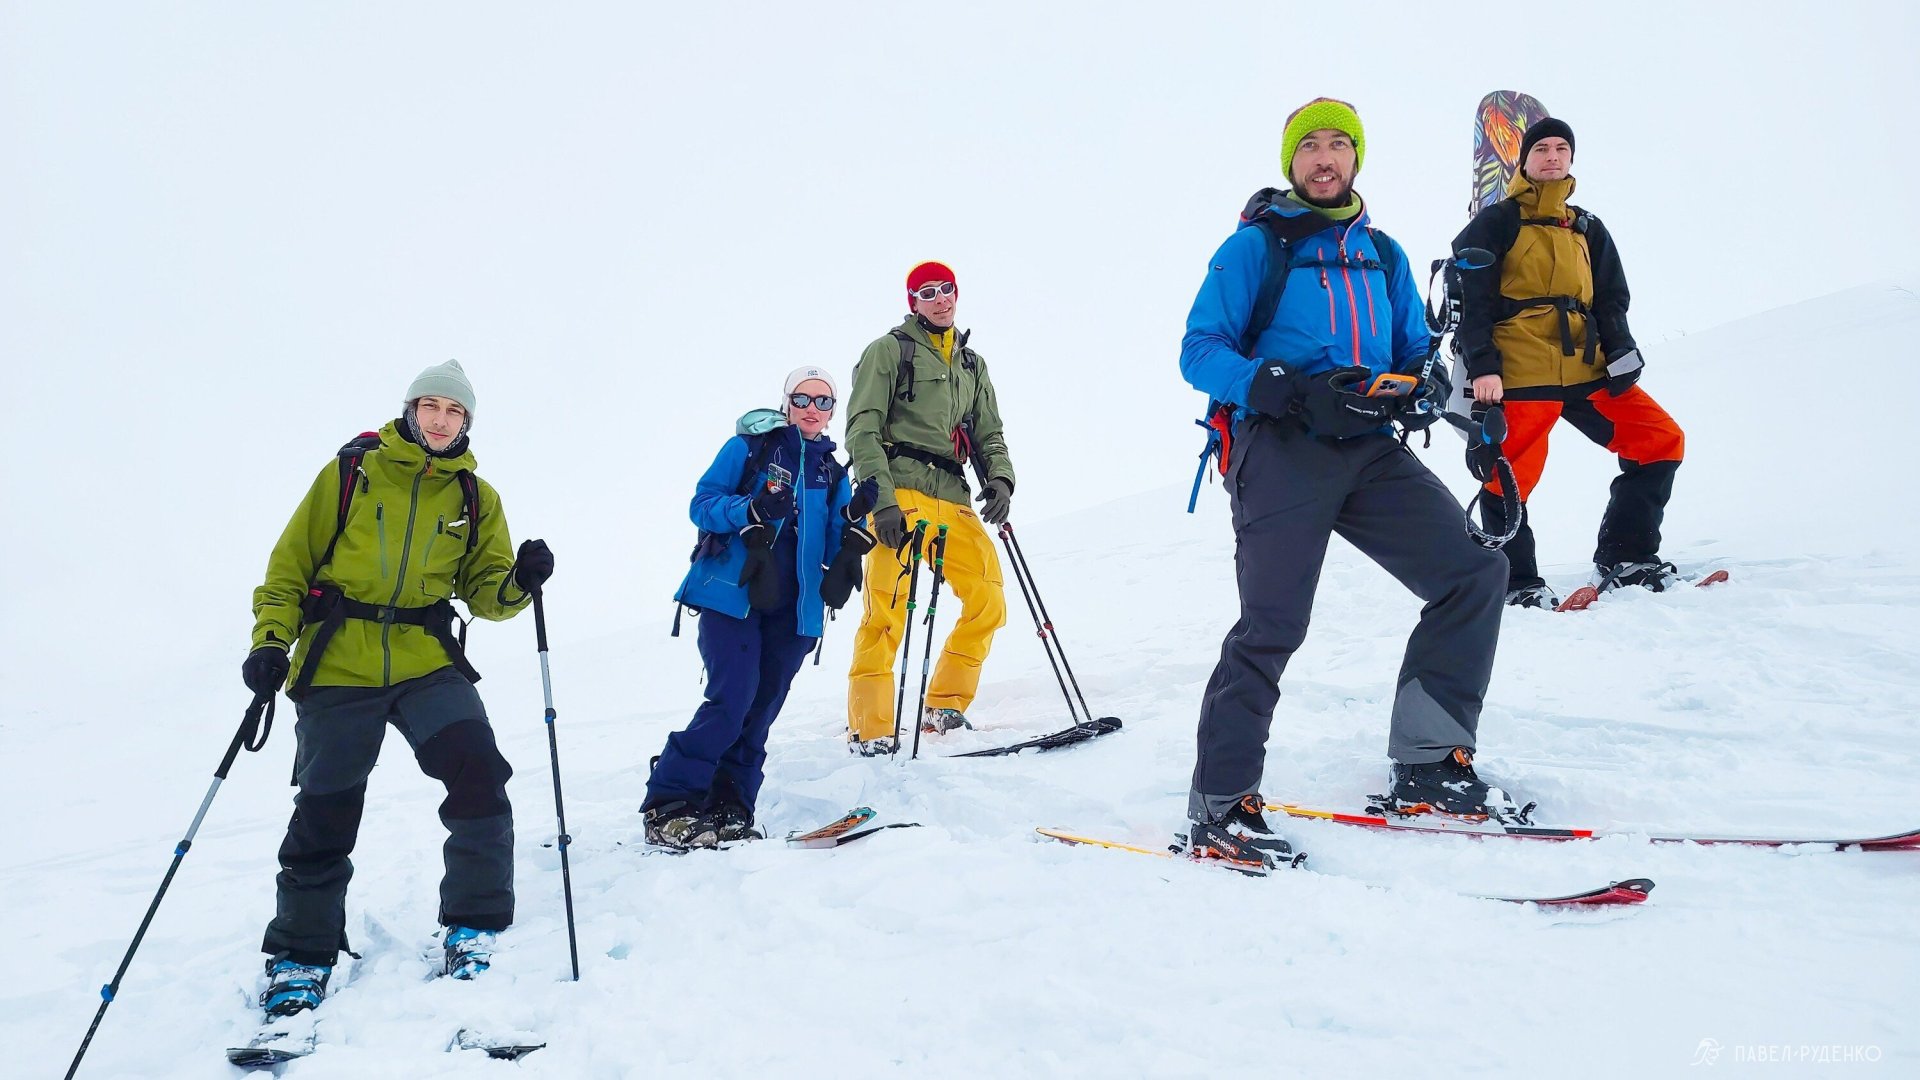
Up to 25 degrees — no danger.25–30 degrees — low danger, occurring only under very unstable conditions.30–34 degrees — moderate danger; slabs release relatively rarely.34–45 degrees — maximum danger, with avalanche frequency peaking at 39 degrees. Three-quarters of all slab avalanches occur within this range.45–55 degrees — moderate danger.
Signs of unstable snowpack:
- Shooting cracks forming underfoot
- "Whumpf" sounds and snowpack settlement
- Hollow, drum-like resonance underfoot.
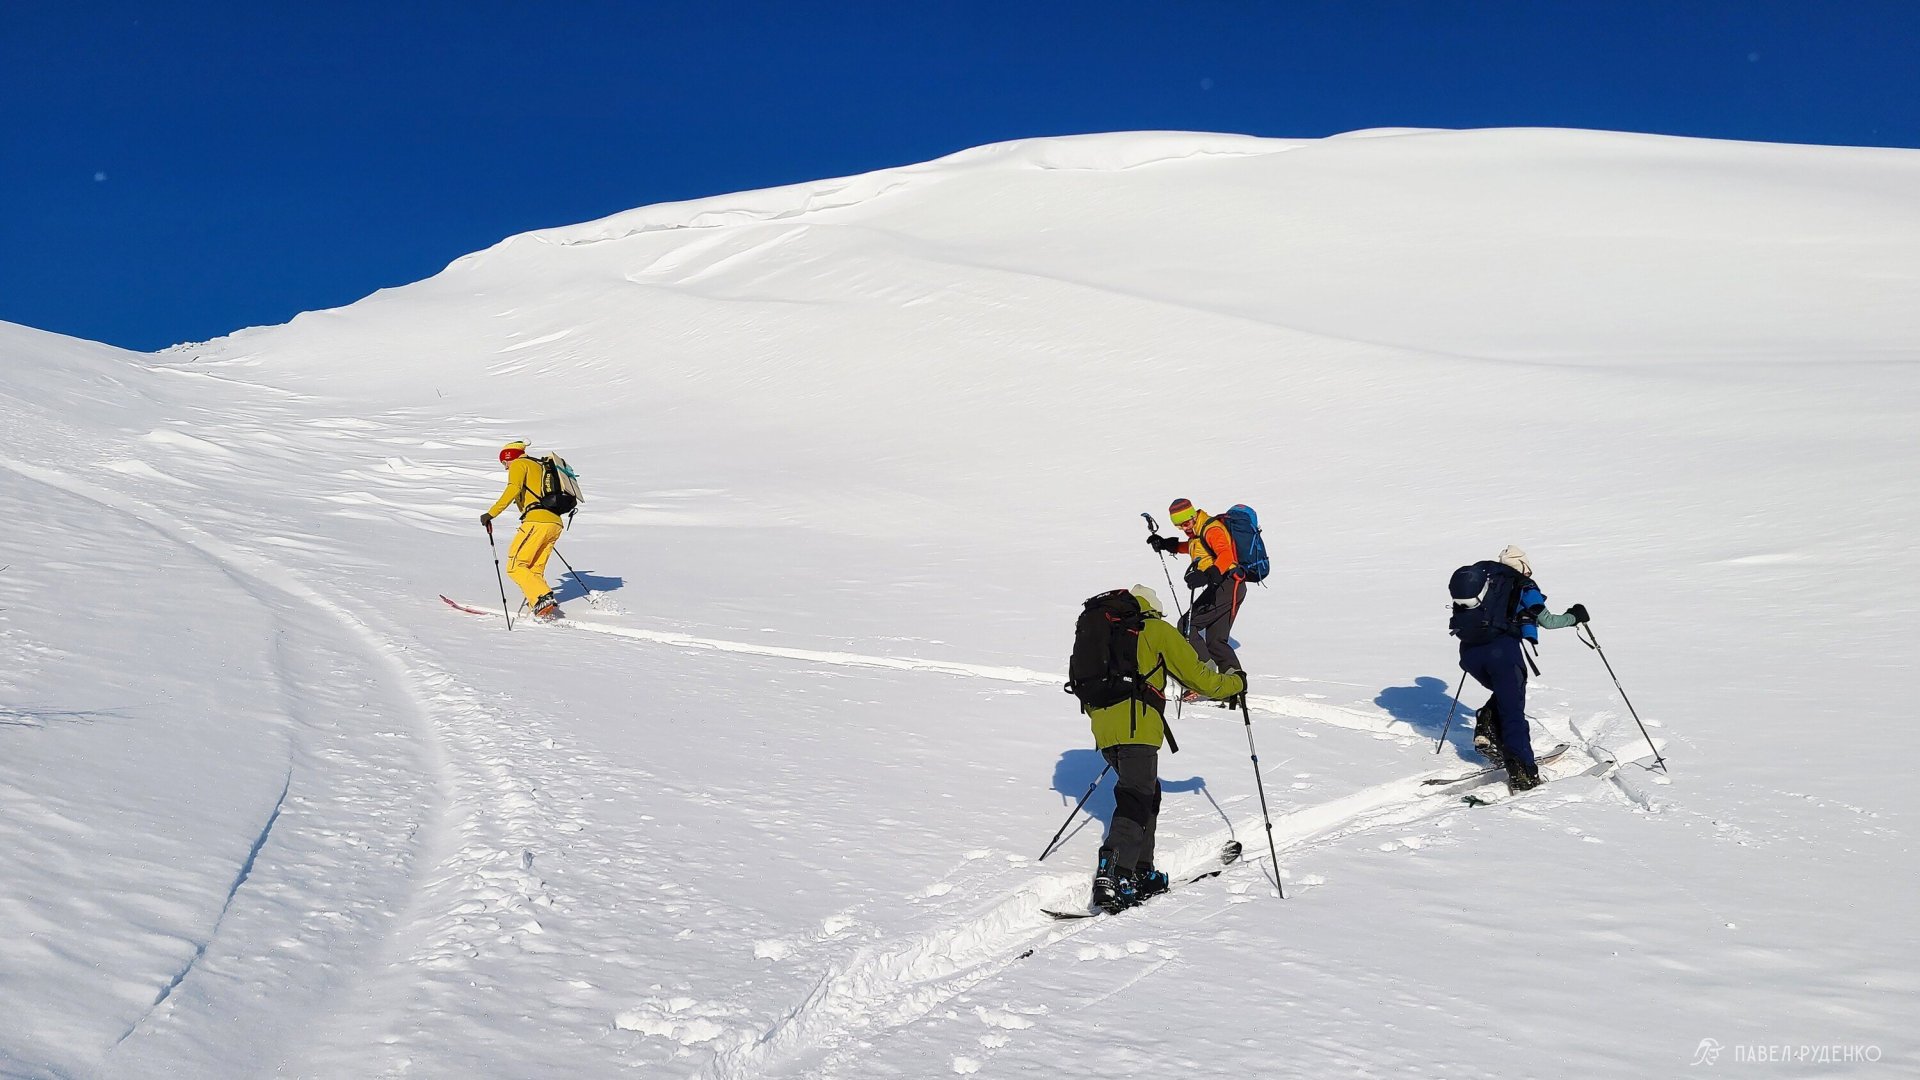
Avalanche Gear
Avalanche transceiver (beacon), minimum requirements: 3-antenna, digital. Practice using it regularly. Conduct a beacon check before heading out. Hold the transceiver parallel to the slope surface while performing a grid search.Every participant must carry an avalanche transceiver. If that is not possible, some participants on a ski trek can carry a Pieps TX 600 mini-transmitter. It was originally designed for rescue dogs or gear caches, as it only transmits a signal on a dedicated frequency. It can be implemented on this principle: in a team of 6, 2–3 carry standard Pieps transceivers, while 3–4 carry Pieps TX 600 transmitters. This maintains the group's safety margin in case of an avalanche—since search operations are typically led by one person at a time—while cutting down gear costs. The transmitter costs 4–5 times less than a full transceiver.
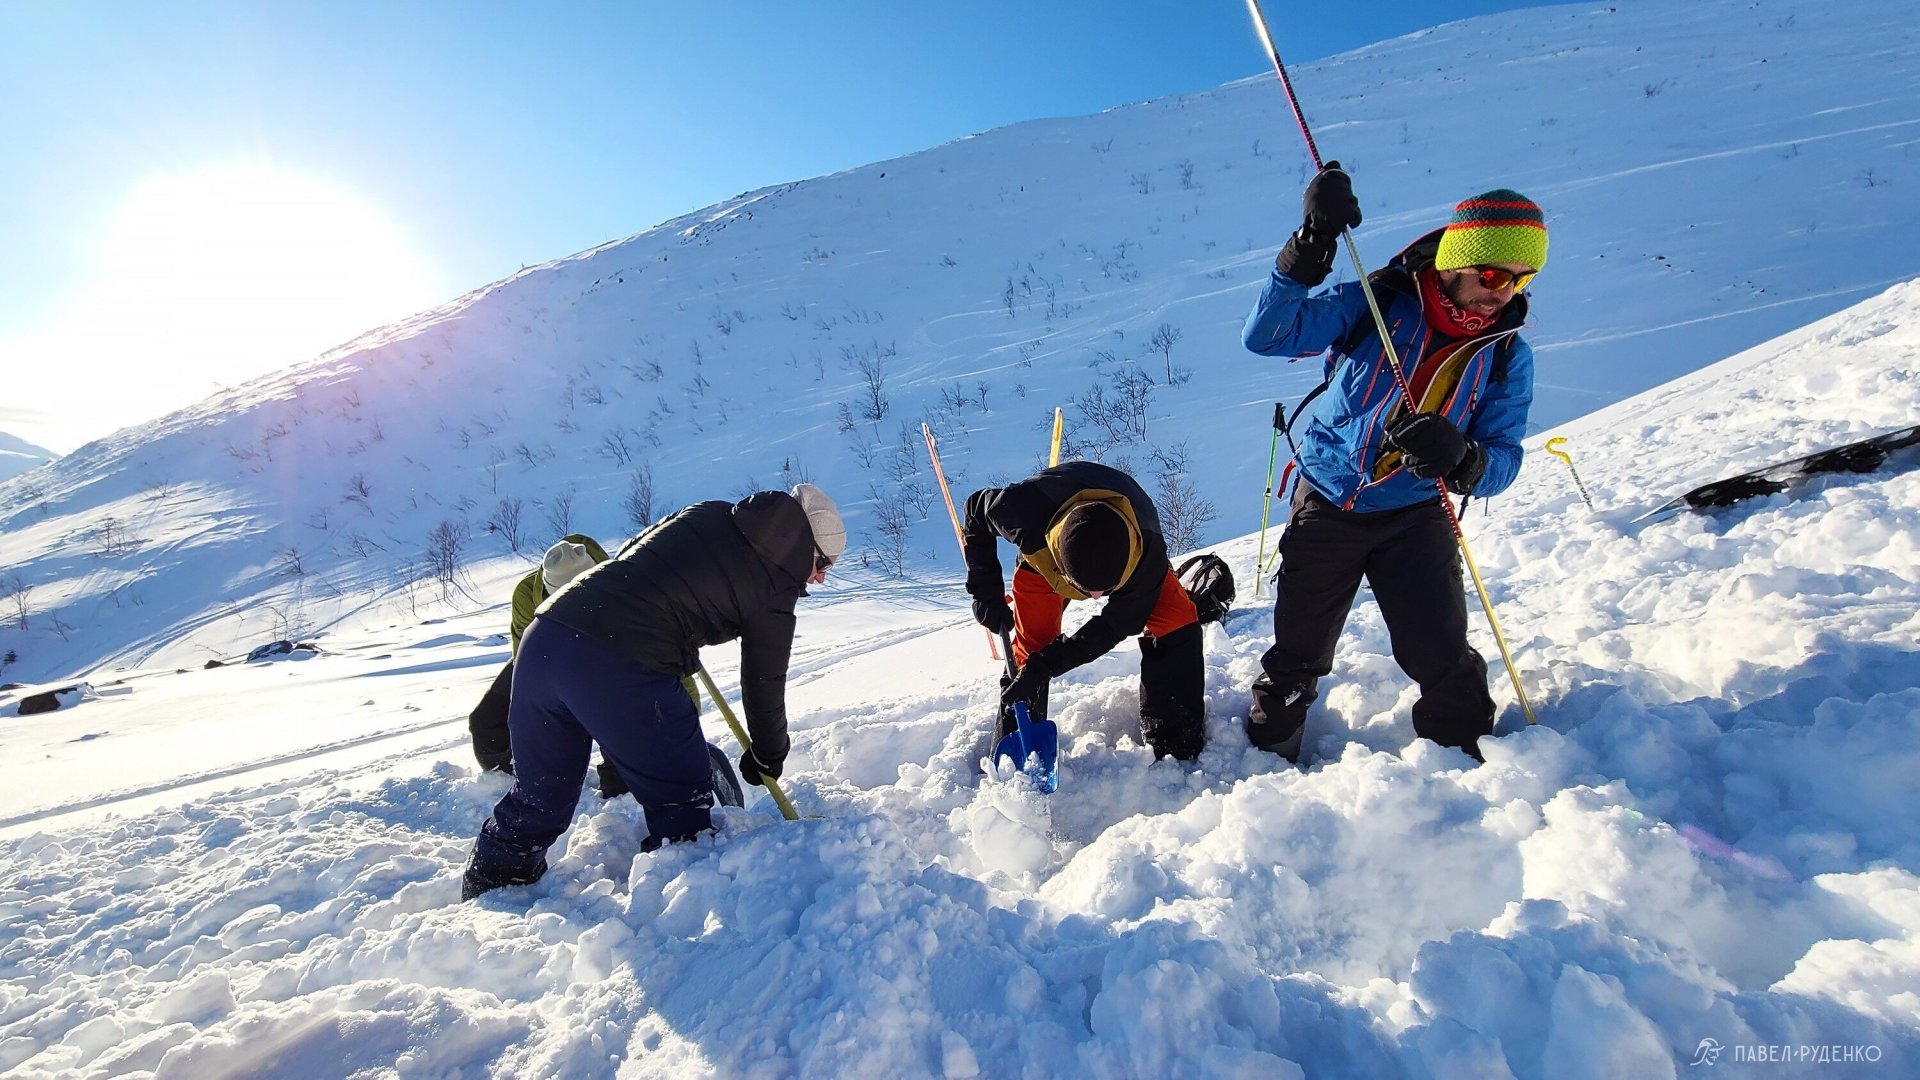
Avalanche probe: 2.6–3 meters, aluminum. Quick-locking, without any annoying knots on the cord.Shovel: aluminum, extendable, with an ergonomic handle suited for mittens or gloves.Avalanche cords made of bright, synthetic ribbon that doesn't absorb moisture are also popular in Russian backcountry touring. Usually 15 meters long, marked every meter and every 25 cm, with arrows pointing toward the tourer. These are DIY-made—a budget-friendly and practical solution. According to Western statistics, they offer about a 40% chance of locating and rescuing an avalanche victim.Causes of death in avalanches:74% — asphyxiation25% — trauma1% — hypothermiaThe avalanche survival rate is 80% if rescued within 10 minutes; after that, chances drop drastically. Time is critical, so we train to rescue within 5–7 minutes.
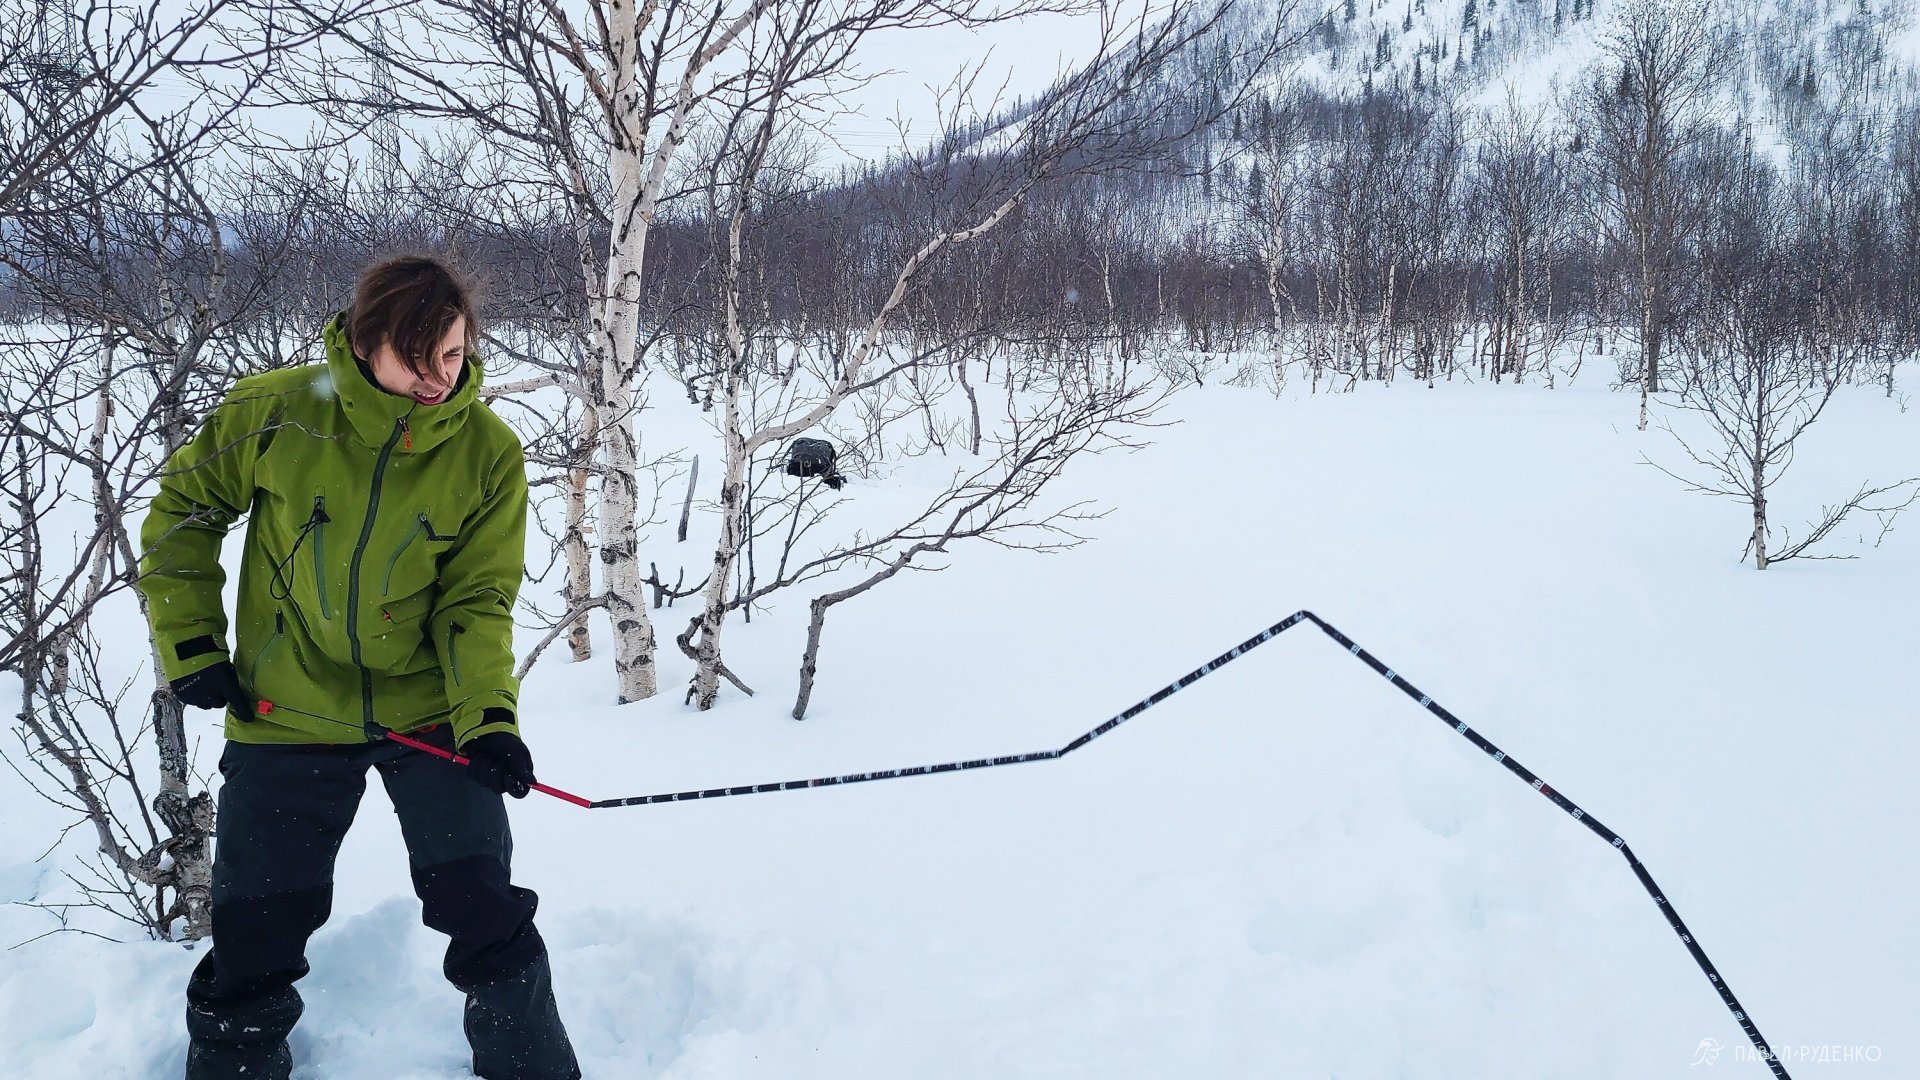
Route Selection
How do you determine if a mountain pass slope is safe? First and foremost, this is evaluated during route planning. Slopes with an angle of up to 30% are relatively safe. Pay attention to the side walls, cornices, and potential natural avalanche triggers.Choose the most conservative ascent route to the pass, as climbing takes a lot of time, significantly increasing exposure. If the slope angle exceeds 30%, dig a snow pit.
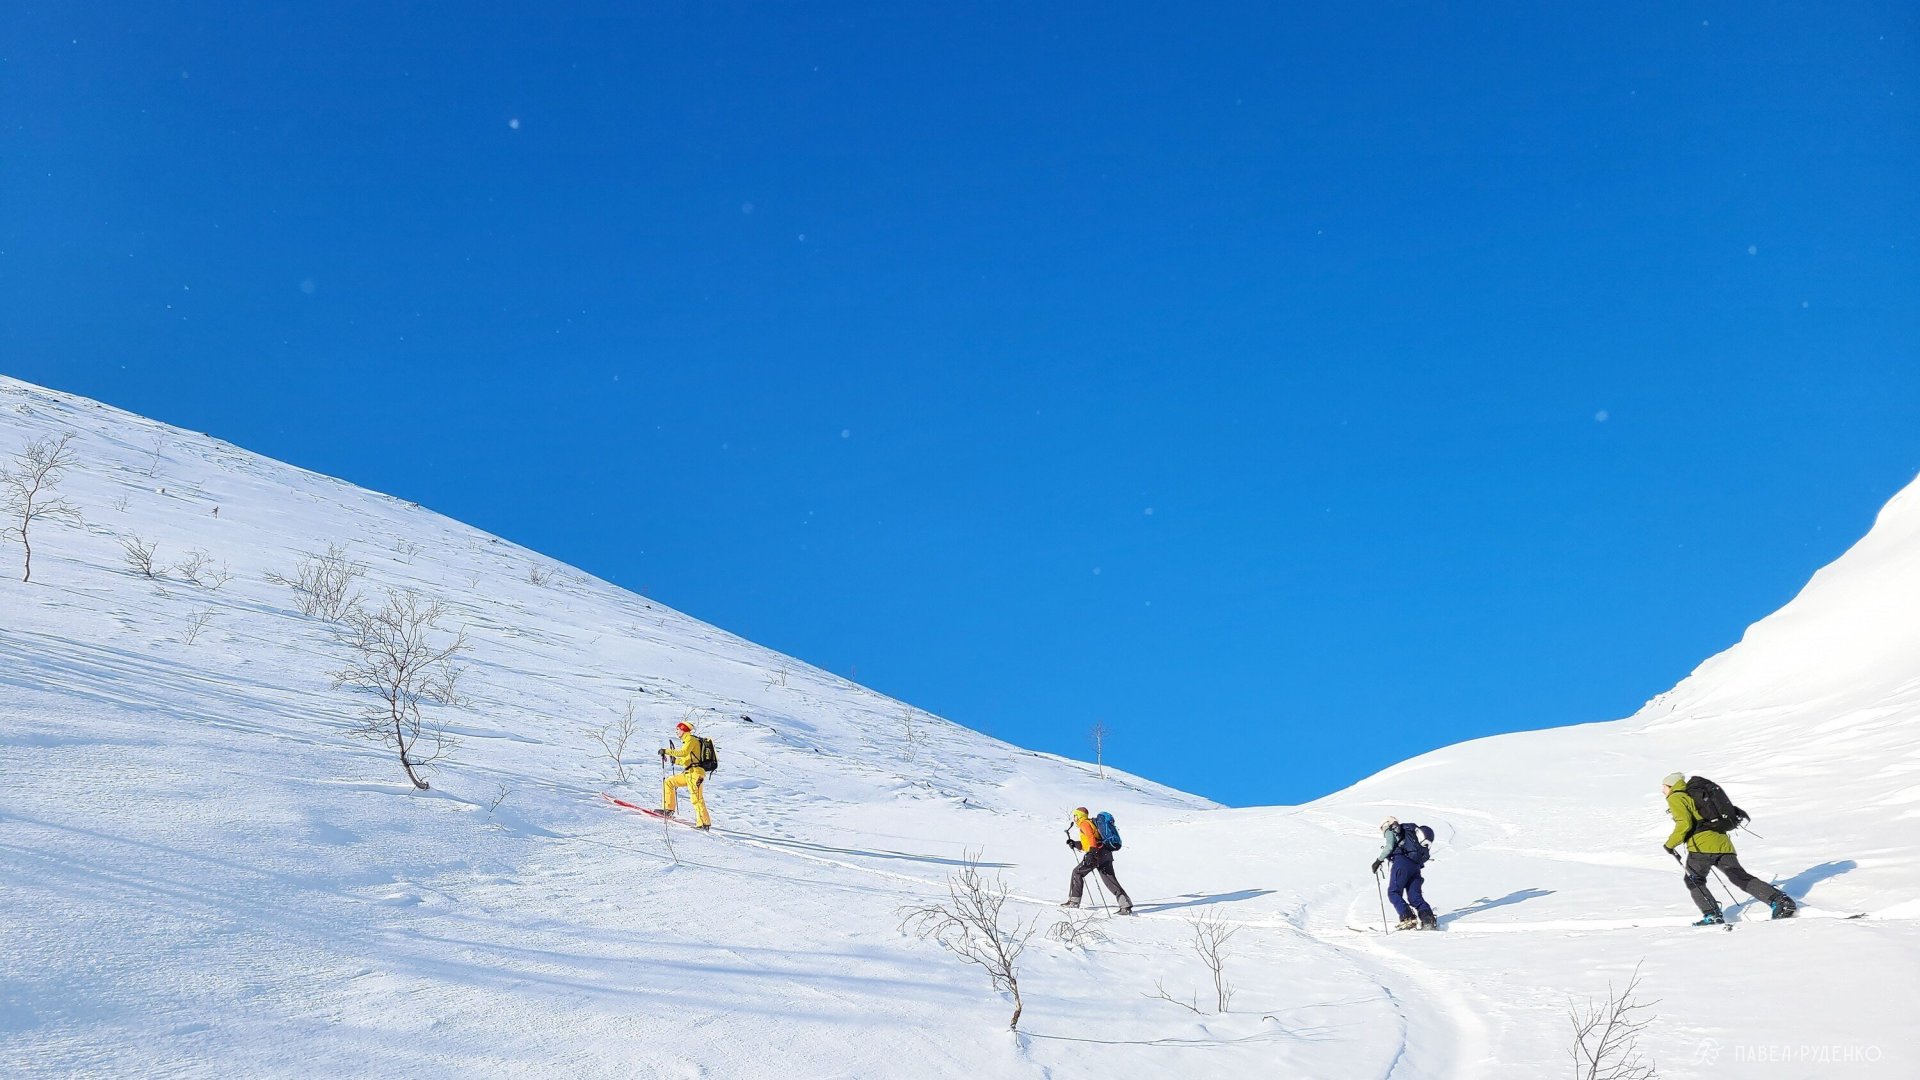
Snow pit
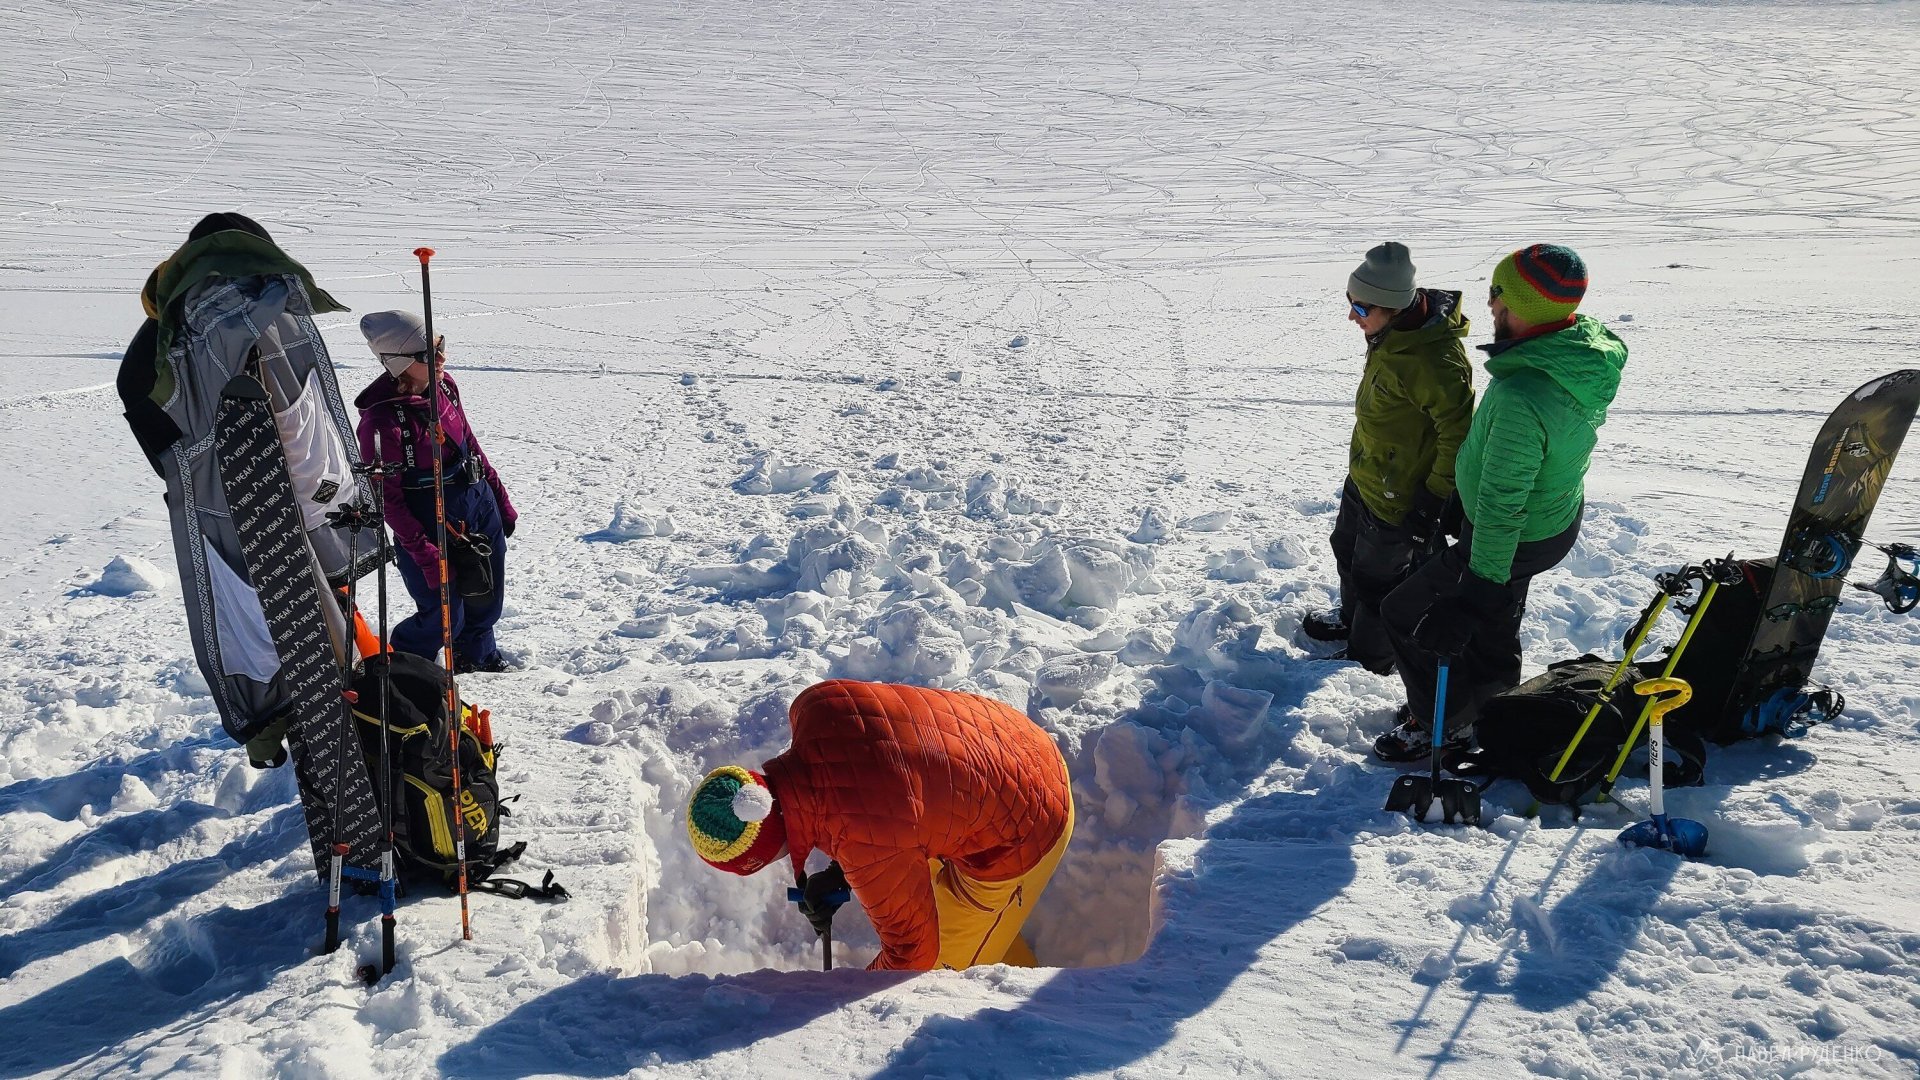
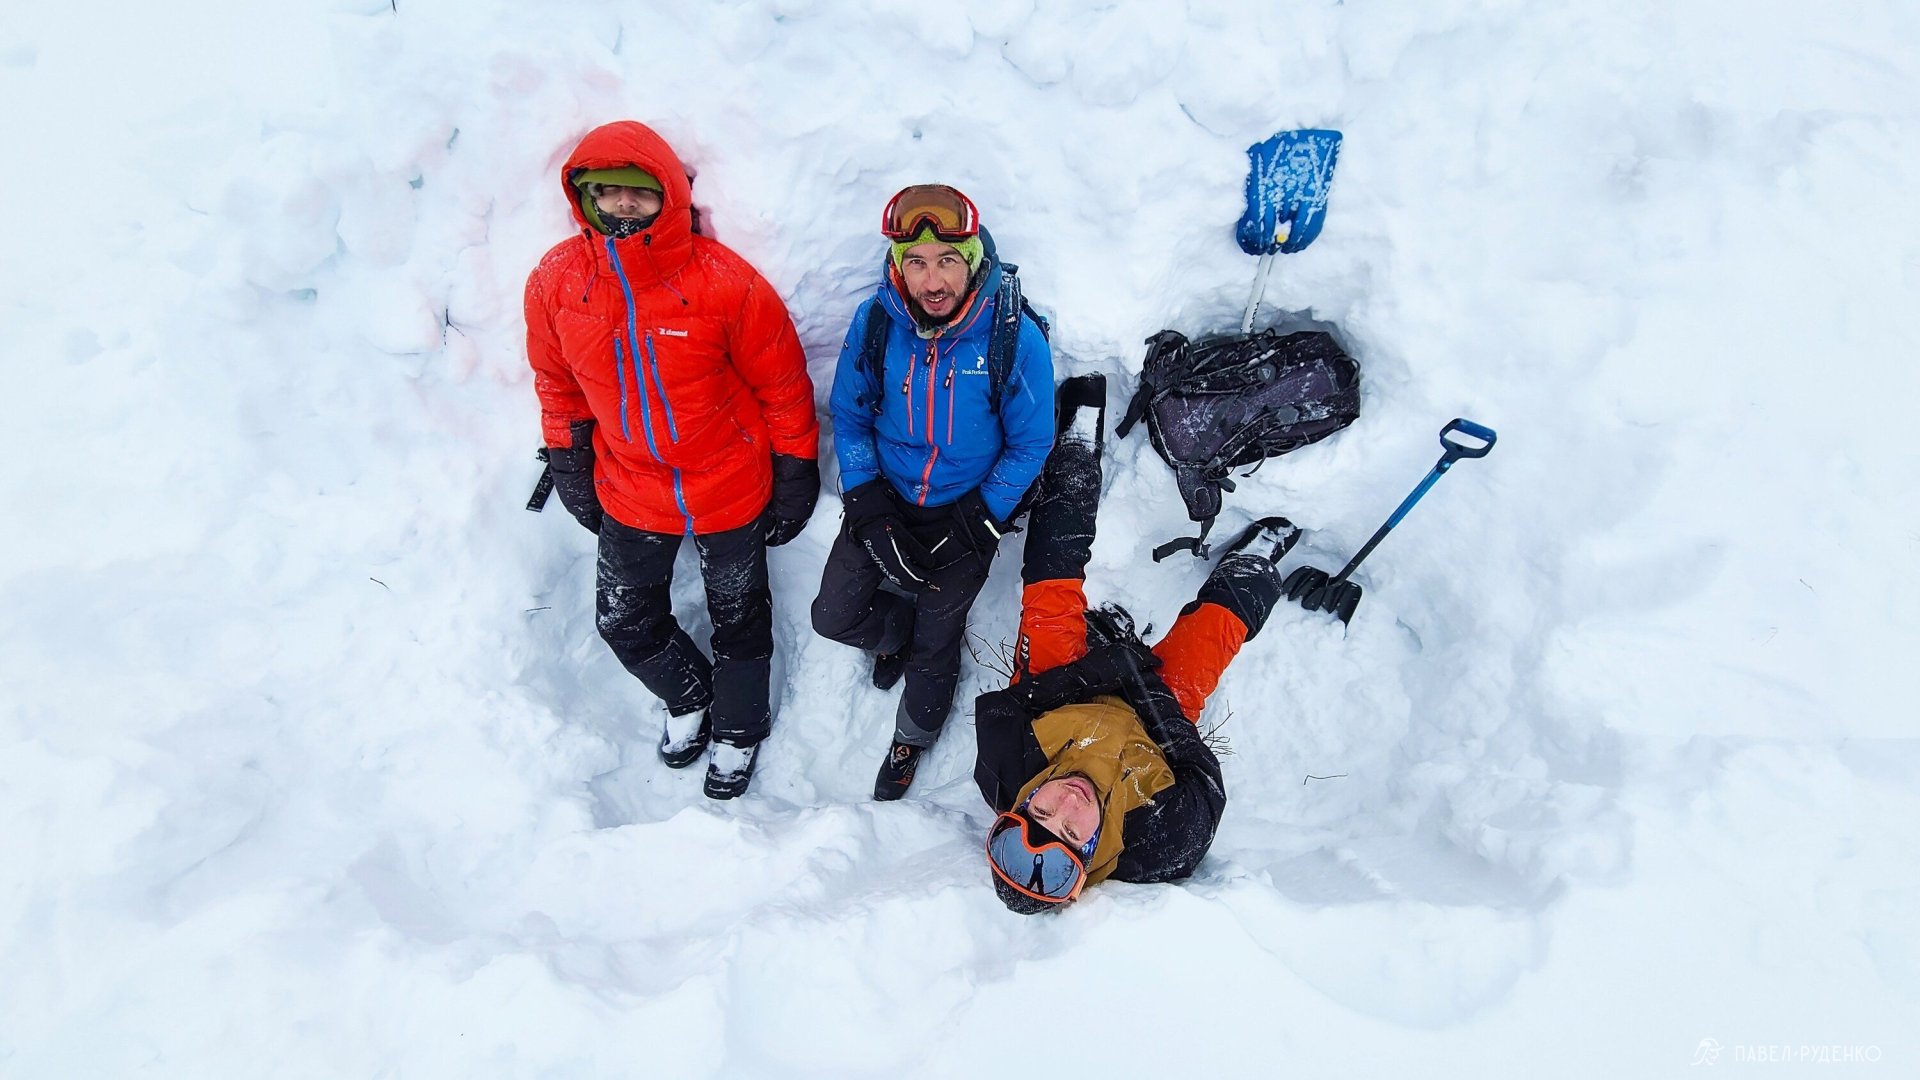
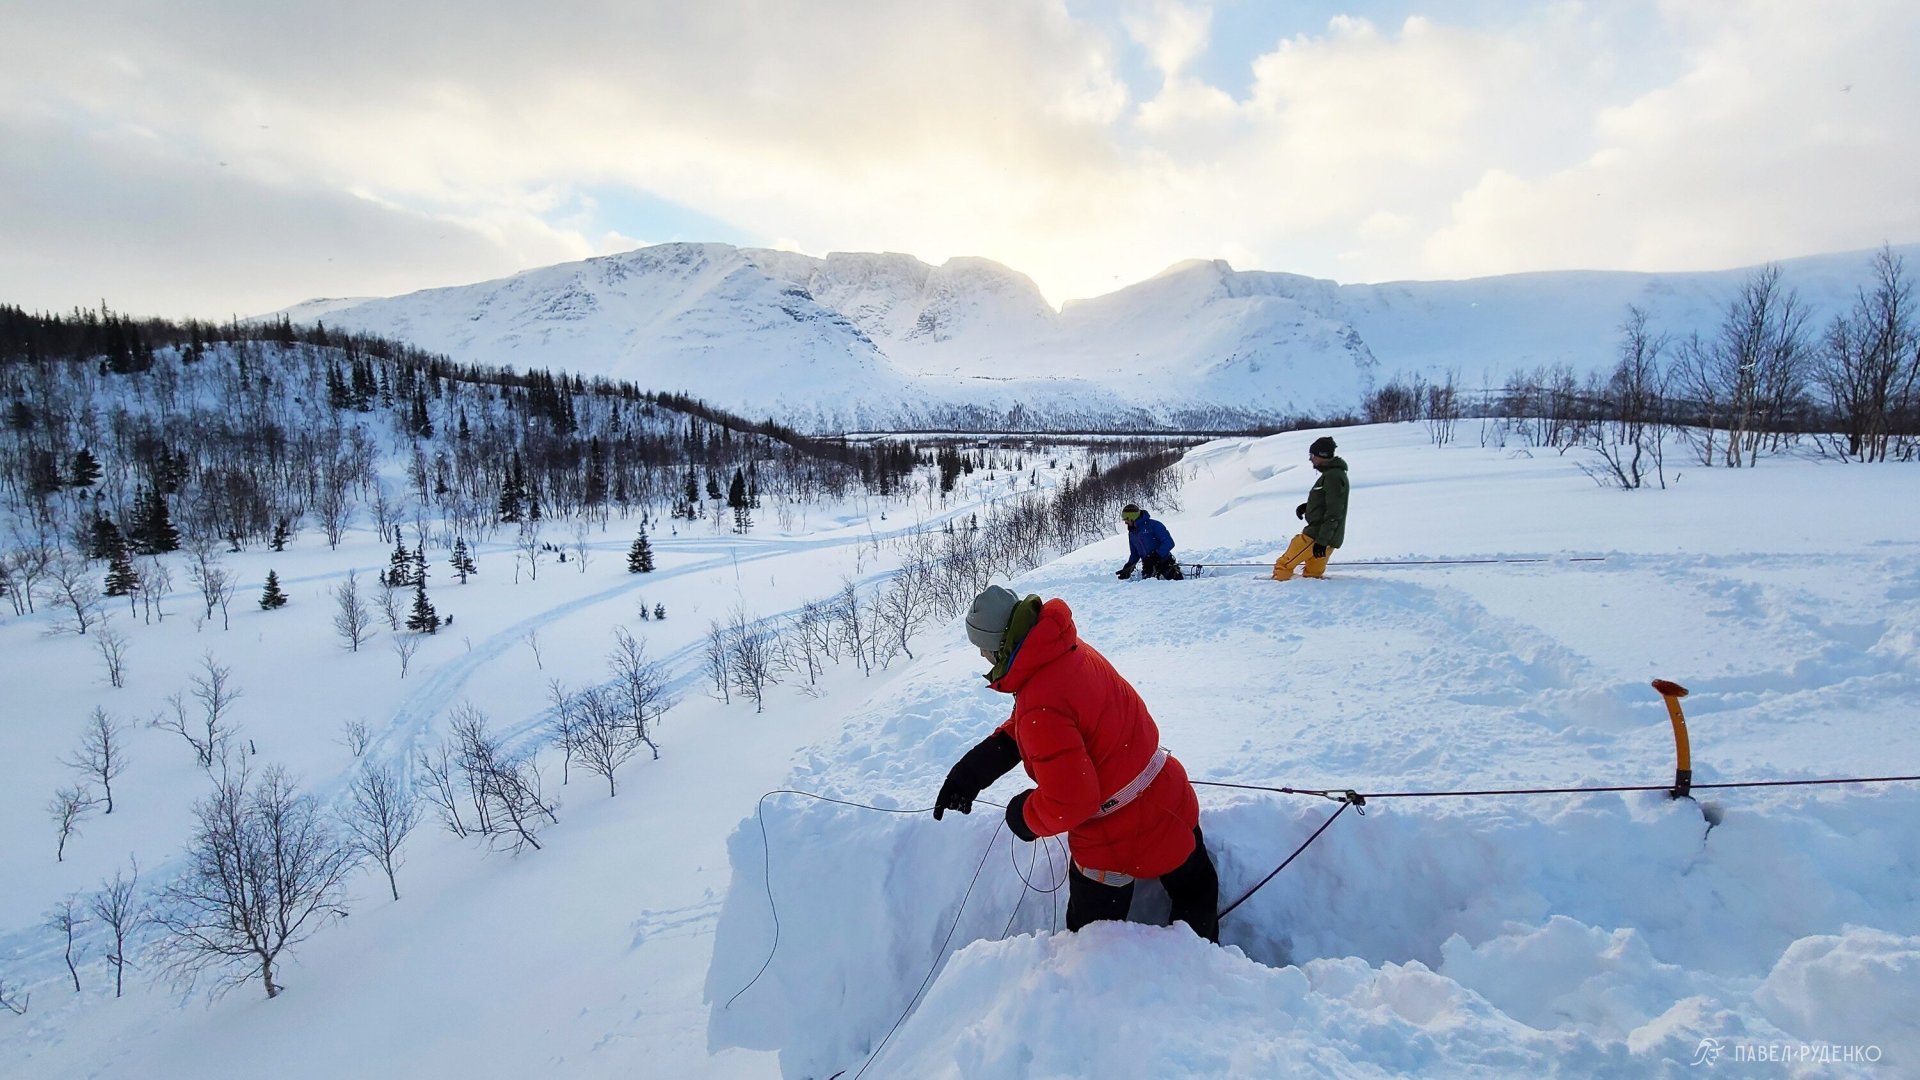
A snow pit is an excavation in the snowpack used to inspect snow layering and identify avalanche-prone weak layers.It is crucial to choose the right spot for the pit: results are representative only for that specific slope aspect, within 400 m of vertical elevation, and a radius of no more than 5 km.Always dig in a safe zone: outside avalanche starting zones, not beneath cornices, not above terrain traps, and not above other people. When traveling in a group, it is best to post a lookout. Choose a representative location to assess avalanche hazard.
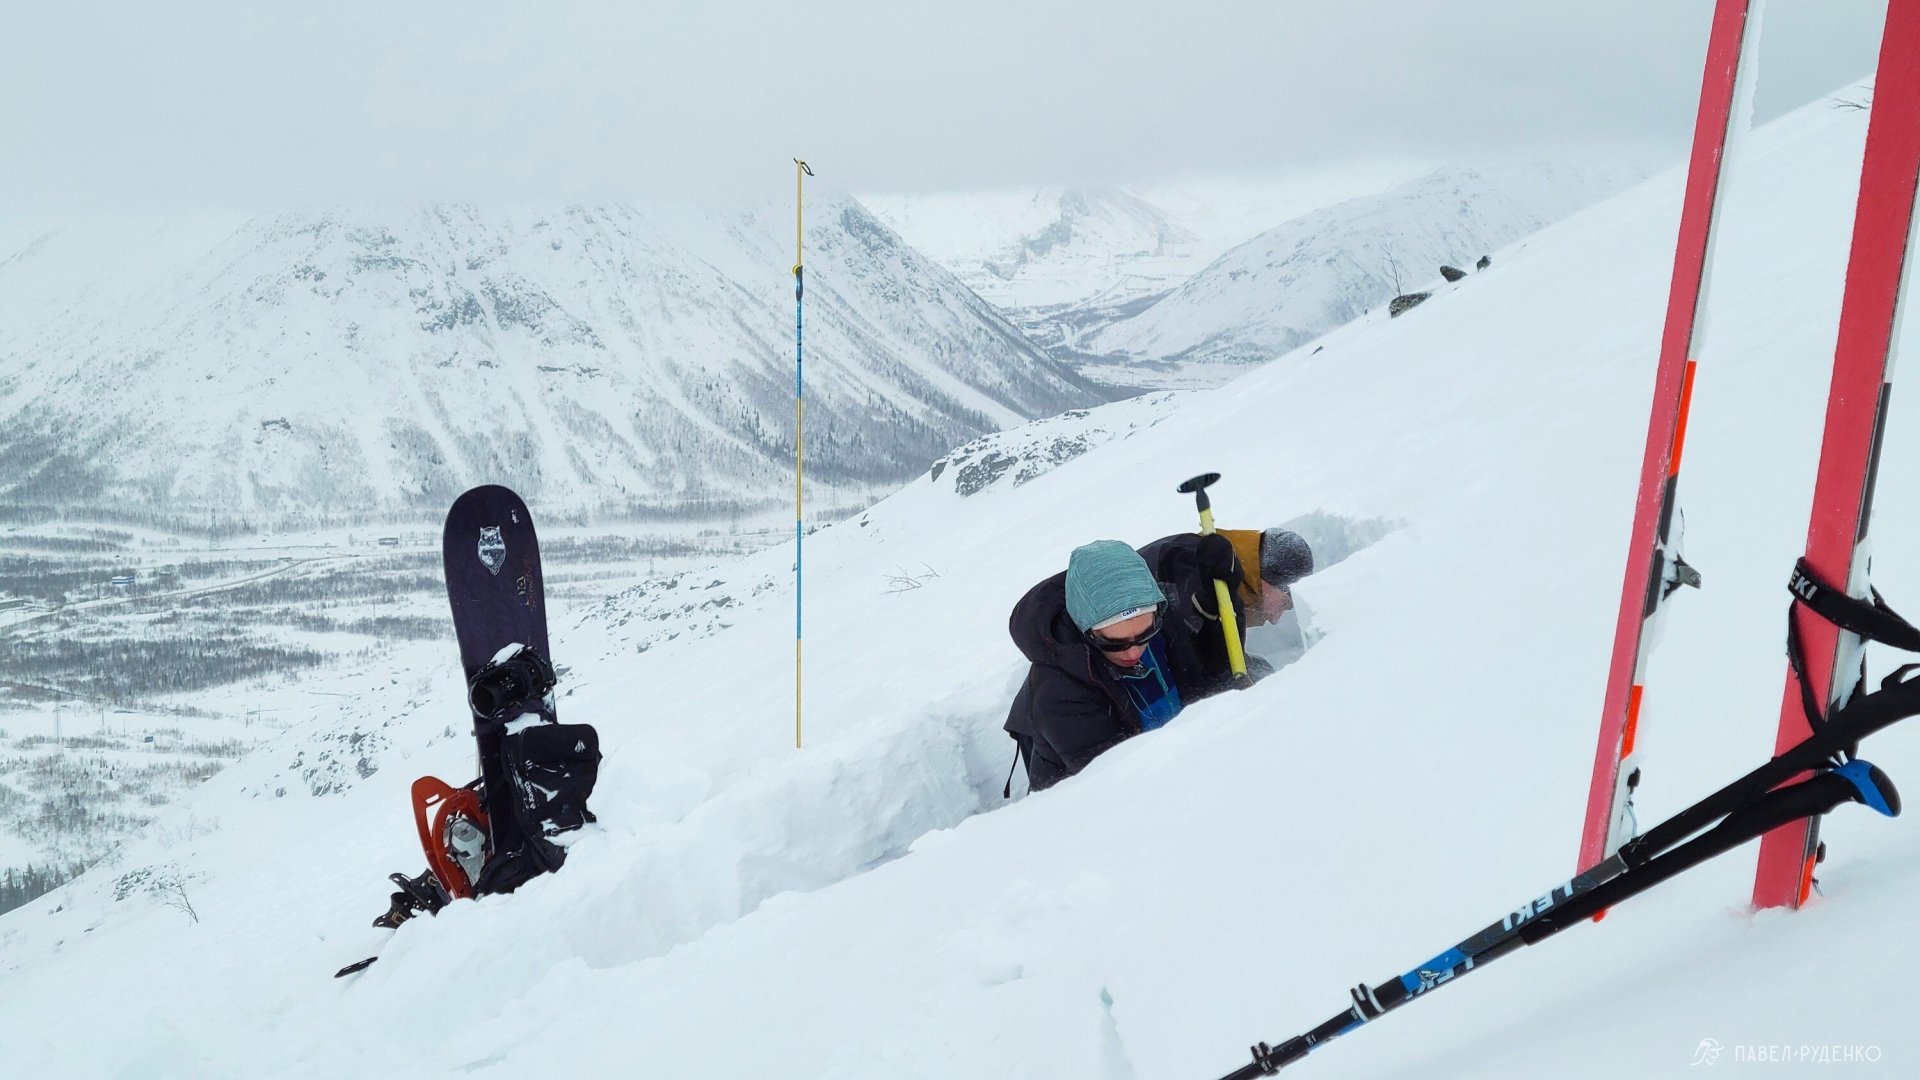
When digging a pit across the slope, shovel the snow backwards to keep the downslope wall clear. Standard size is 90x30 with smooth walls. Work with gloves on, test penetration on the shaded sidewall. Identify critical layers and record the data.A snow pit should also be dug when weather conditions shift, as the snowpack can transform completely every 5–7 days.Allocate enough time for the pit, dig away from the trail, and take past, present, and forecasted weather into account. Work in pairs and mind the micro-terrain. Always backfill the pit.
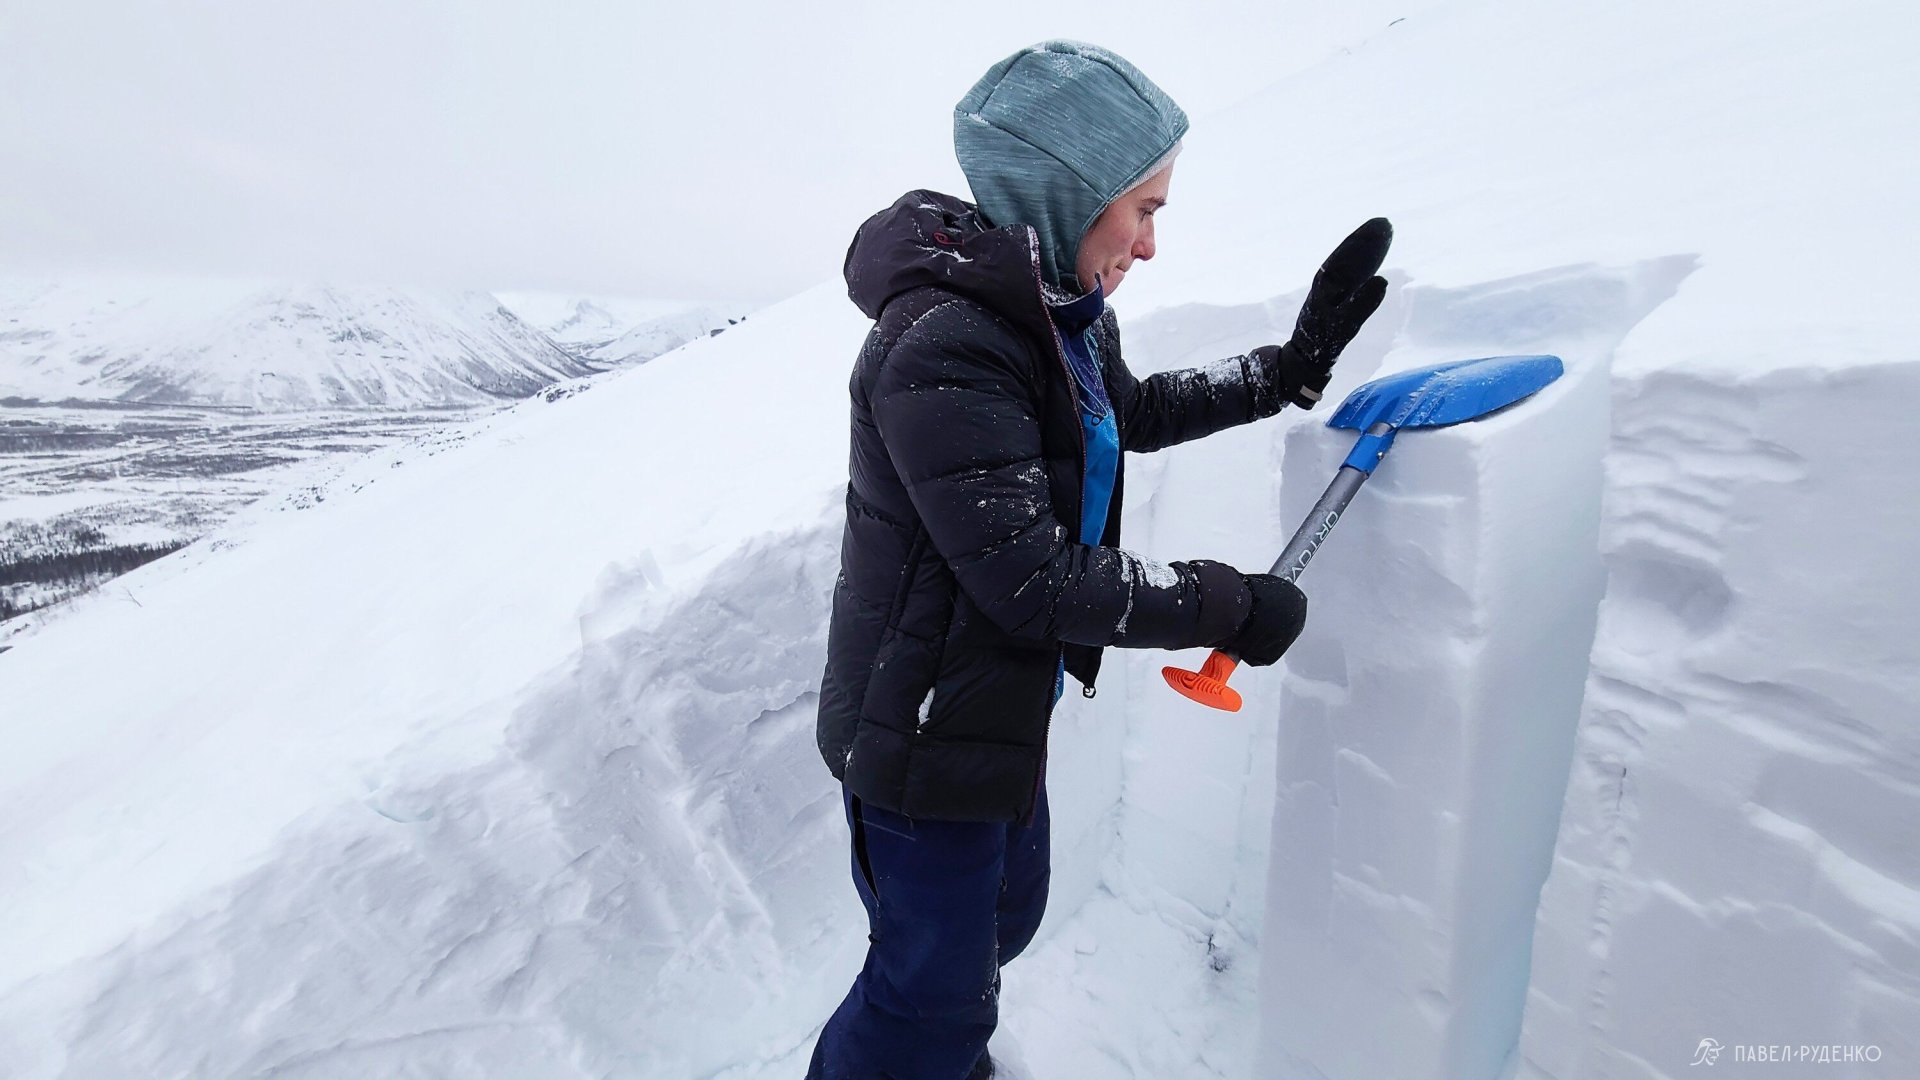
Quick tests
Often there is no time or opportunity to dig a full snow pit, which is why quick tests exist to assess avalanche conditions on the fly.
- Ski pole test: evaluate the depth of soft snow and its resistance; if the pole punches through easily, there is a loose layer underneath.
- Ski tour test: when switchbacking uphill, load the snow with your body weight at the turns.
- Hand shear test: a simple test using a ski pole to evaluate shear strength and fracture propagation in just a couple of minutes.
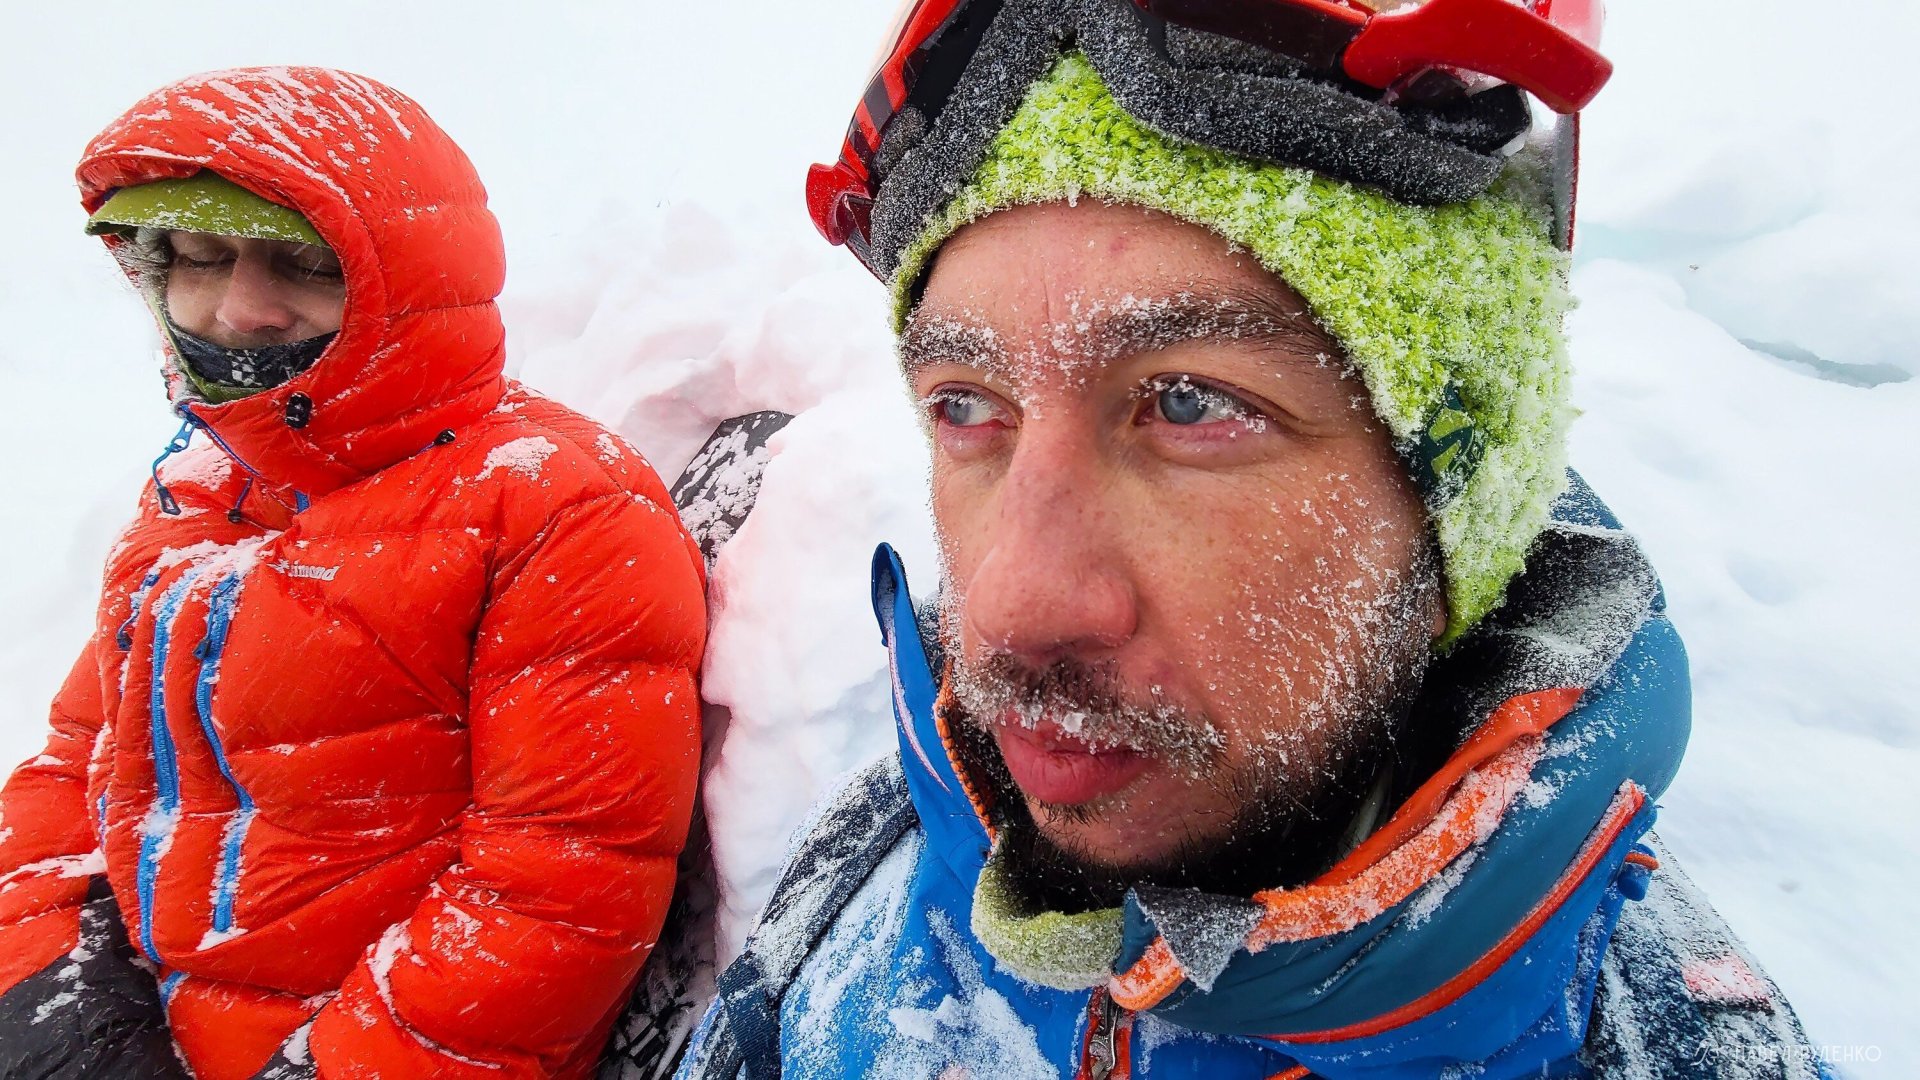
Cornices
Form after blizzards.Never approach too close from above—it could collapse beneath you.They frequently drop on the first sunny day after a storm.When collapsing, they can trigger an avalanche.In rare scenarios, a cornice can be cut while secured on belay.
Verdict
The training is definitely worth it; there is a wealth of information, all well-structured and clear. Now I understand the snow much better, and it understands me) I consider it mandatory for all ski tourers and mountaineers traveling through avalanche terrain. No need to mention backcountry skiers and freeriders—for them, it should already be second nature.Stay safe and get out into the winter wilds—it's pure magic!




Comments (0)