
Ski Trek by the White Sea
I first thought about a ski trek while hiking along a trail in the Lovozero Tundras, at a cabin by the Chivruay River. Trekking the route in June and enjoying the views, I stopped in to rest and spotted a notebook on the table with an entry: “February 17, –25°C. Saw a wolverine during the day, auroras at night, biting frost, mind-blowing beauty.” Right then, I felt it was time for a winter expedition!
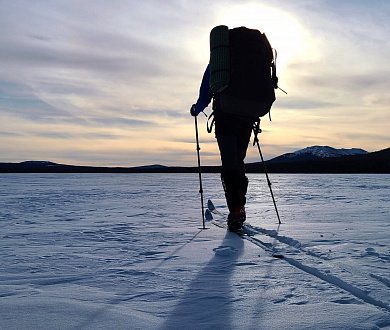
Turning it into reality was still a long way off, as winter conditions bring added risks and demanding gear. But 4 months passed, and I began preparing for a trek on touring skis with climbing skins and pulkas on a rigid harness. Meticulous preparation followed: choosing skis, bindings, boots, a sleeping bag, pulkas, and the route. I drew inspiration from Erik Normark's videos and the guys from Sport-Marafon.
I love heading far away from civilization, where there are no crowds. Last year, I came across an article on Risk.ru by BaZiLiO noting that, according to hiker.ru, only 2–5% of all commercial treks take place in February and March. Winter is a great opportunity to be alone with nature.
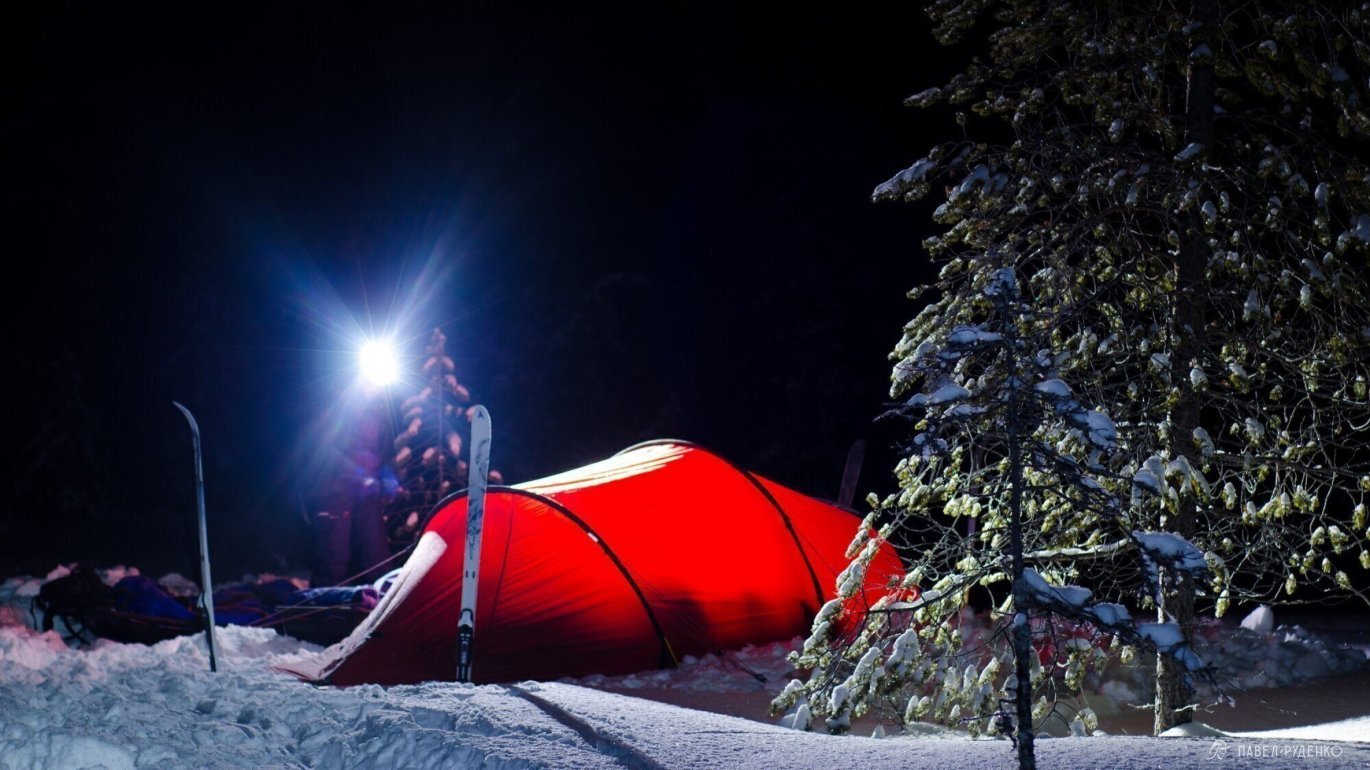
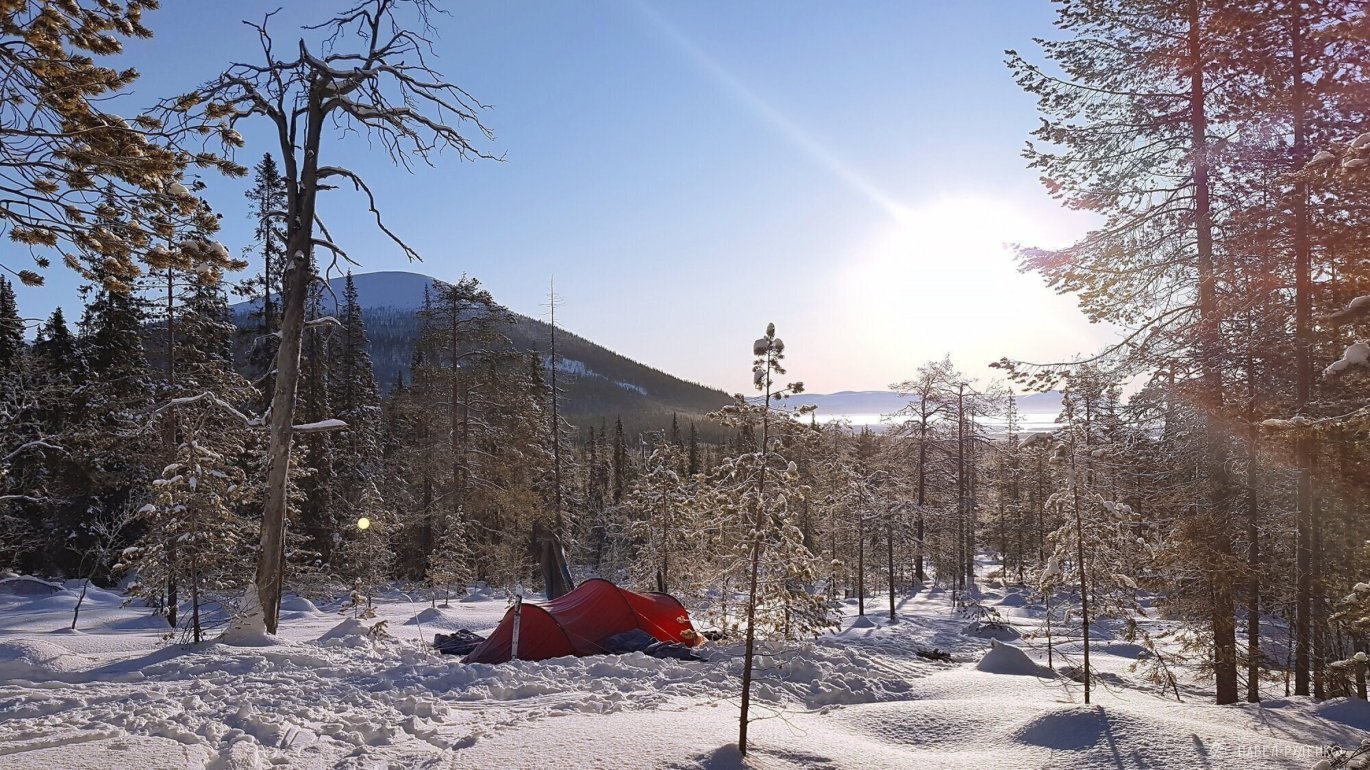
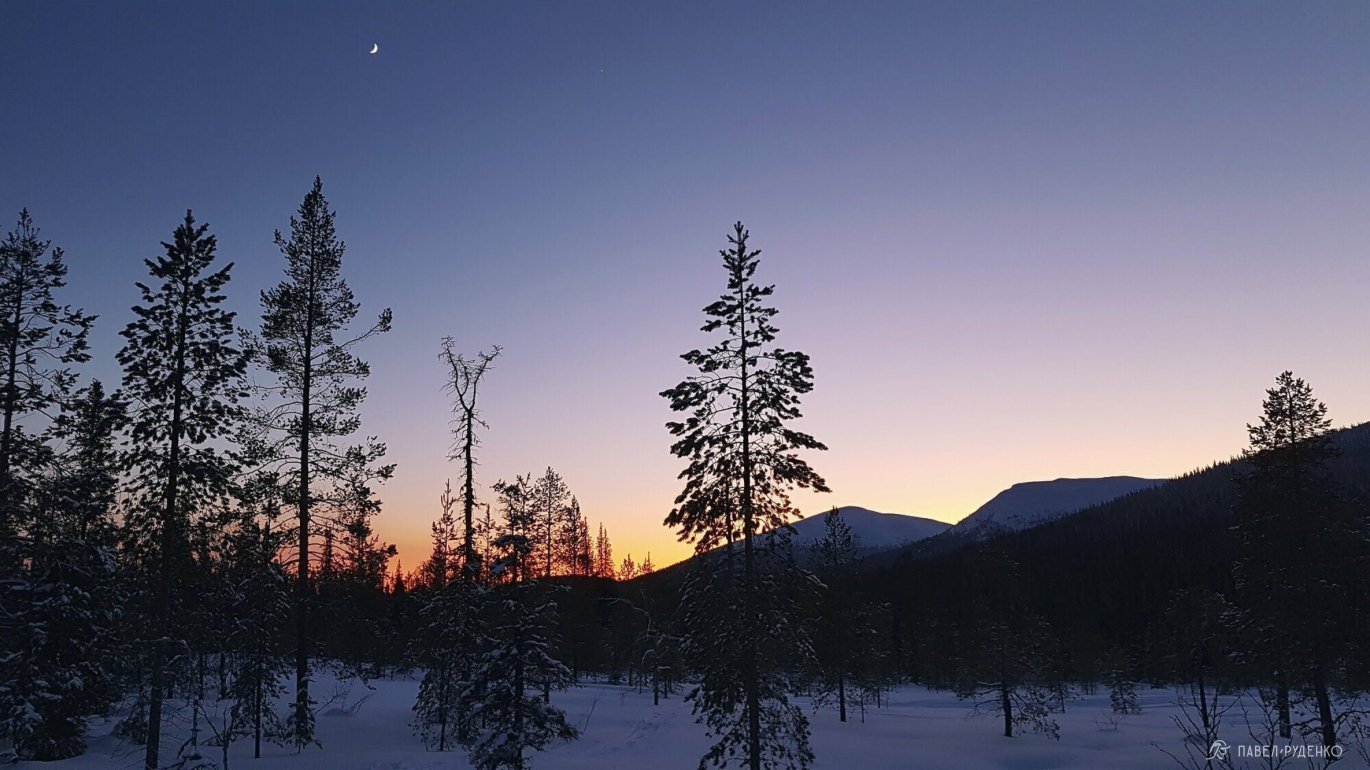
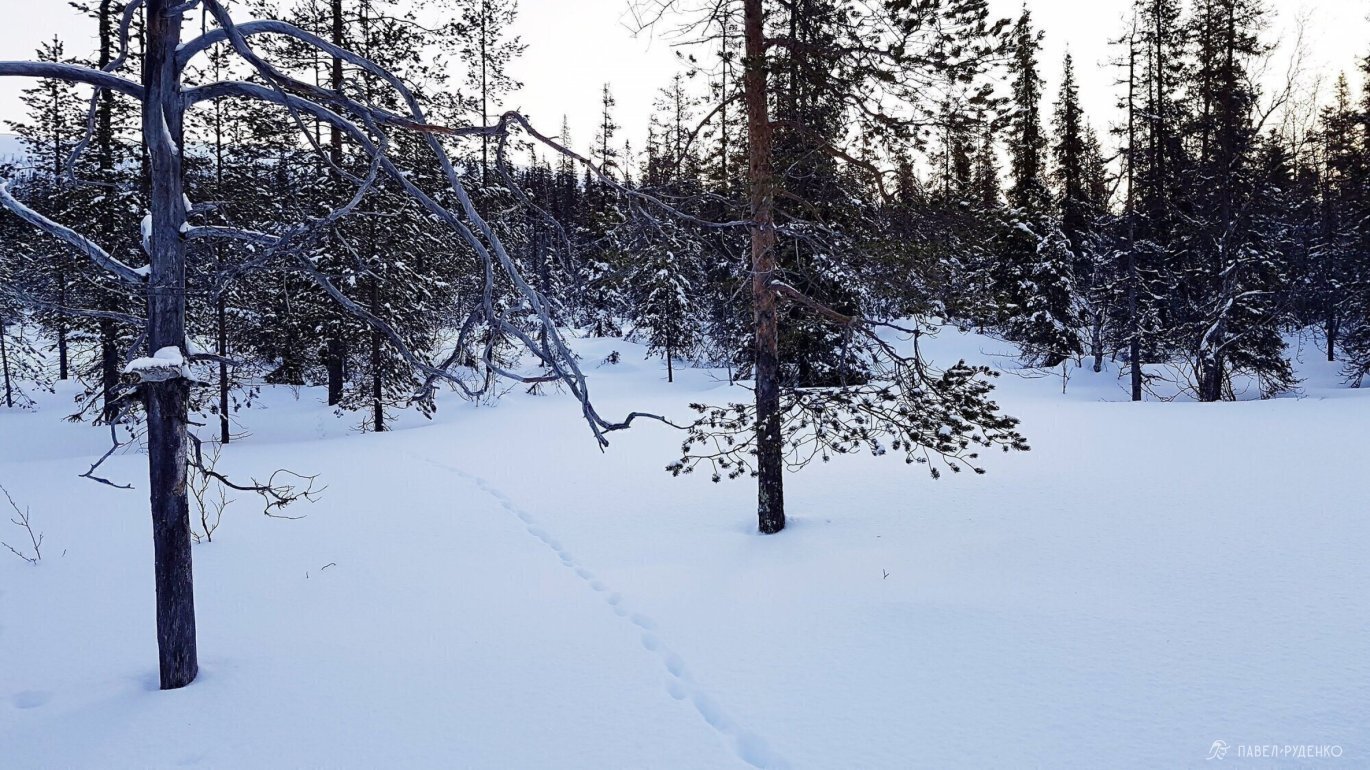
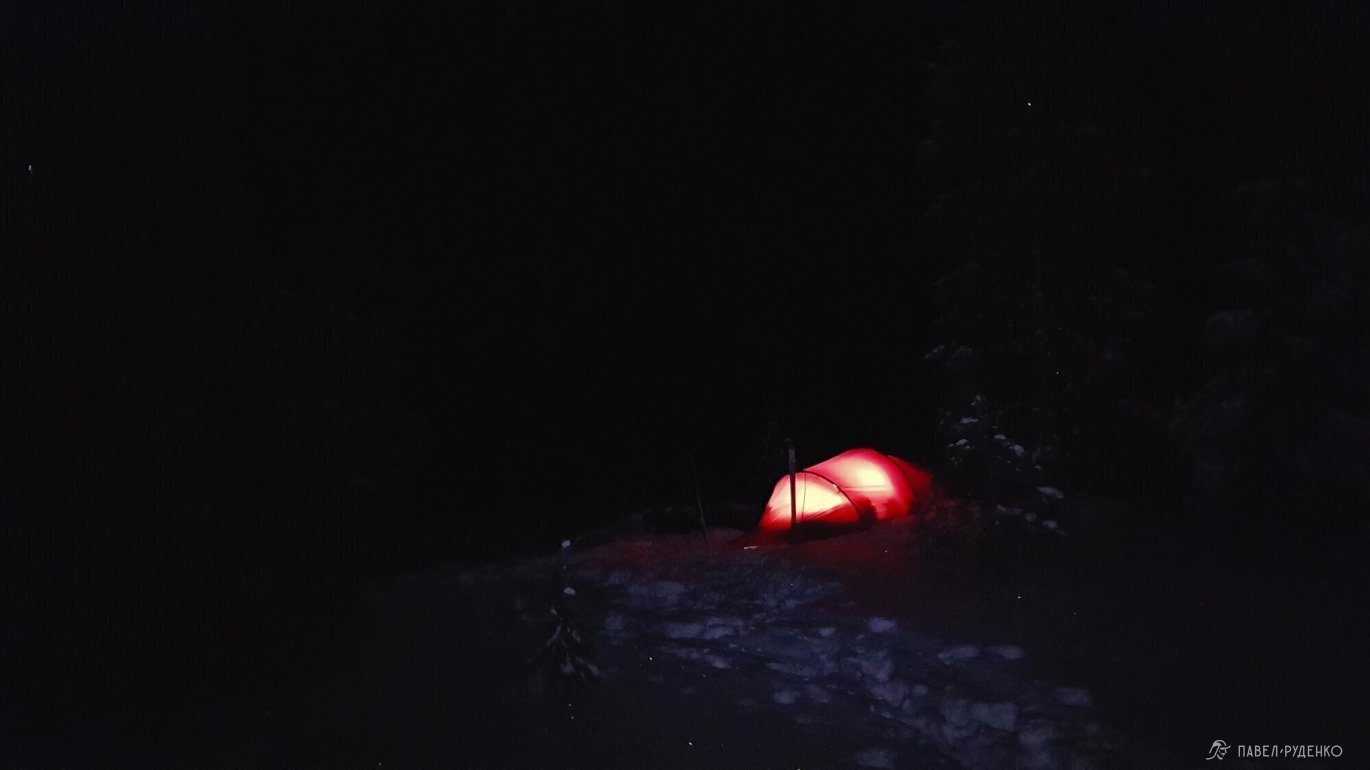
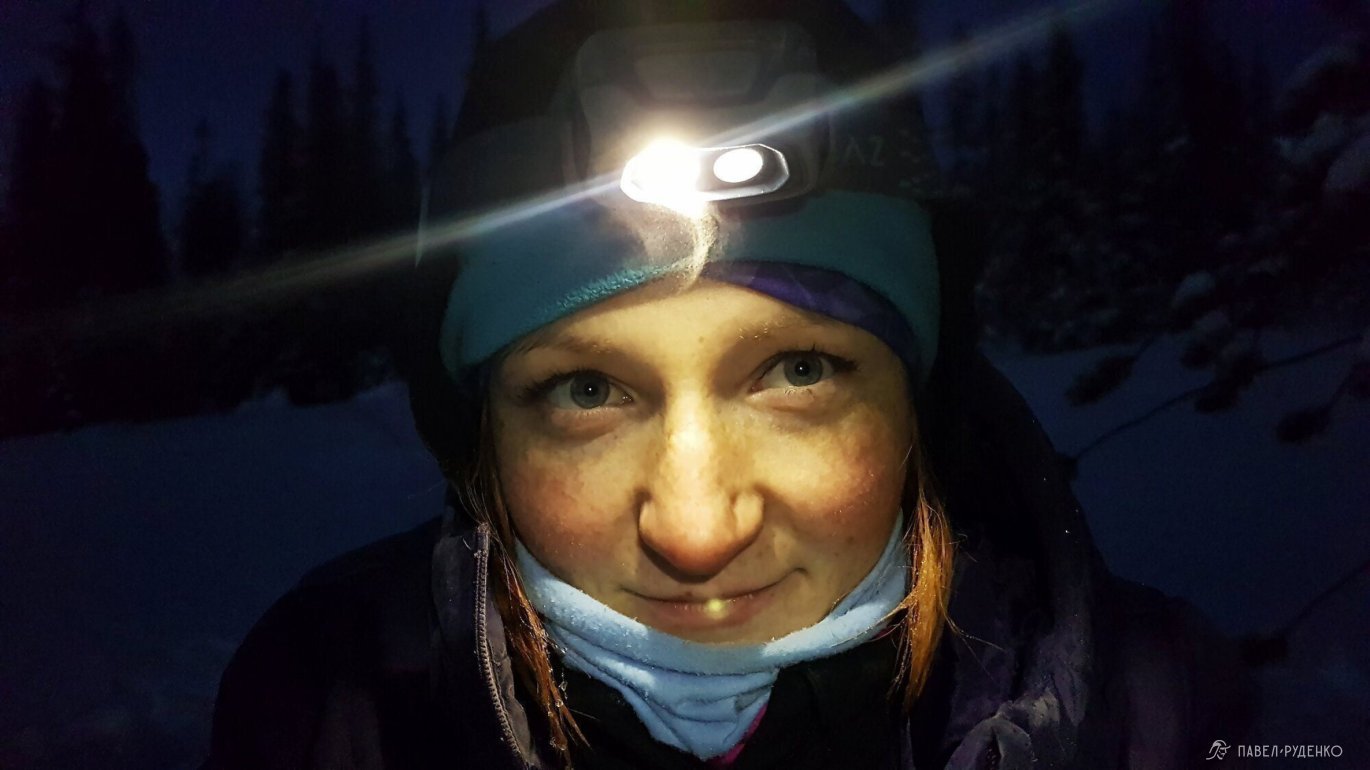
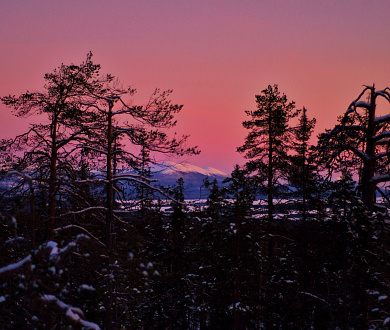
The feel of a freezing night is entirely different from summer. The moon illuminates the tops of snow-covered pines, while animal tracks circle the tent. It's hard to take your eyes off the starry sky, but the frost urges you to crawl into your sleeping bag with every passing minute. And in the morning, when the first rays light up the frost on the tent fly, it feels as though you're waking up inside a cave.
Next year, I'll have to put freeriding on hold and set off on skis with a tent once again.
Route Planning
Choosing the Kola Peninsula was a given, but I was still debating the exact location. Trekkers most often head to the Khibiny and the Lovozero Tundras, but the avalanche danger in those areas was a deterrent. I've been caught in avalanches before while freeriding in the Khibiny.
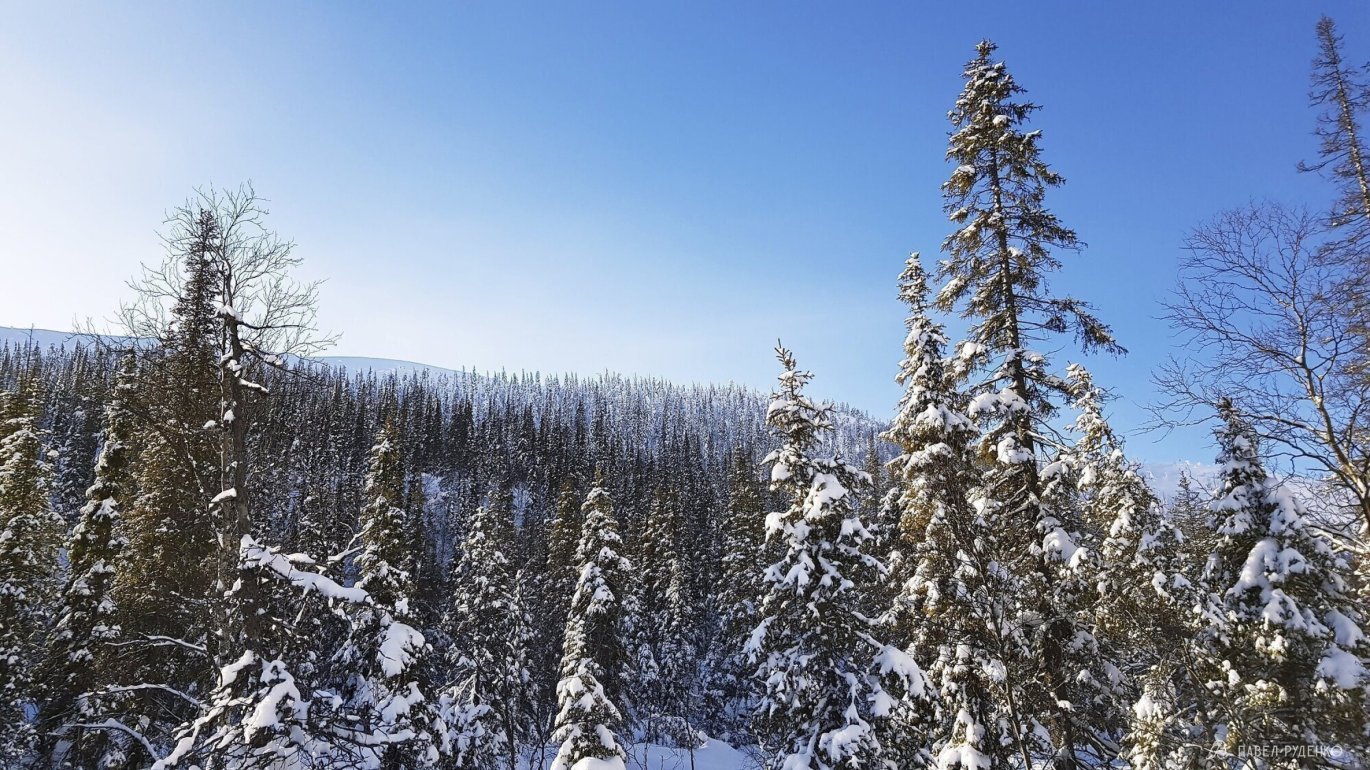
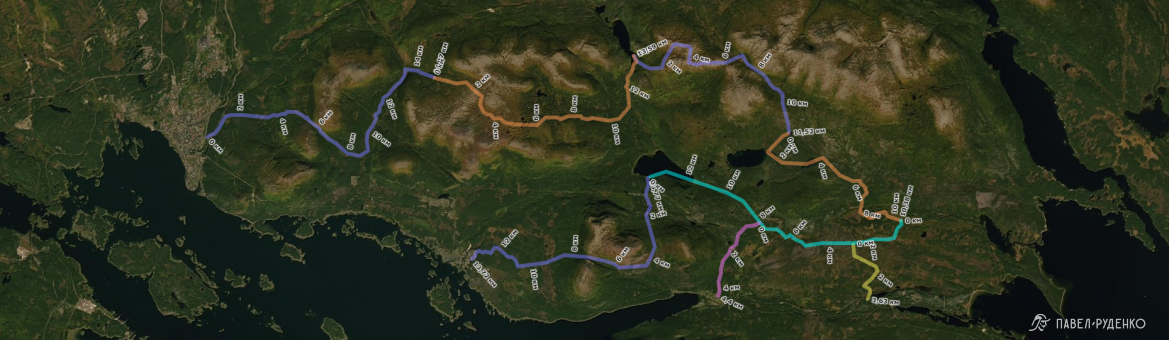
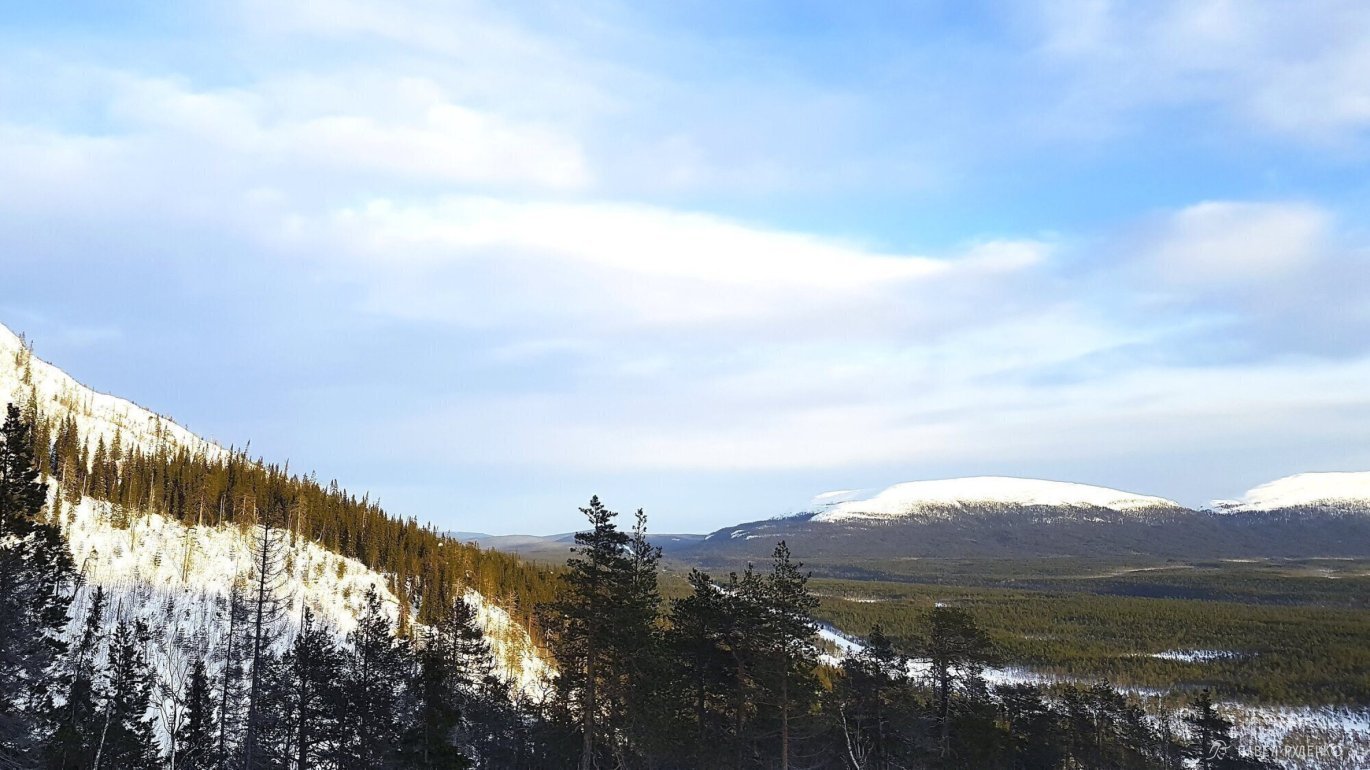
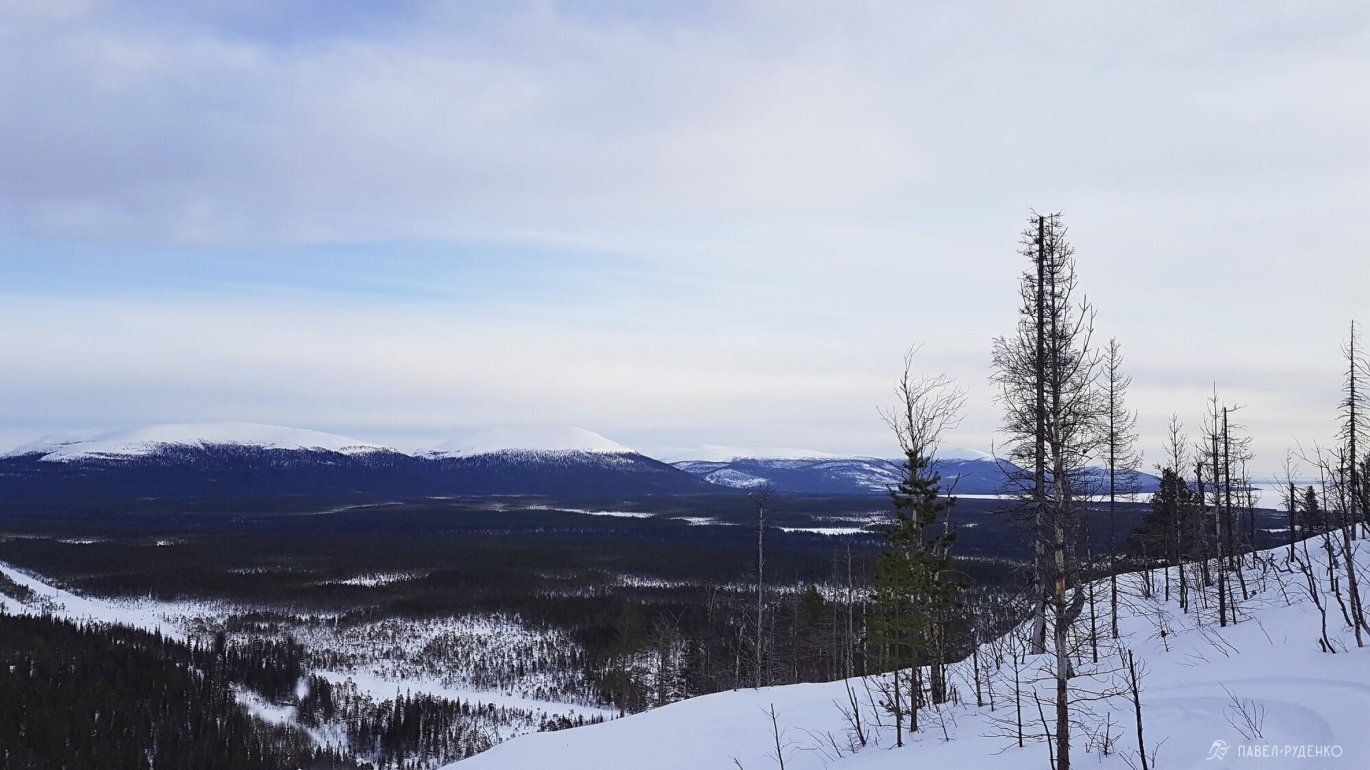
My goal was to cover as much diverse terrain as possible and gain maximum experience for future expeditions. I found a safer area near the town of Kandalaksha. The hills there are lower, more wooded, and more spread out—meaning that if in doubt, you can safely bypass a pass and take the flat terrain around it.
EMERCOM confirmed that avalanche danger in the Kandalaksha area was very low.
My video lecture on how to plan a winter trek.
Transportation
We took the Moscow – Murmansk train to Kandalaksha. Because our pulkas didn't fit the standard carry-on baggage allowance:
“Each passenger is entitled to carry free of charge per 1 ticket, in addition to small personal items, hand luggage weighing no more than 36 kg (50 kg for 2-berth sleeper compartments), with dimensions not exceeding 180 cm by the sum of three dimensions.”
The pulkas looked bulky and intimidating, and barely squeezed onto the upper luggage rack. We decided not to take any chances on site and paid for the baggage car—about 300 RUB per pulka. In reality, it's just a standard train compartment in one of the cars with the lower berths removed. We took our valuables with us and shrink-wrapped the rest, airport-style:).
From the station to the trailhead, I looked for a cab. All the cars were small, but this is the North, where people are incredibly warm and helpful, and a passing 4x4 driver gave us a lift.
We finished the route in Luven'ga. Buses run on schedule; we arrived at the bus stop two hours early and waited patiently. Unfortunately, the route was served by a Mercedes-style minibus without luggage space, and we couldn't fit. We called a taxi from Luven'ga to Kandalaksha—it cost 500 RUB for about a 20-minute ride.
EMERCOM Registration
A convenient registration form: fill in details about yourself, the route, and emergency contacts. You can also provide a link to the route track.
You must call the EMERCOM rescue service before starting the route and upon completion. EMERCOM will make daily check-in calls. Cell service wasn't always available, so I received two missed call notifications in the morning and afternoon, calling back whenever possible to confirm that everything was fine.
EMERCOM in Murmansk: (8152) 39-99-99
It is worth getting contacts for local snowmobilers so that in an emergency, you can quickly get back to civilization. There are many snowmobilers riding through dense forests and across mountain passes, on both weekends and weekdays. You are far more likely to encounter them than another trekking group.
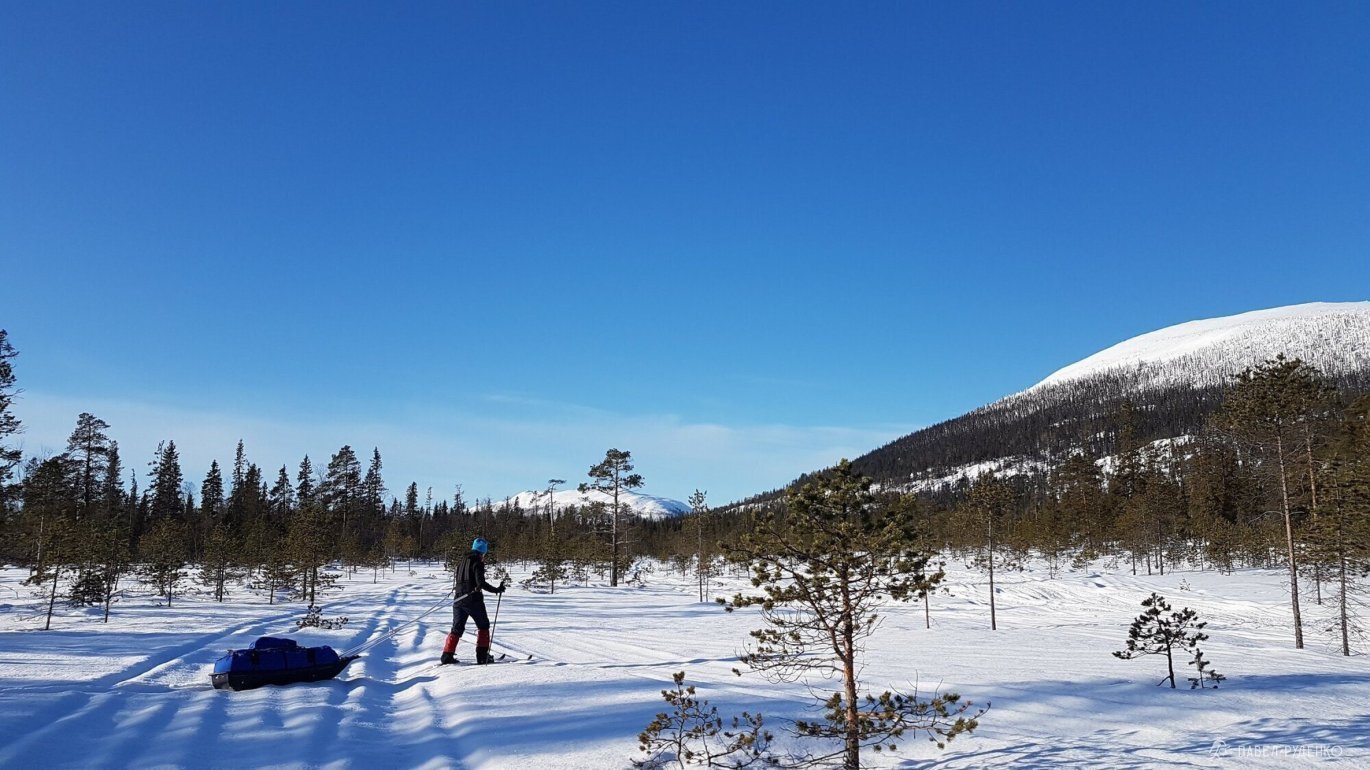
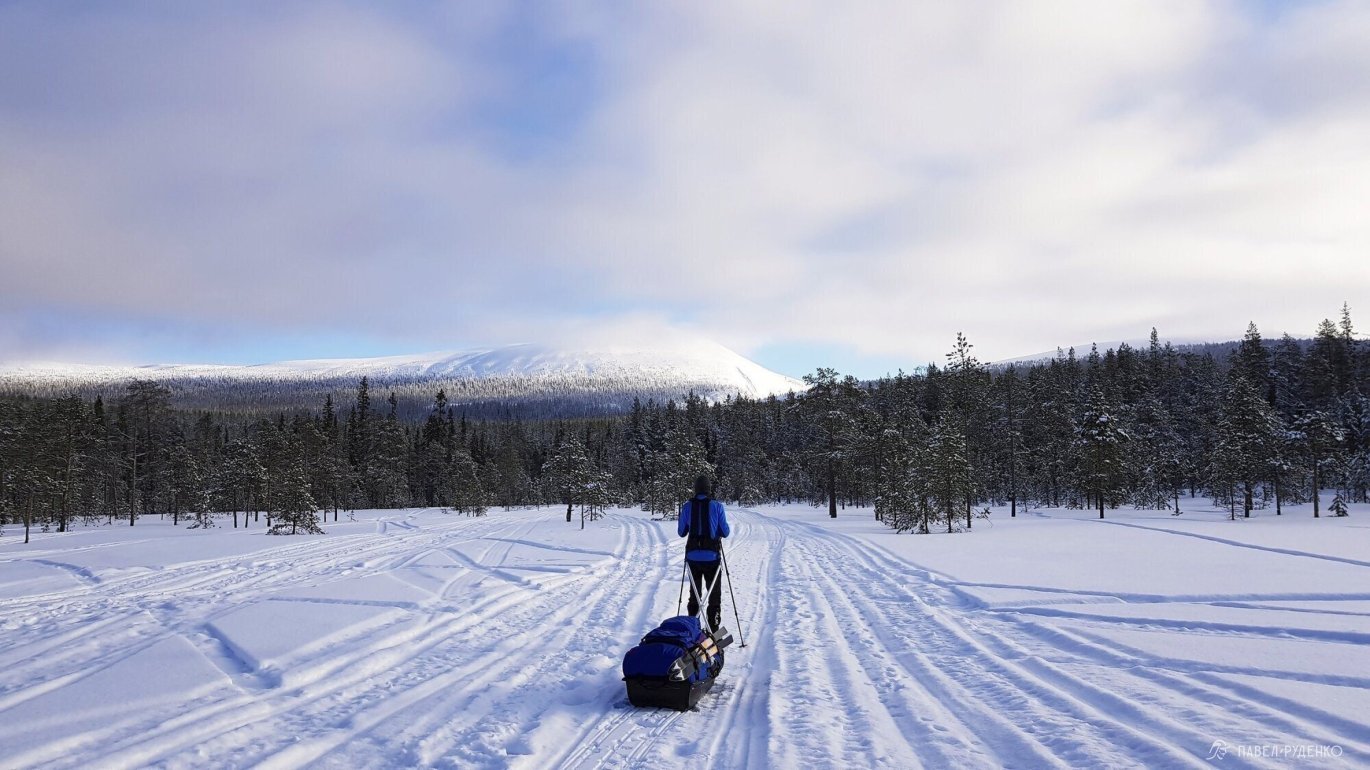
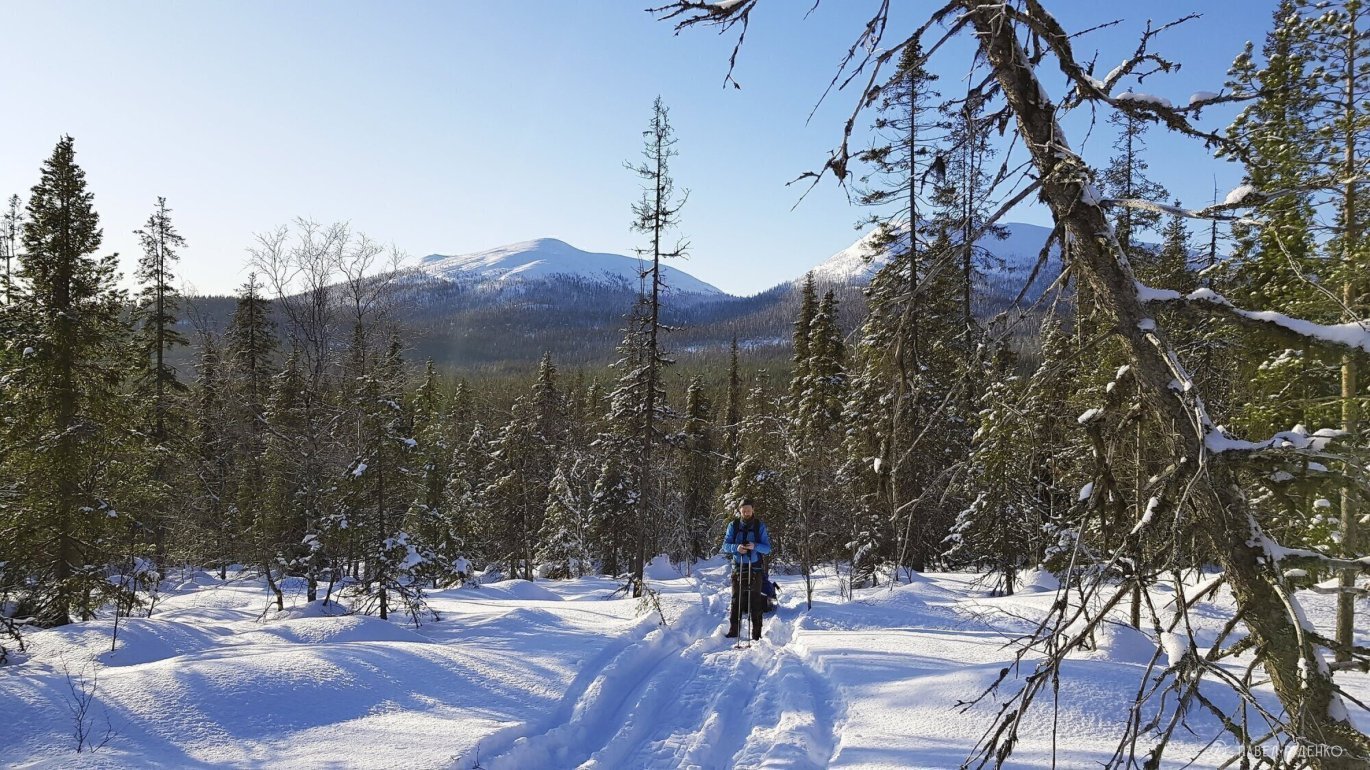
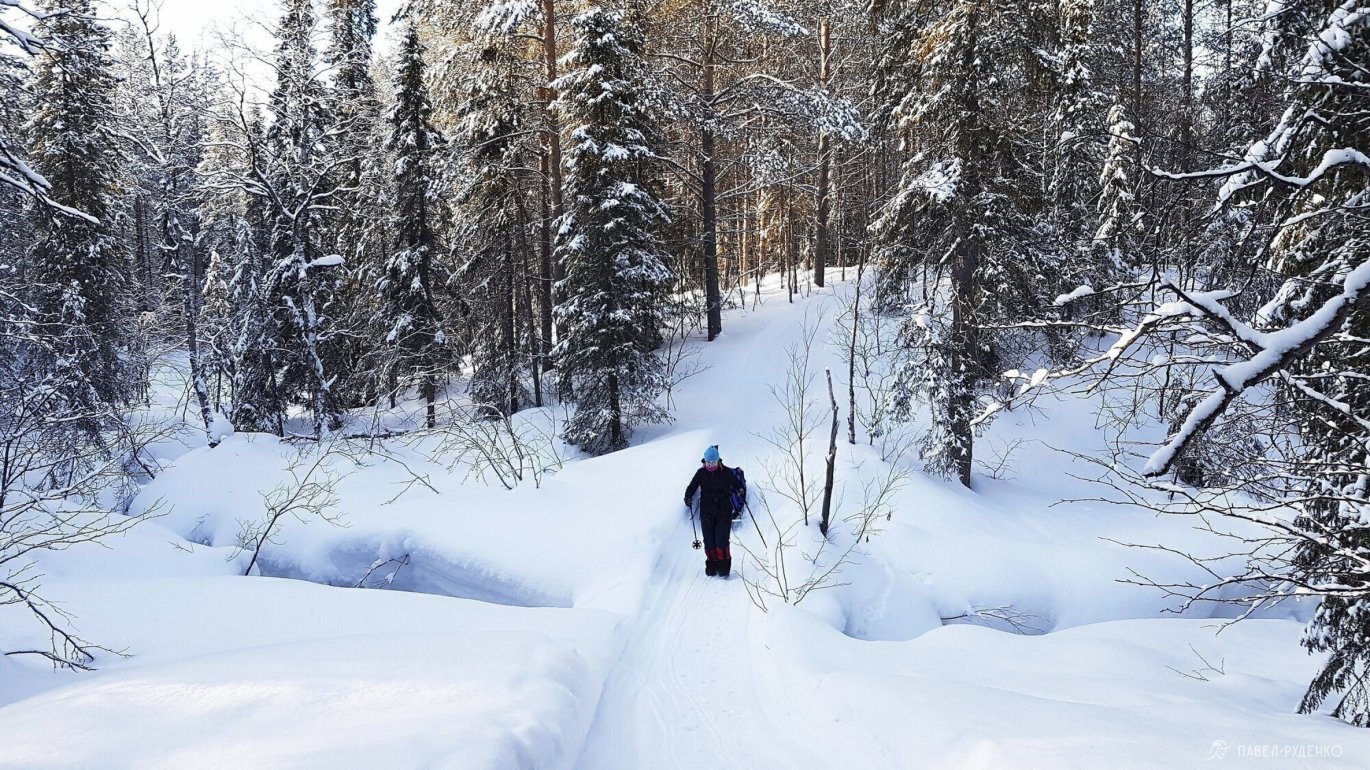
Following a snowmobile track.
Safety
During preparation, I divided safety into four main points:
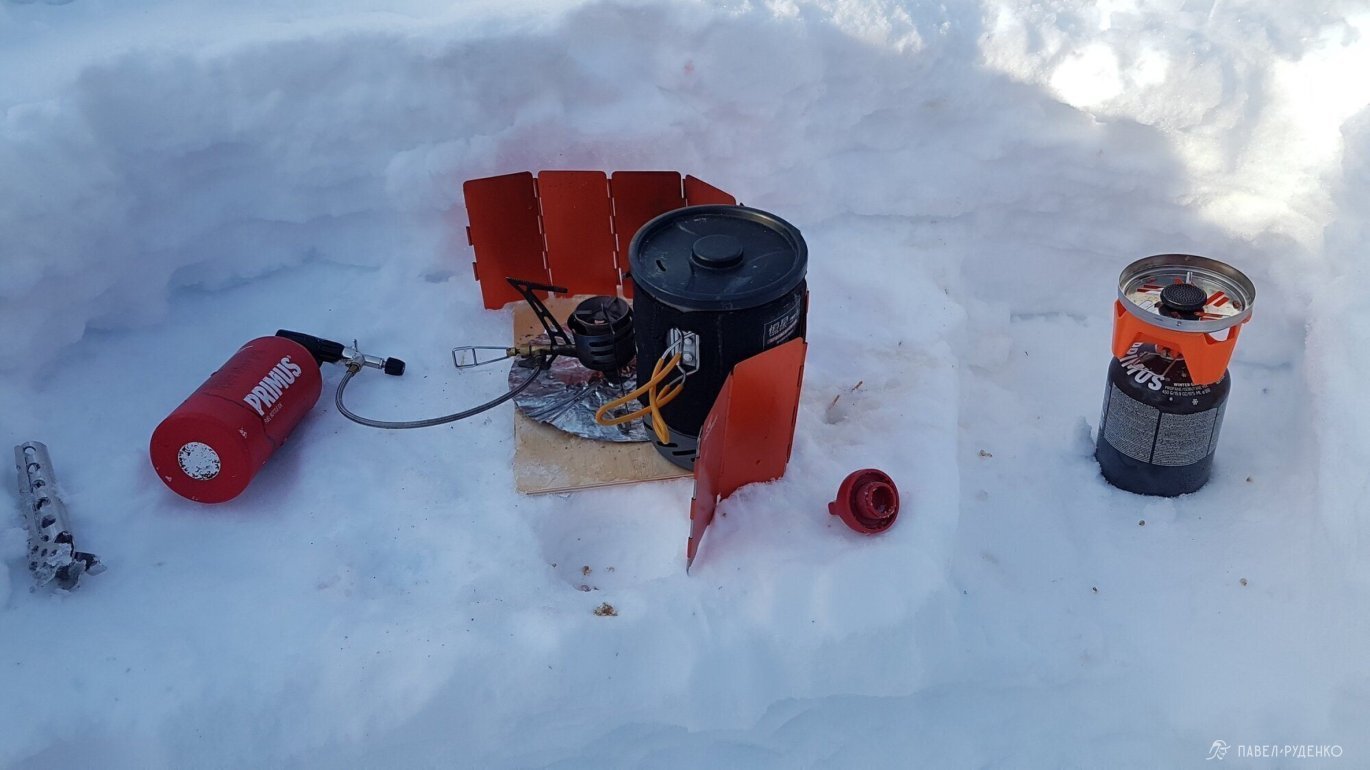
- Repair kit and backups. The repair kit included a hacksaw blade, mending plates in case of broken skis, self-tapping screws, spare snow baskets for poles, zip ties, sleeping pad patches, stove spare parts, etc. I will publish a separate post with a detailed list. For backups, we brought both a multi-fuel and a gas stove in case of a breakdown and to test winter gas, plus spare mittens, a hat, a trekking pole, etc.
- Frostbite. Clothing, sleeping bag, and sleeping pad were selected with a safety margin for the lowest possible temperatures. We also had catalytic hand warmers from Decathlon, which failed to work in severe cold.
- Avalanches. The area was unfamiliar, with avalanche hazards on passes and in gorges. Old-school avalanche cords are largely ineffective, so we used a transceiver + probe + shovel kit on this trek. I borrowed the transceivers from friends, while the rest was my own gear. We practiced search scenarios before the expedition and on the final day before departure.
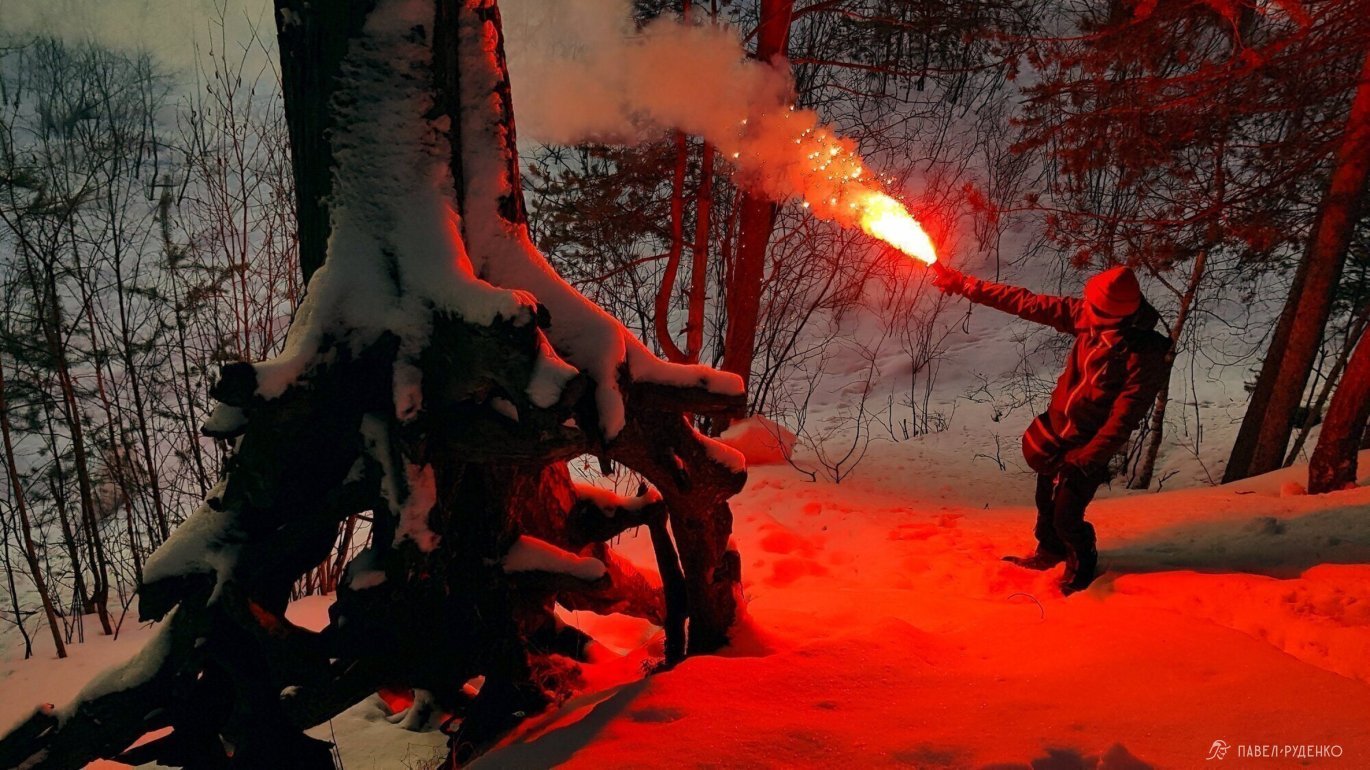
- Wildlife. For protection during wildlife encounters, I carried signal flares and bear bangers. The region is home to foxes, moose, wolves, wolverines, and very rare bear encounters. These items can also be used to signal rescuers if necessary.
Useful Essentials
Brush. In the morning, I brushed away condensation inside the tent, cleaned skins, swept snow off gear bags, etc. An incredibly useful item considering its minimal weight.
Cold-protection cream. We used "Polyarnaya" ointment once before heading out and occasionally in the evening; it shields the face and lips from wind and frost. A chronic runny nose chafed my nose raw, which hurt severely—even healing balm didn't help. Next time, I need to apply a rich, lipid cream before bed.
Large pockets on trekking layers. The cream cannot be squeezed out until it is warmed up, and batteries quickly fail or drain in the cold, so large chest pockets were a massive help—I packed them full.
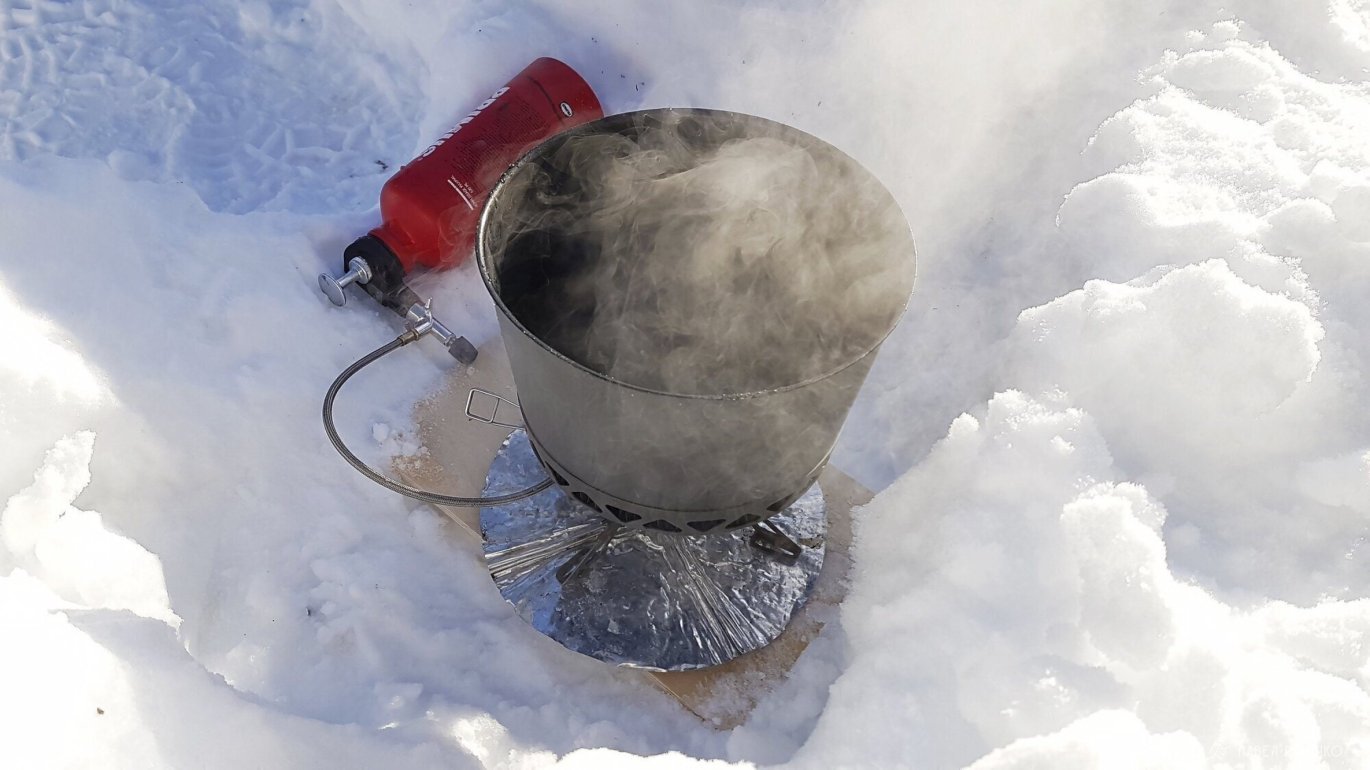
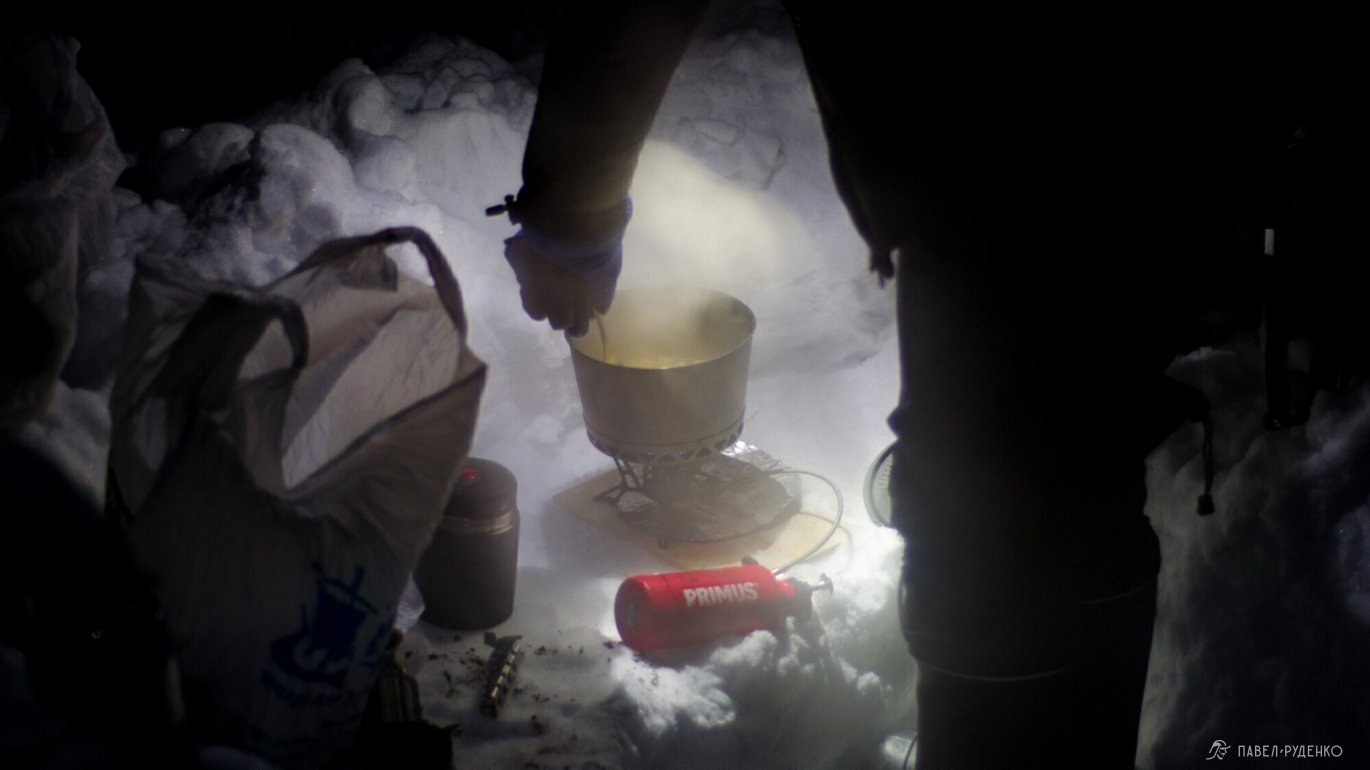
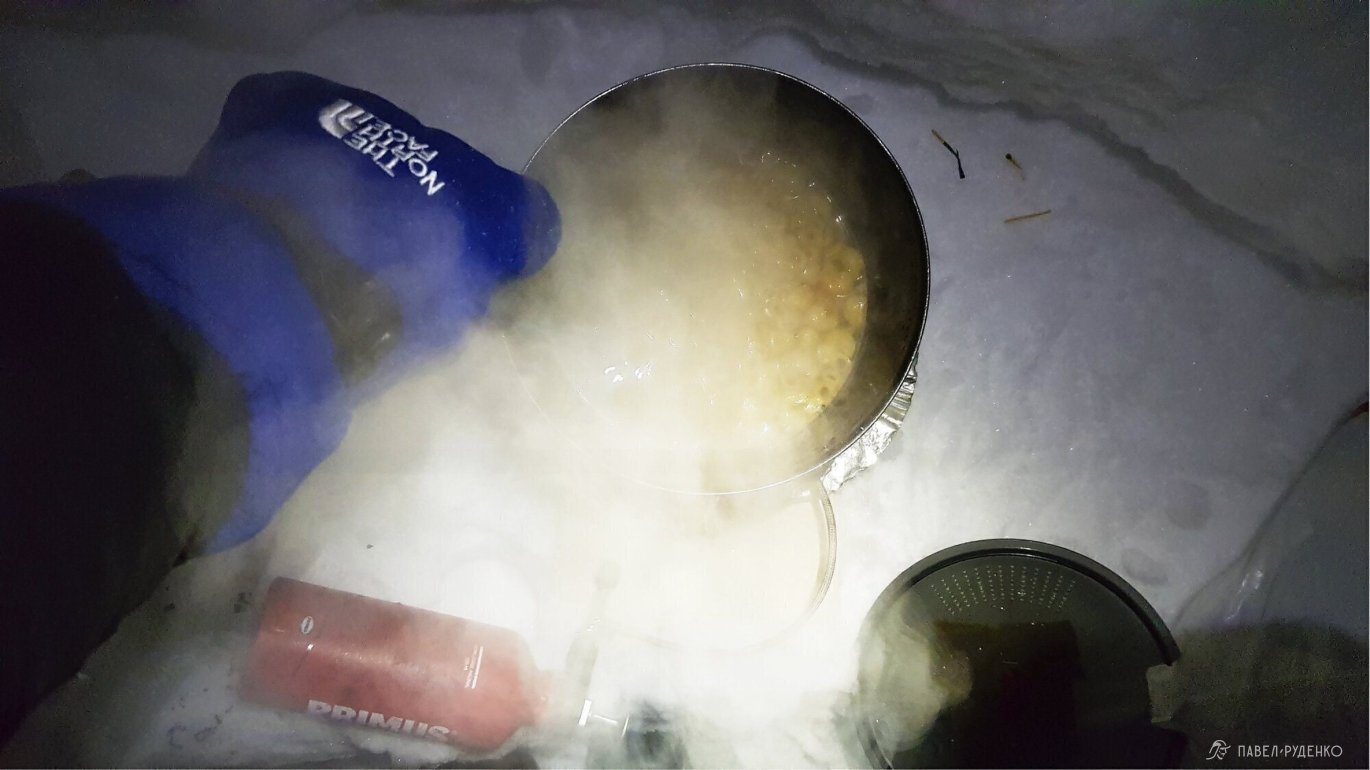
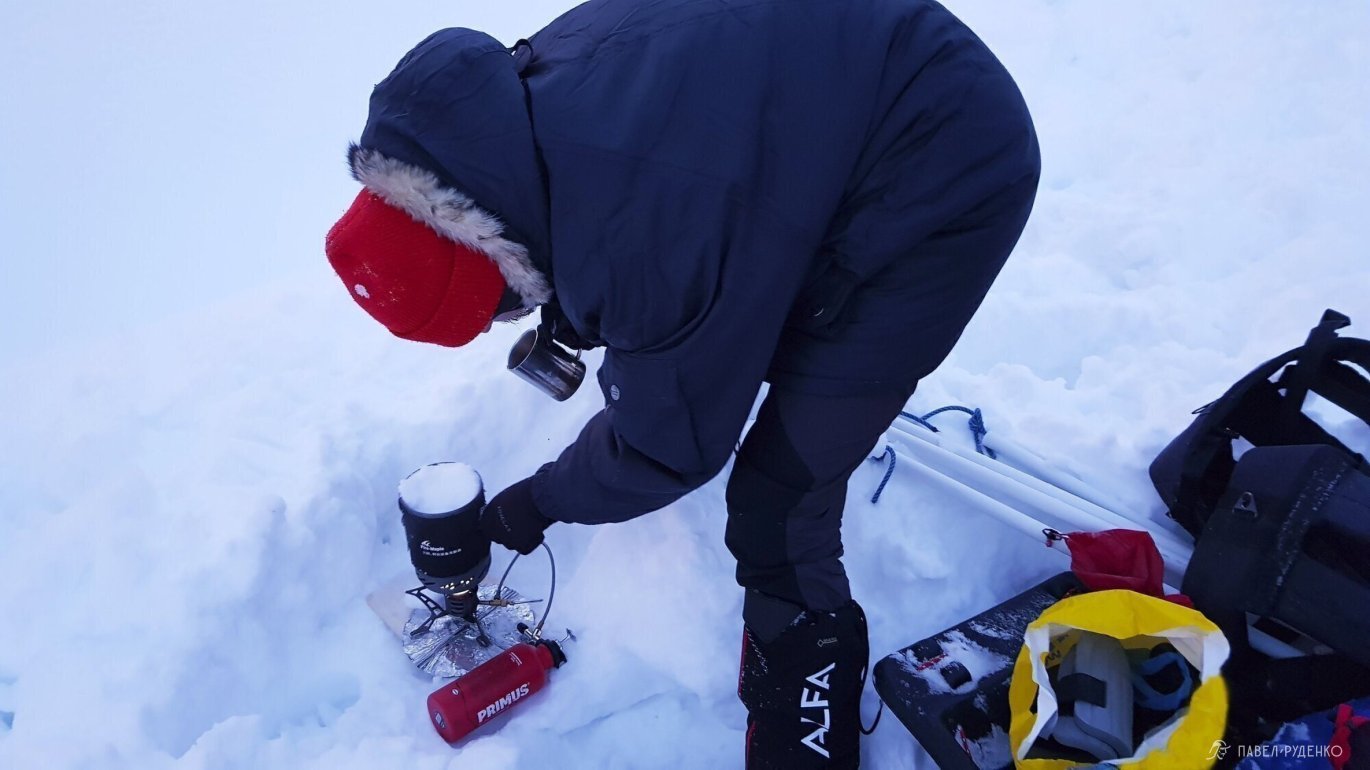
Two stoves. I tested a petrol stove and a gas stove with Primus winter gas. Both worked flawlessly, and Primus Winter Gas performed remarkably well at −20 °C. Having two stoves enhances safety in case of failure and speeds up cooking.
Plastic boxes. Pulkas allow you to pack and organize gear in a completely different way. I used plastic boxes from Fix Price to keep electronics and food intact. The boxes are lightweight, cheap, and I lined the bottoms with closed-cell foam pieces for shock absorption.
Cutting board or foam sit pad. Placed under the petrol stove, it provides stability on snow and keeps gas canisters from freezing as rapidly.
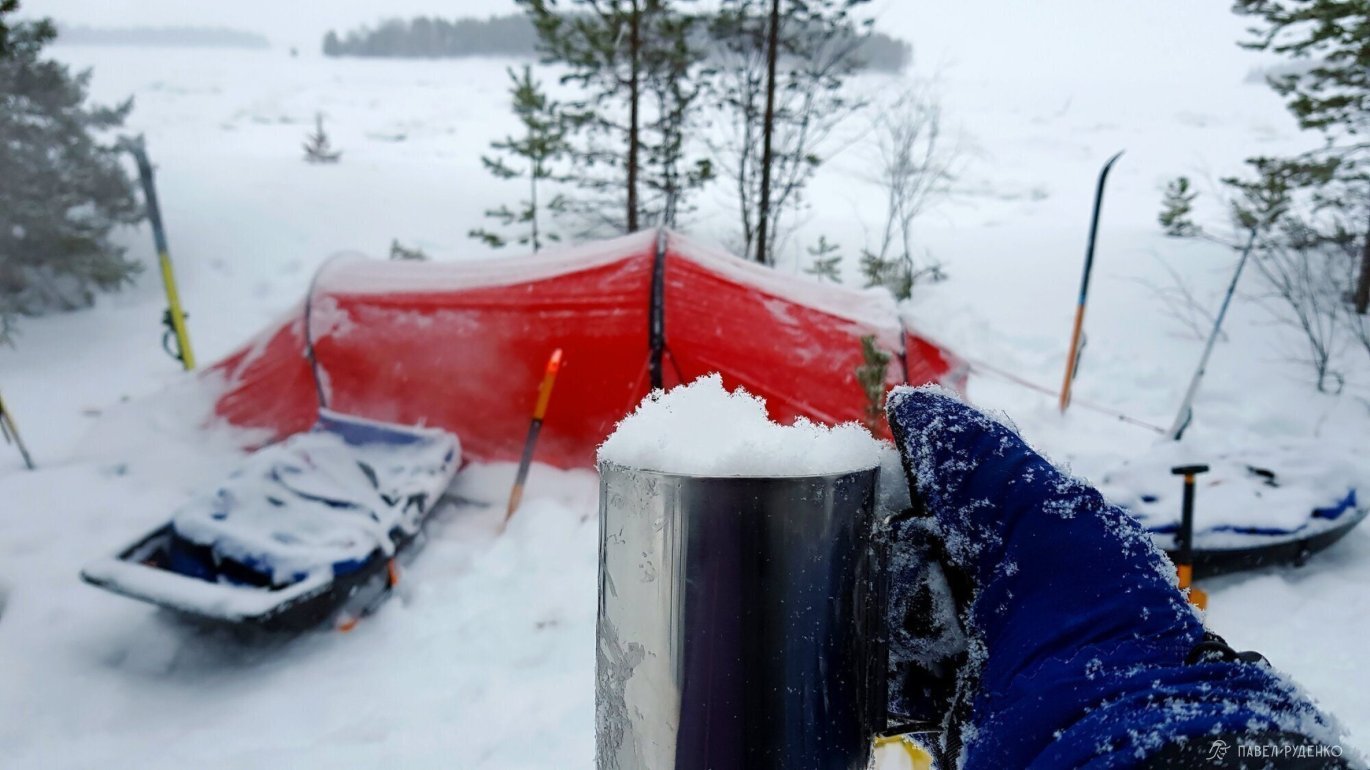
Thermos and foam sleeve. Alyona wrapped the thermos in closed-cell foam to insulate it from the cold. It can now be set down on snow without increased heat loss, safely protected from impacts and scratches.
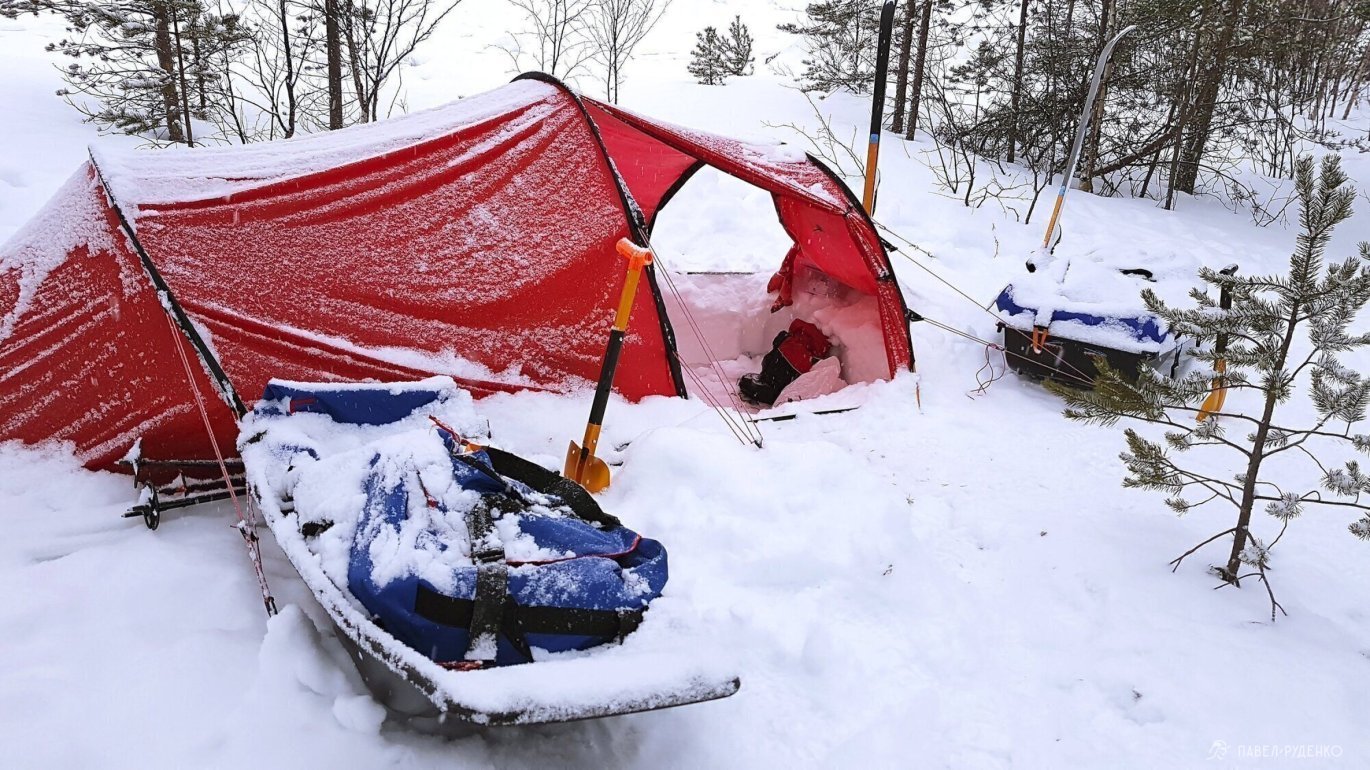
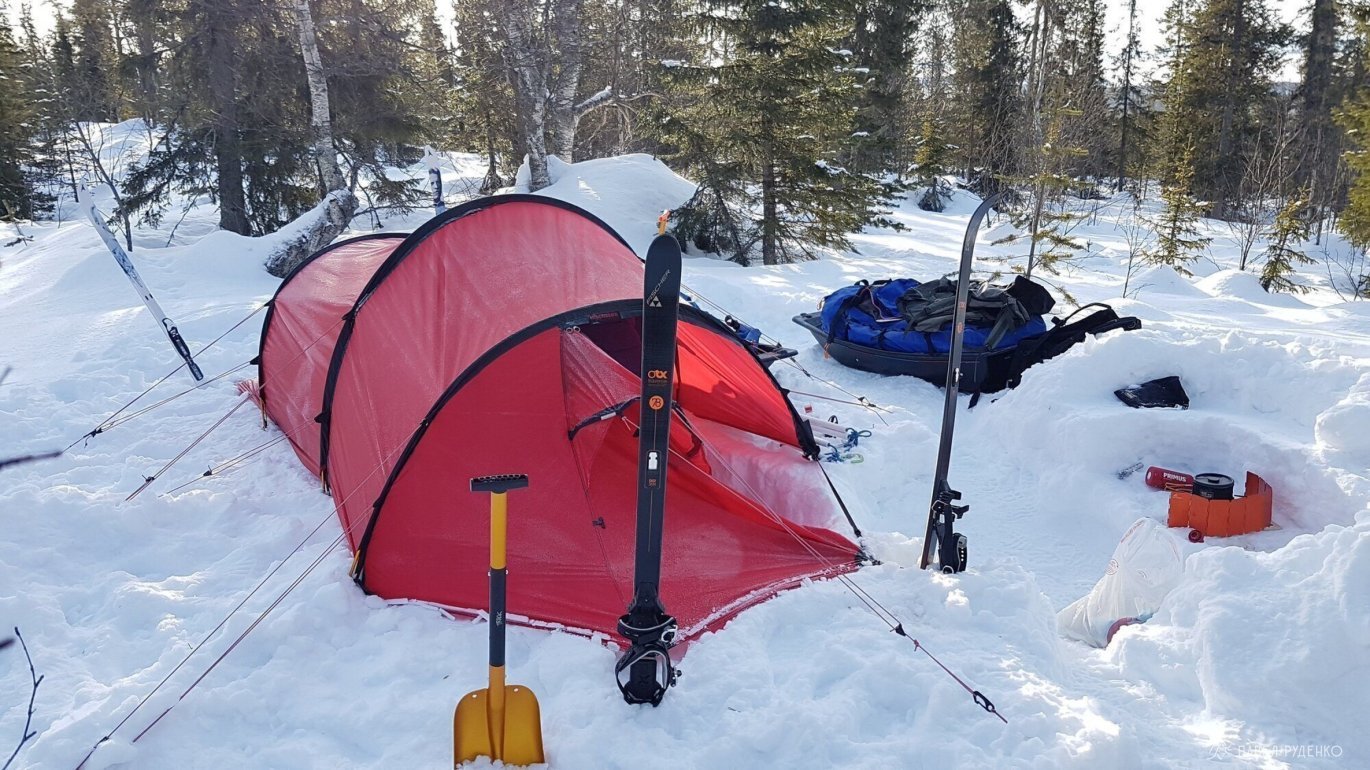
Two shovels. Significantly speeds up camp setup.
When using the thermos cup-lid, always wipe off any moisture; otherwise, droplets freeze, making it take considerable effort to open next time.
What Wasn't Needed
Axe. On the first day, I felled a dead tree and lit a campfire; it was atmospheric and great, but required too much effort. We weren't planning to cook over it, a small fire provides little warmth, and a larger one requires digging a snow pit and more firewood. I'll take an axe on trips with multiple rest days, shorter trekking distances, or routes along numerous rivers and lakes to chop ice, or with groups of 4 or more people.
Soup thermos for lunch. It came in handy, but its usefulness is questionable. We used "Gala-Gala" freeze-dried soups. In the morning, along with breakfast, we boiled an extra 0.6 L for the food thermos. The soups turned out very watery and unfilling. Tea, sandwiches with sausage/lard and cheese were enough for a quick bite. Next time, I'll try going without soup; this will save thermos weight and the effort needed for boiling water.
Weather, Temperature
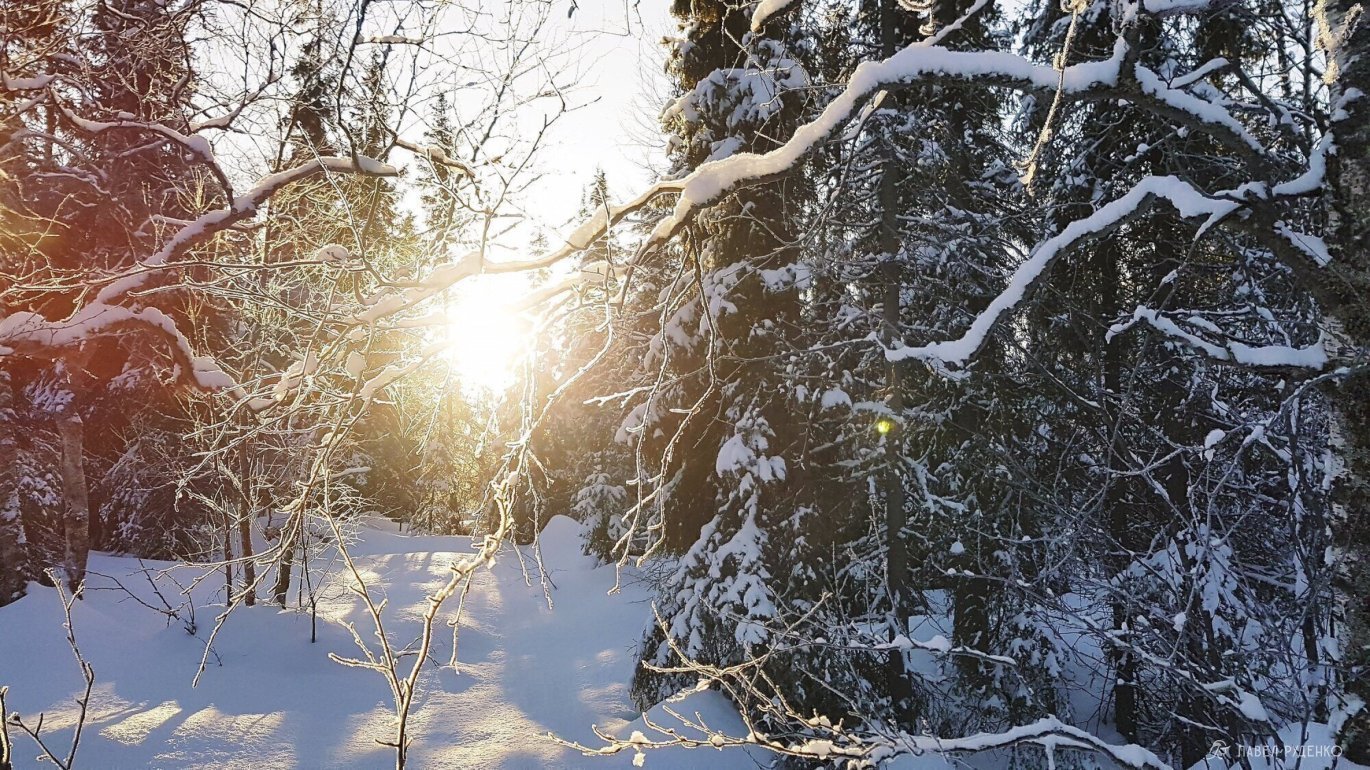
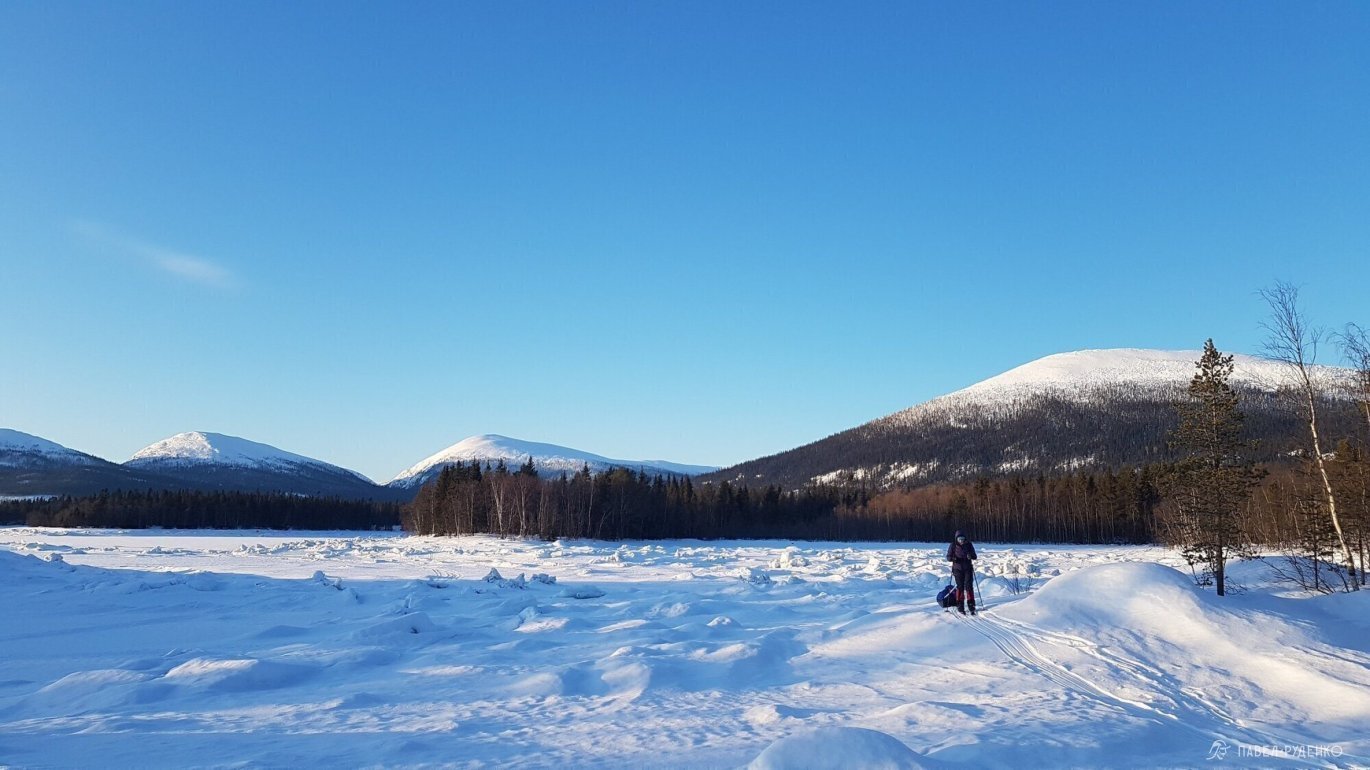
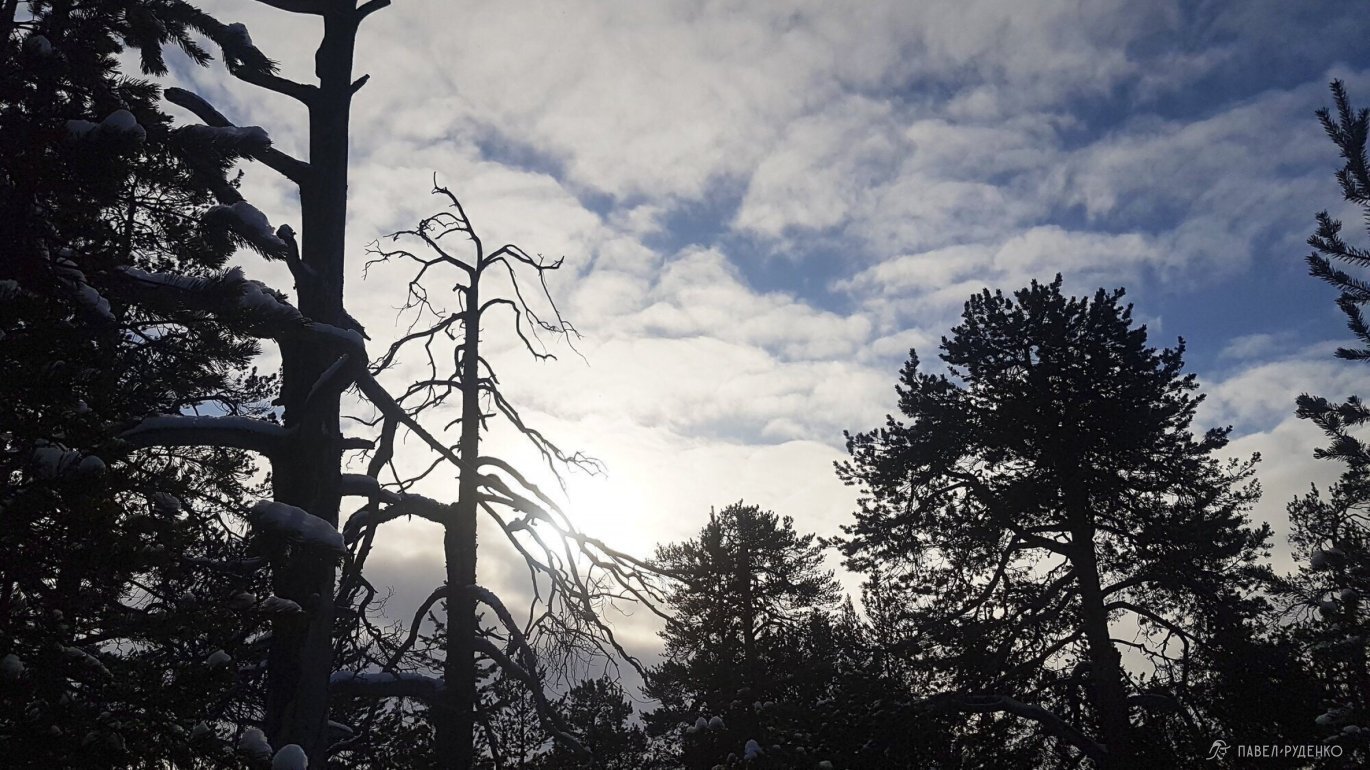
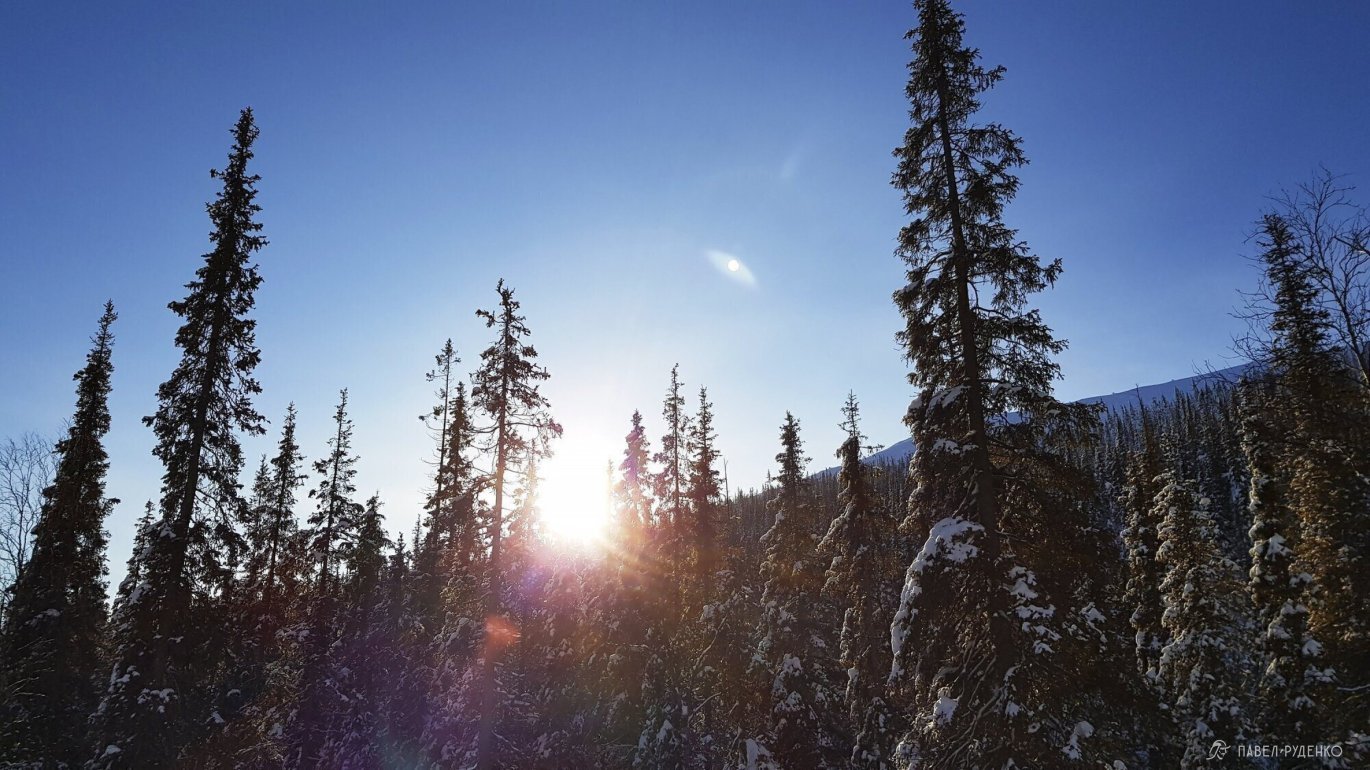
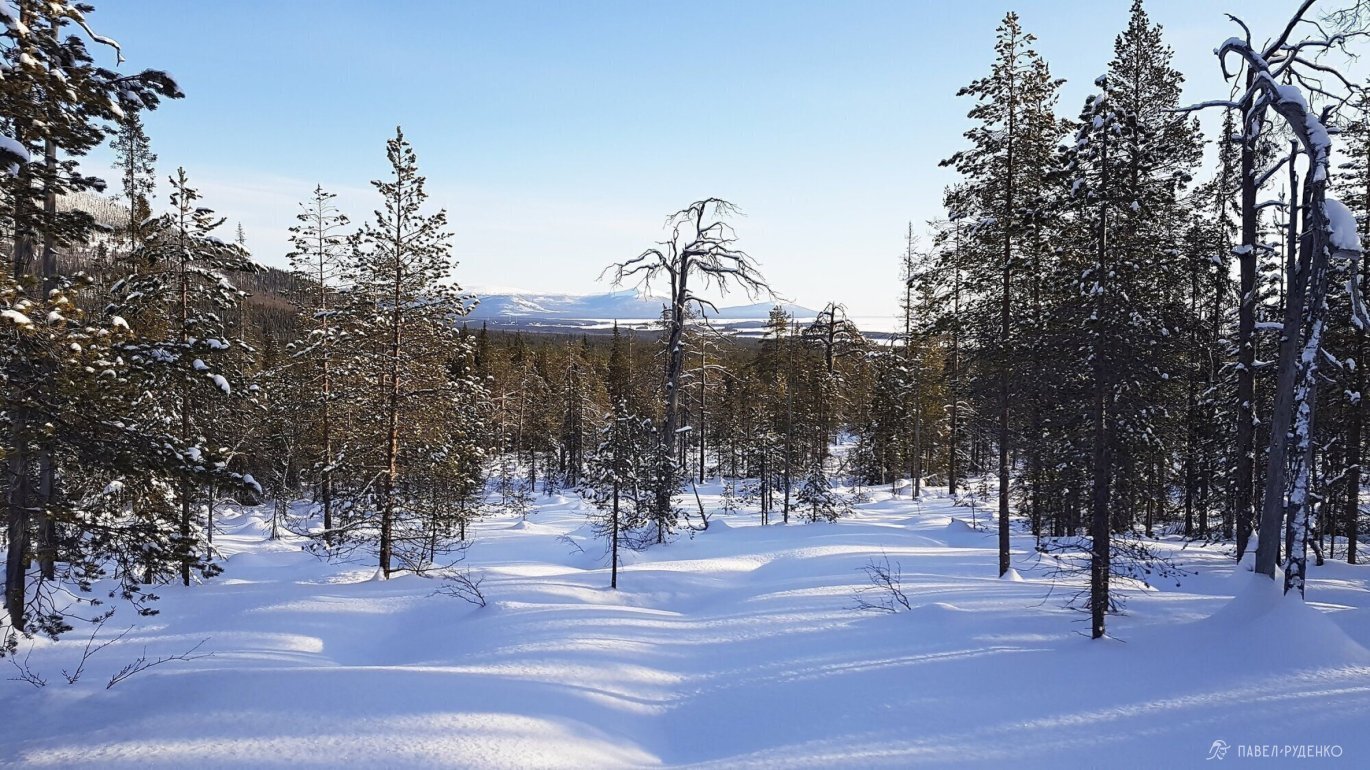
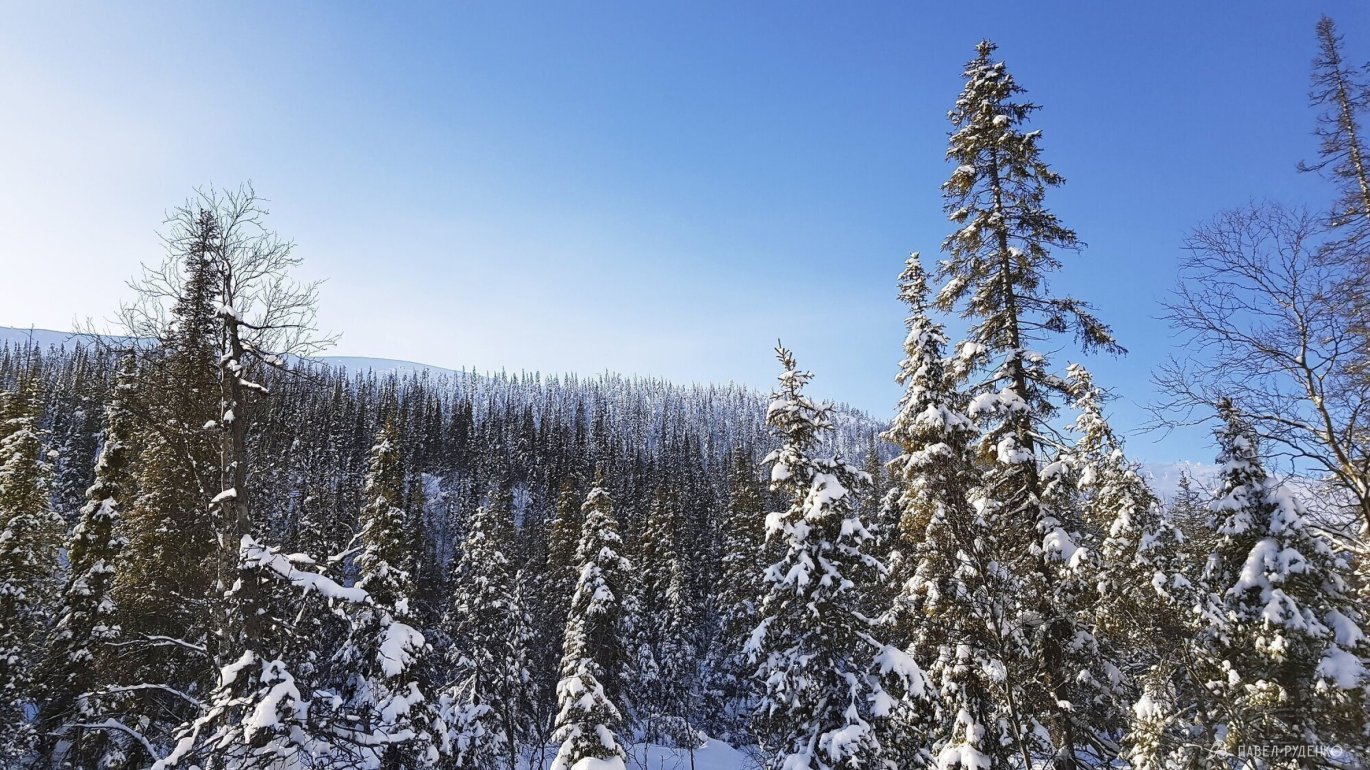
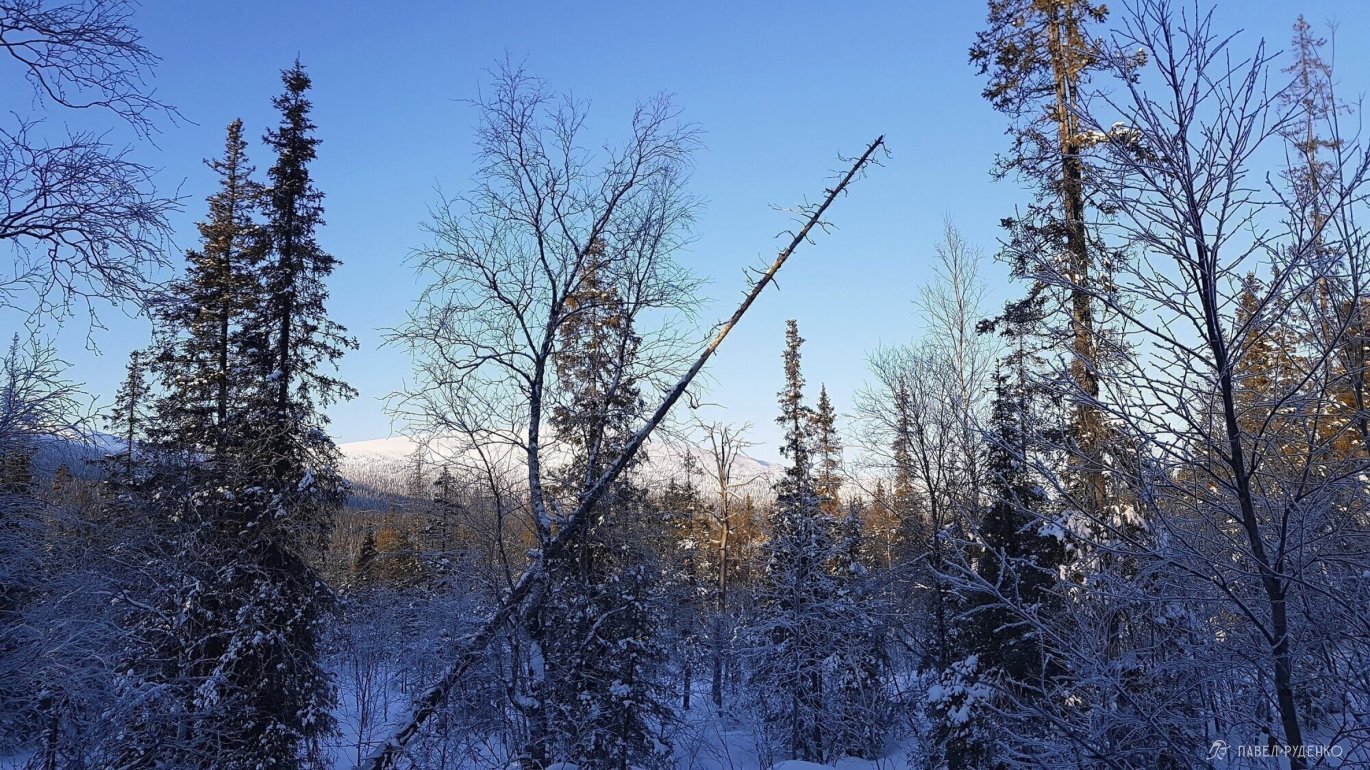
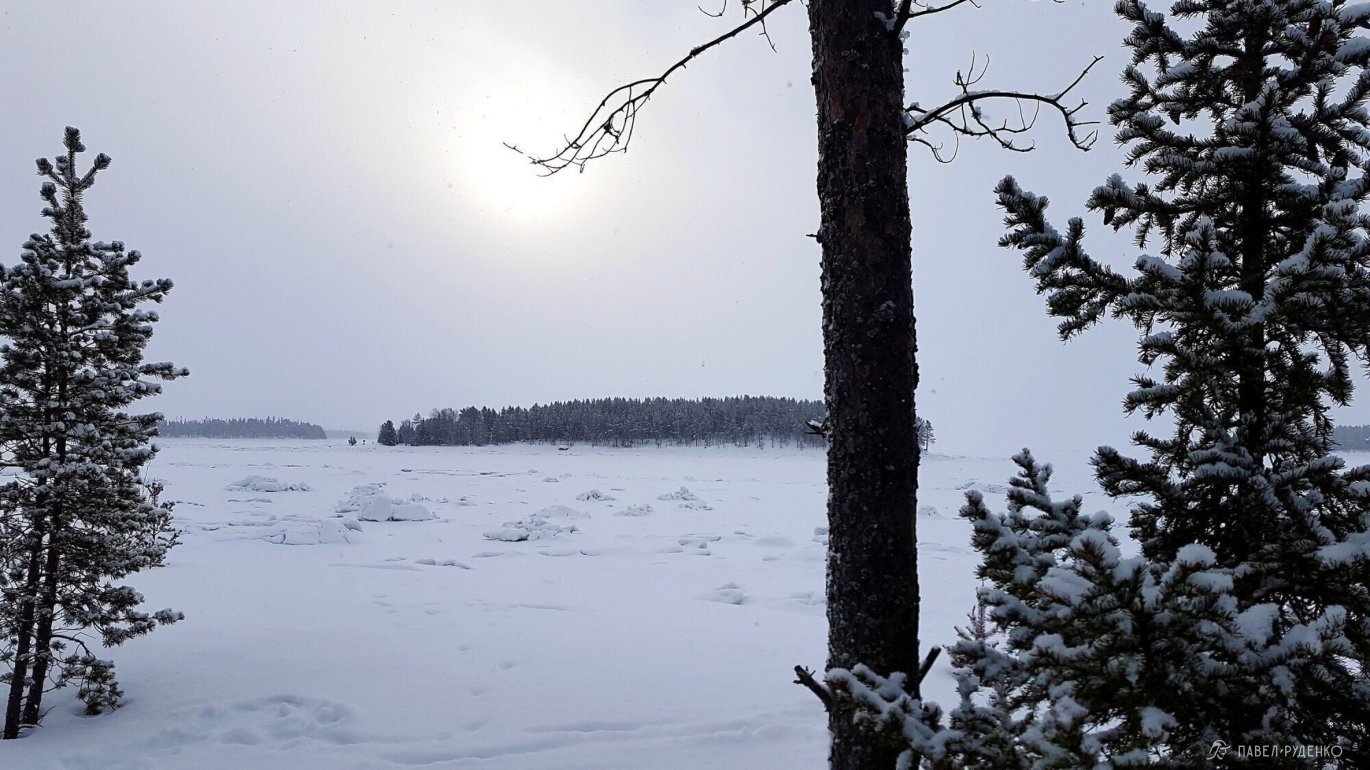
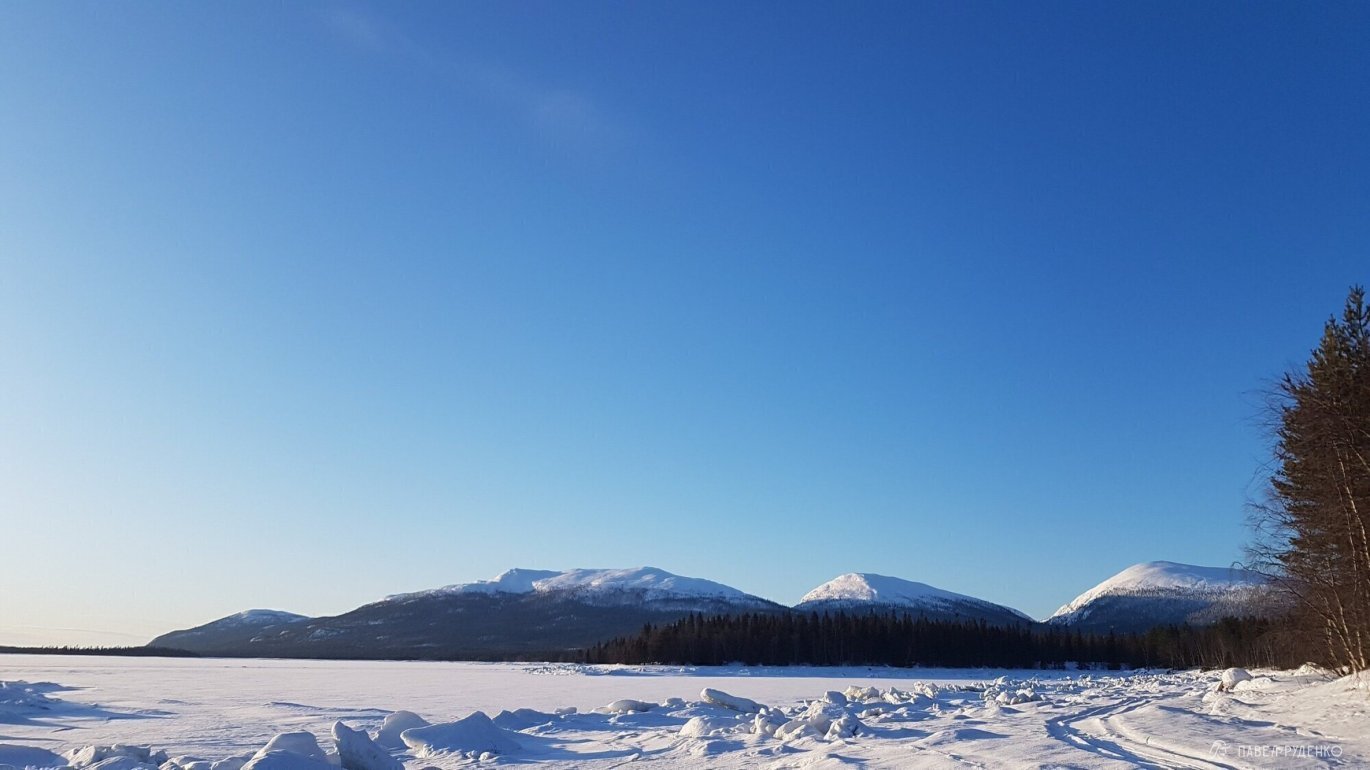
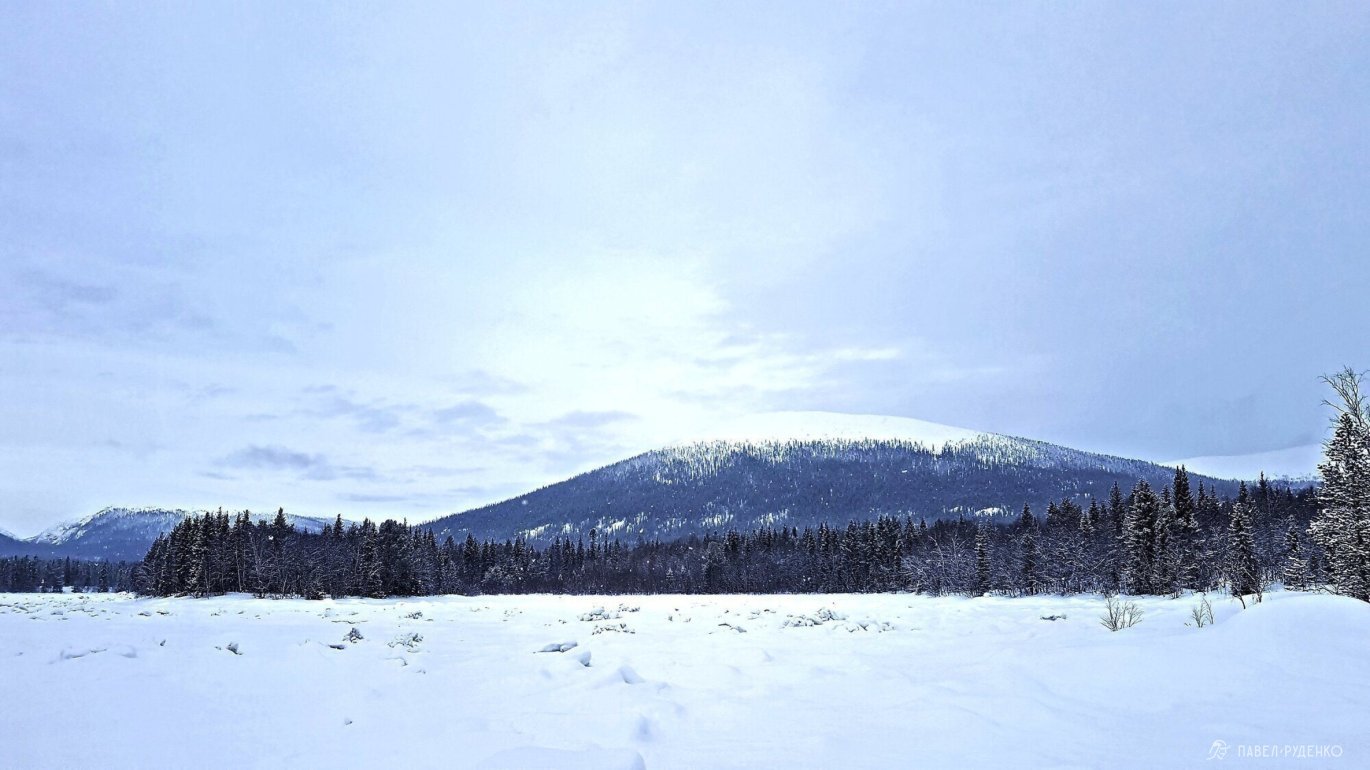
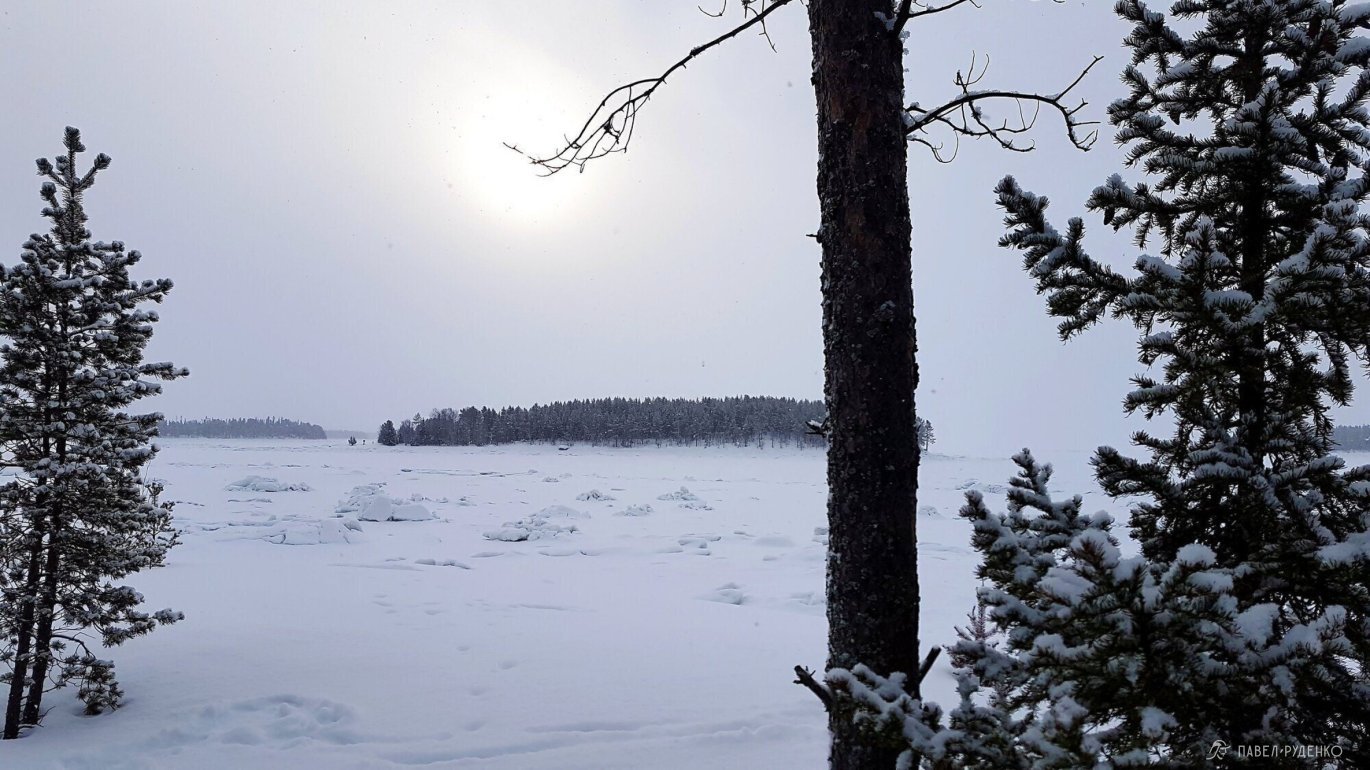
During our expedition in 2020, from February 27 to March 4, daytime temperatures ranged from −7 to −15 °C, and nighttime temperatures from −23 to −35 °C. Wind was light at 1–4 m/s. That winter was the warmest in 50 years, so before and after the trek, temperatures were above freezing during the day, which greatly affected the snow and ice conditions. A huge amount of snow had fallen—locals said it had been years since they saw that much—but due to above-freezing temperatures, it settled and formed a hard crust. On skis, we usually sank 10–20 cm; without skis, waist-deep. Snow depth averaged 1.5–2 m. Dawn broke around 8:00 AM, but the sun rose very slowly, and its rays only warmed things up by 11:00 AM. Sunset was around 7:00 PM, followed by 40 minutes of a beautiful twilight before total darkness fell. At sunset, the temperature drops drastically, so it's crucial to layer up in advance. During the trek, it snowed on only 1 day; the rest of the time was clear and sunny.
The best time for a ski trek on the Kola Peninsula is from mid-February to late March. January and early February typically bring severe frosts and very short daylight hours, while April brings daytime temperatures above freezing, making movement difficult and increasing avalanche hazards.
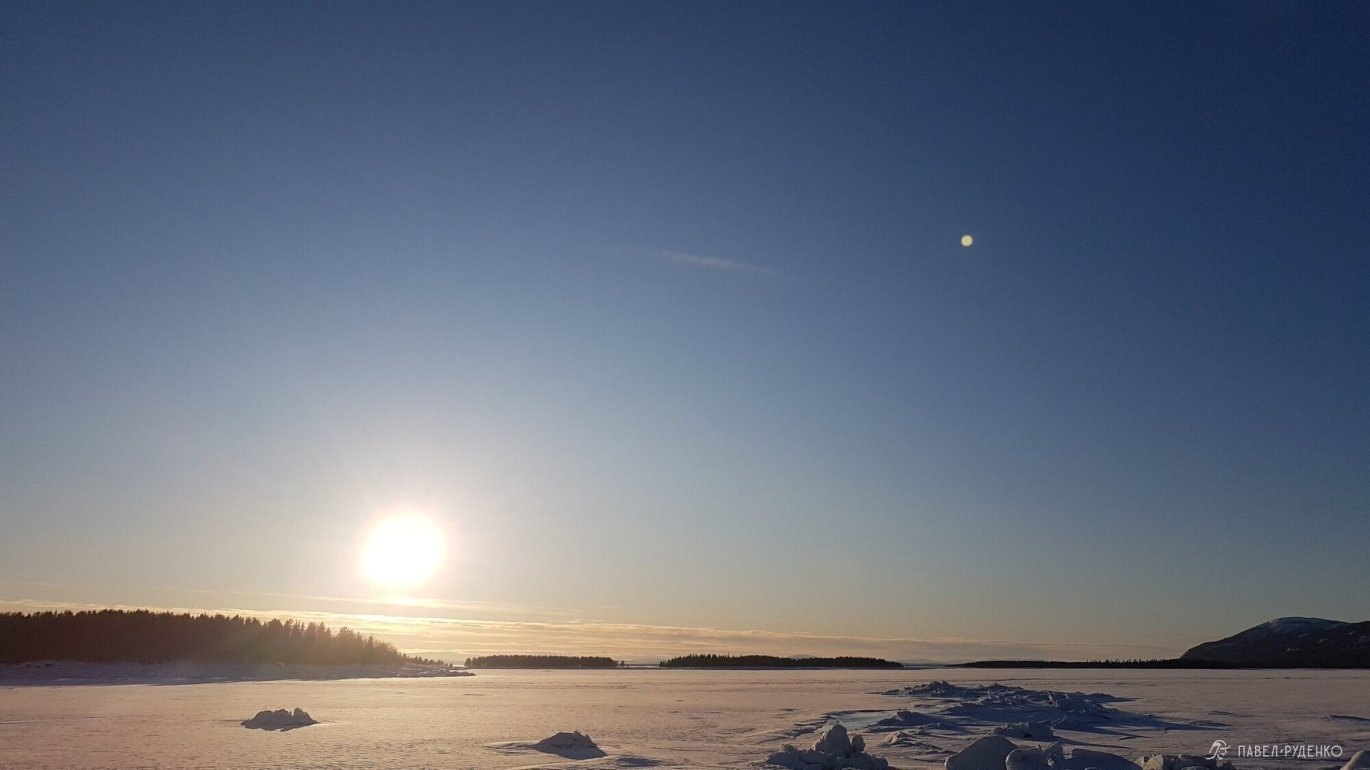
We aimed to reach the islands in the White Sea bay, but the ice was unstable due to temperature swings. Visually, everything looked fine—no open water holes or dark snow—yet near the island, currents strengthen and erode the ice from below. I called EMERCOM to check the ice conditions, but they lacked up-to-date data. I dialed 101, and they promptly forwarded my number to the head of the Kandalaksha rescue team, who explained the situation in detail. We decided to camp on the shore. The sea has its own microclimate; that was our coldest night, even though the forecast showed no difference from the previous one.
Connectivity
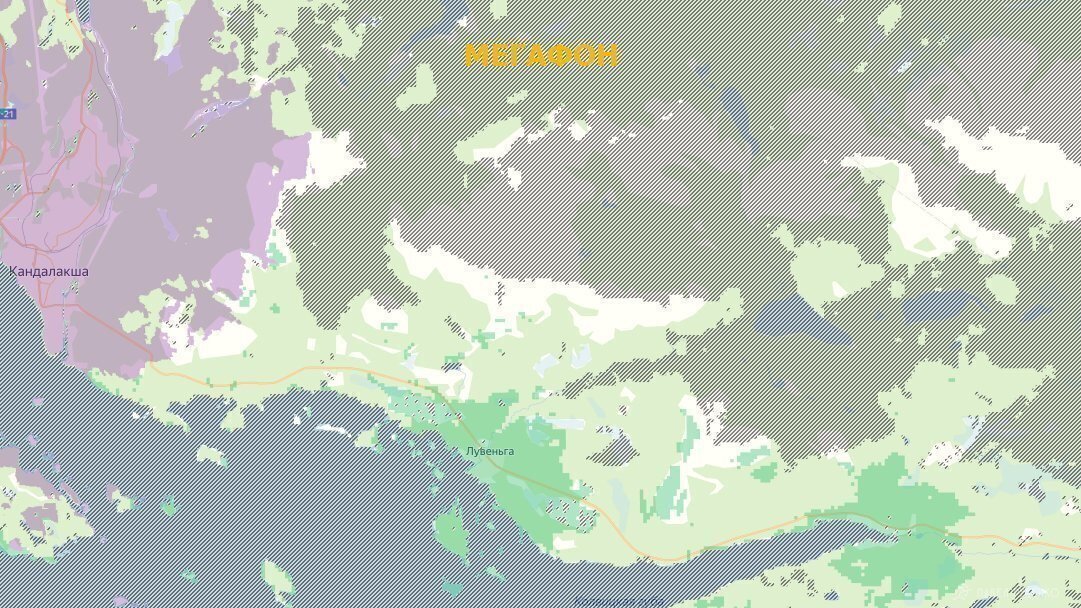
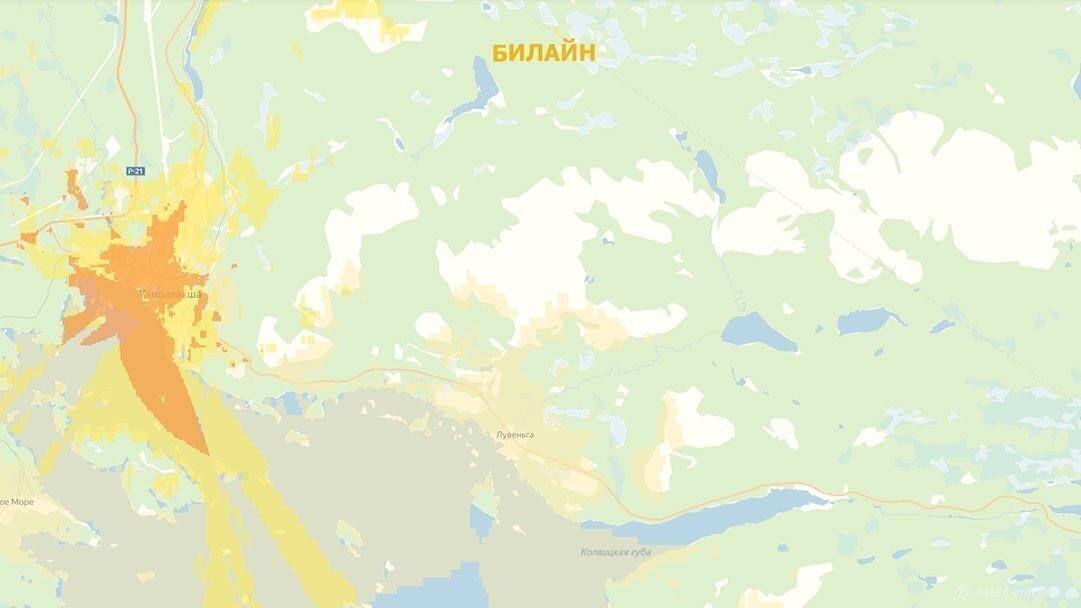
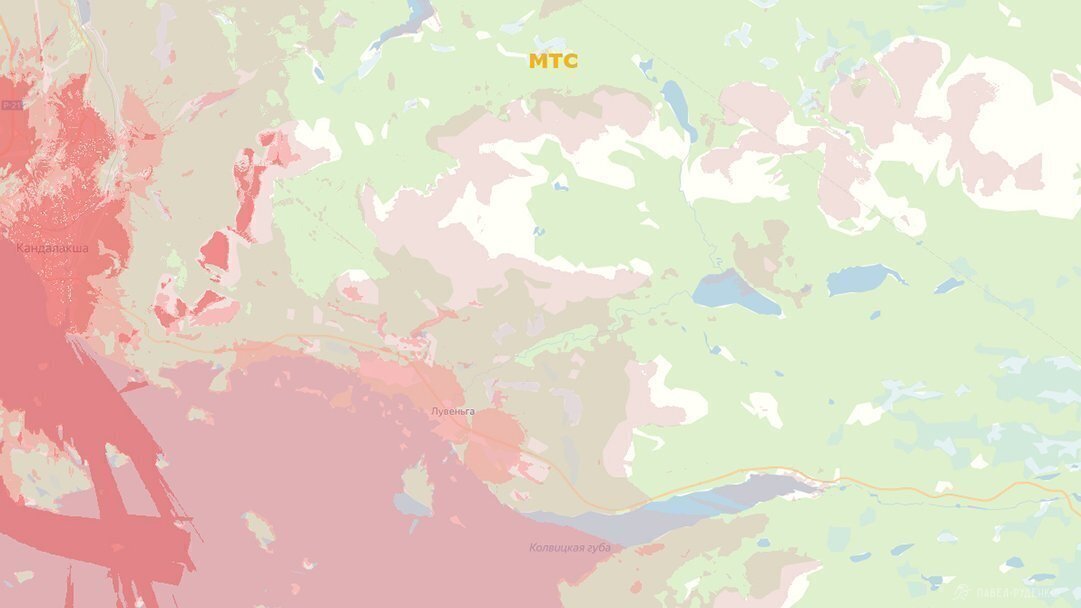
MegaFon provides the best coverage across the Kola Peninsula. As a Beeline user, I always bring a backup MegaFon SIM card. Below is the coverage map of the Big Three mobile operators.
Clothing
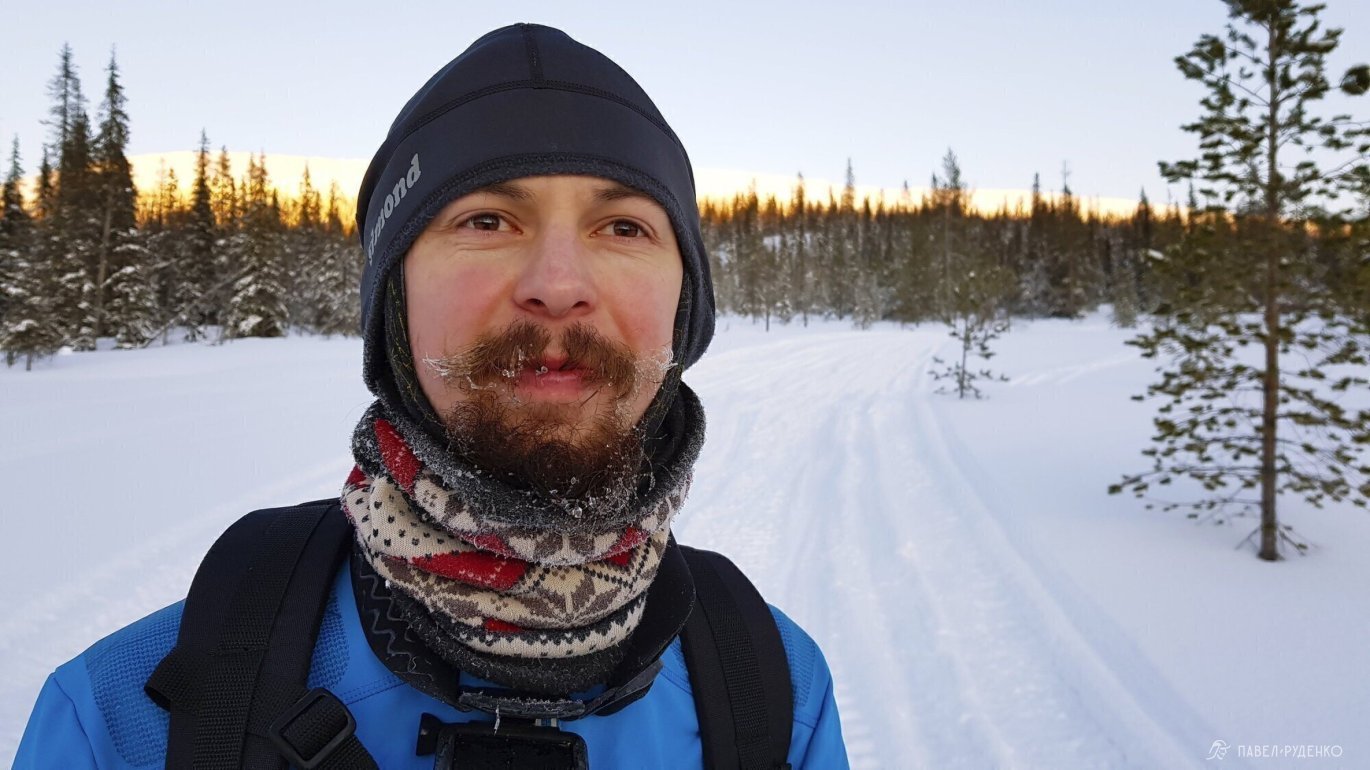
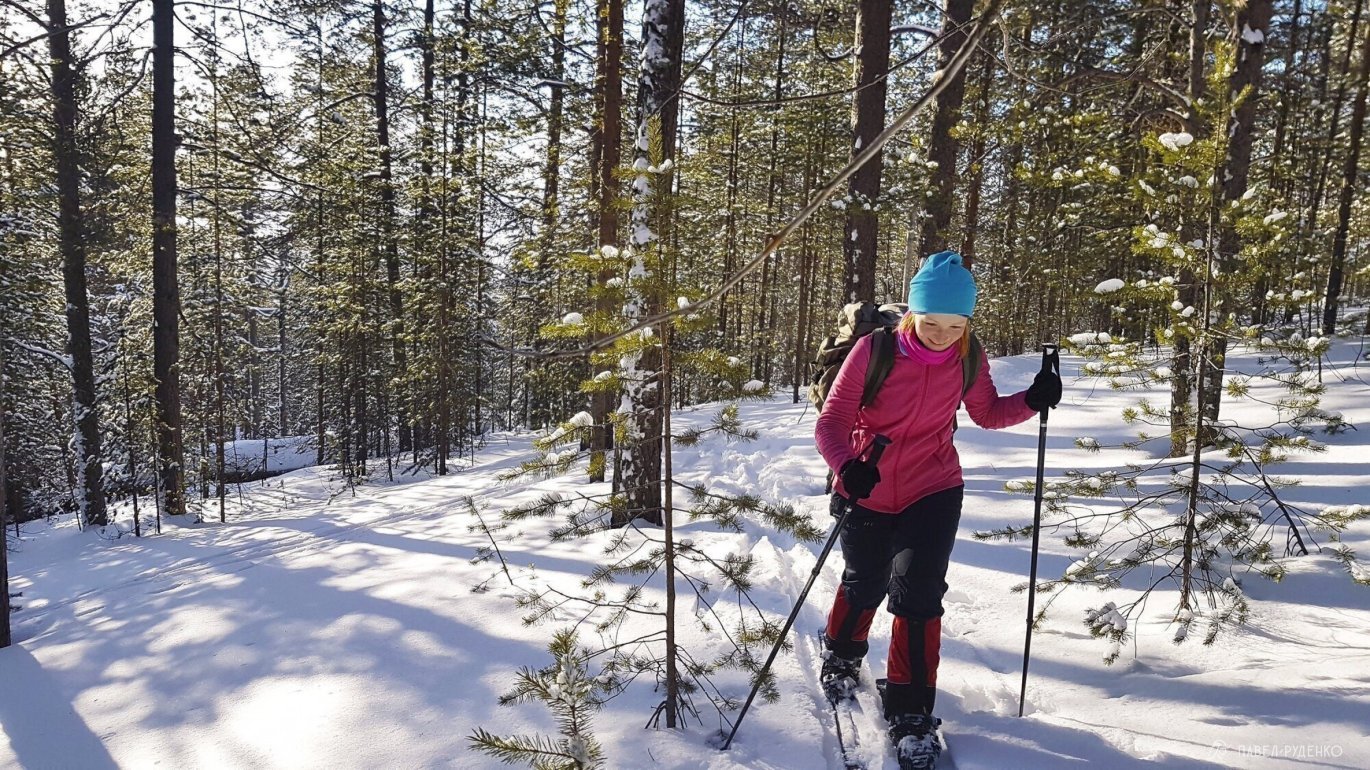
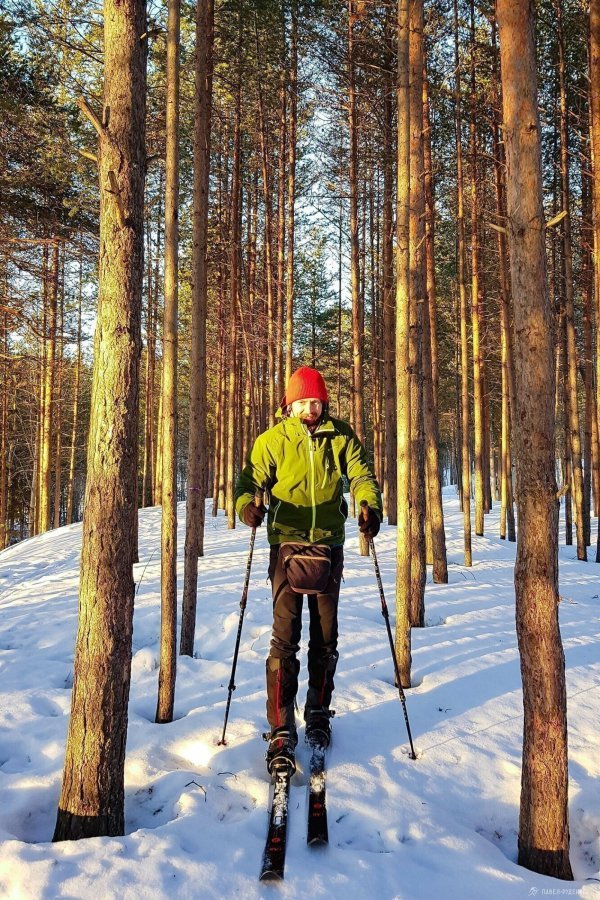
During daytime trekking, I always wore moisture-wicking thermal underwear, 1 pair of socks, softshell pants, a fleece jacket, and a windstopper. A windstopper beanie on my head, supplemented with a windstopper balaclava and buffs depending on temperature and wind. On my hands: ultra-thin liner gloves, windstopper gloves over them, and warm outer gloves if necessary.
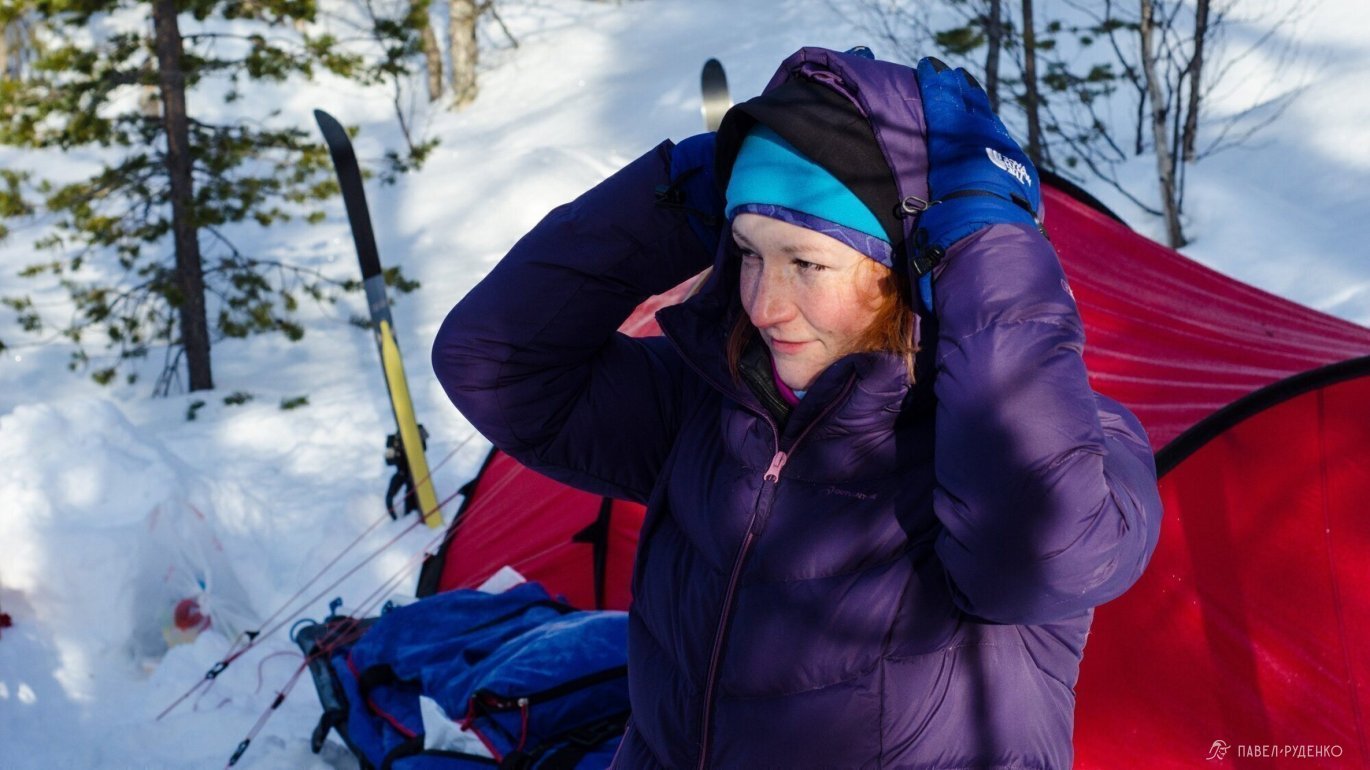
During breaks and snack stops, I threw on a down jacket. During stops, your body starts cooling down after 10 minutes; blood retreats from the extremities to the core, and within 5 minutes, hands start freezing. That's why putting on a down jacket at every stop is essential.
When handling camp tasks, you often have to take off outer gloves and stay in thin liners; 1 minute is enough for hands to freeze and lose finger dexterity. Rewarming hands comes with intense pain.
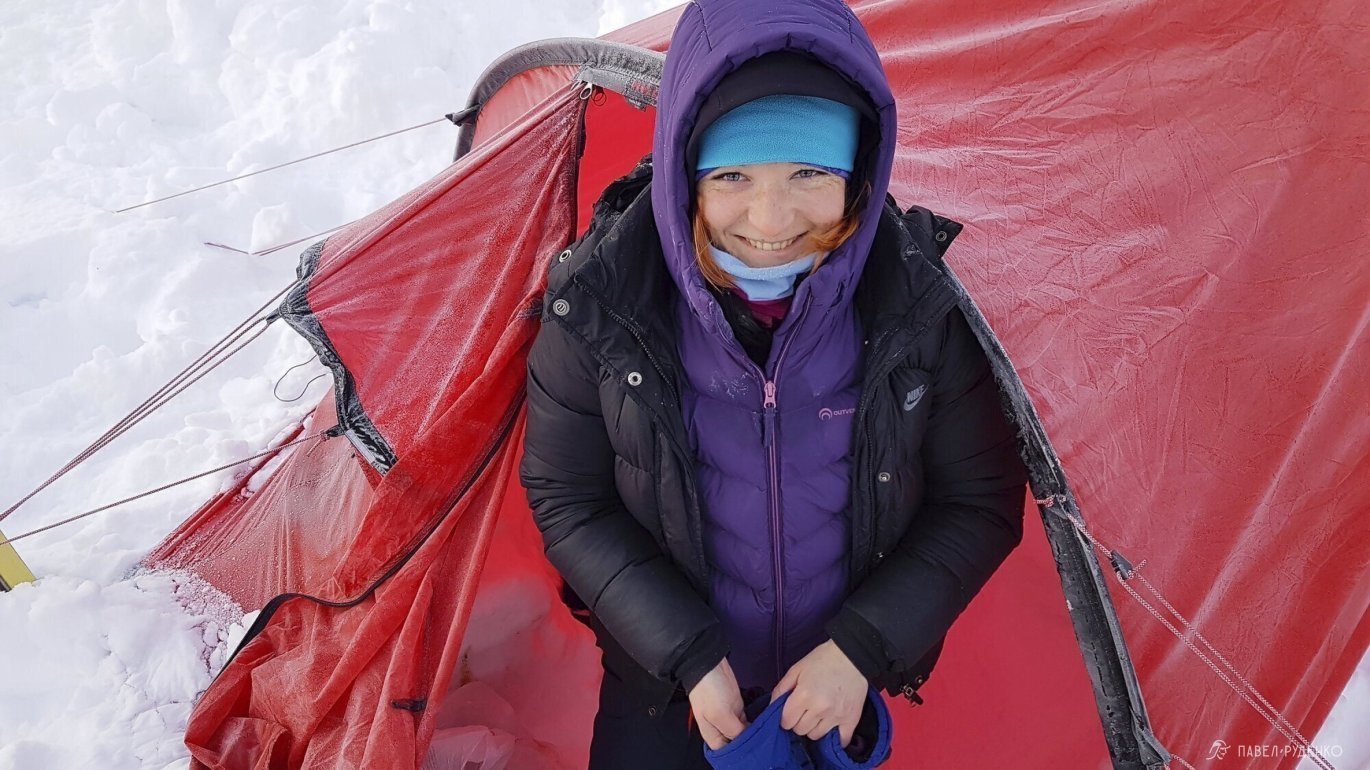
At camp in the evenings and mornings, I wore 2 fleeces, a windstopper, a down jacket, and an expedition parka. An extra warm hat on my head. I had warm mitts as a backup for hands, but didn't use them often, as they restrict fine motor skills.
In the evening after a day on the trail, I remained in my Alfa ski boots, and in the morning slipped into insulated winter boots with warm liners kept in my sleeping bag. I realized this system wasn't optimal for me; for the next expedition, I'll take Bask insulated overboots. Heavy winter boots make sense around 0 °C with frequent open streams on the route. Overboots are much more compact and convenient because you don't need to switch footwear to stay warm, and my feet stayed dry and comfortable in my ski boots throughout the entire trek.
On the coldest evening, I caught myself dreaming of down pants and the warmest expedition down jacket known to man.
Skis, bindings, boots.
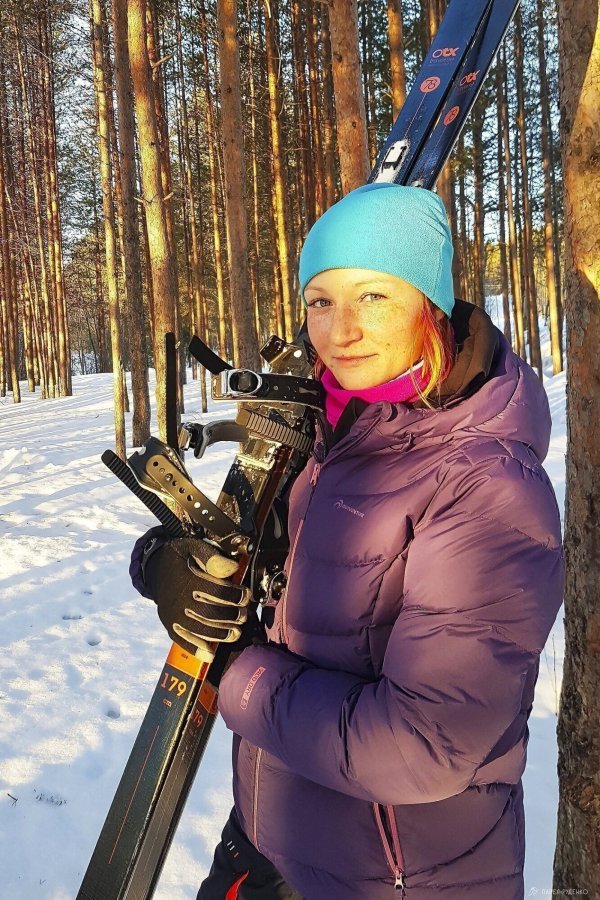
When selecting backcountry skis, I knew I would cover long distances, either in small groups or solo. Mainly across the Kola Peninsula, with future plans for the Subpolar Urals, Chukotka, Kamchatka, and Svalbard. That demanded dependable touring skis, so basic wooden hunting skis like MAYAK were ruled out immediately.
Here is a brief summary of what I learned while choosing skis, bindings, and boots.
Backcountry ski geometry can roughly be split into 3 categories—taking the popular Fischer lineup as an example. Choosing geometry, width, and length heavily depends on your weight/height, expedition style, whether you carry a light pack, a heavy backpack, or haul pulkas on a rigid tow bar, as well as terrain, skiing experience, etc.
Wide: SBOUND 98, 112.
More pronounced sidecut, pattern base (fish scales), and quick-attach skins. Great for taiga zones, Siberia, and areas with deep, powdery snow. Less effective on sidehill traverses and hard crust. Best sized to your height.
All-round: Traverse 78 and Excursion 88.
Moderate sidecut, pattern base, and quick-attach skins. Like all versatile gear, they handle most conditions well without excelling at any specific extreme. Wide enough to break trail, while the sidecut adds maneuverability—crucial on descents and demanding sections. Sized to your height or +10 cm.
Classic: E99/109 Xtralite Easy Skin.
The narrowest profile. Minimal to moderate sidecut, typically waxable/smooth bases with quick-attach skins. Excellent for flat terrain, tundra, and Arctic landscapes, allowing higher cruising speeds. Sized +10 to +20 cm above your height.
My lecture on how to dress for a ski expedition, which backpack works best for winter treks, how to rig pulkas, and how to choose touring skis with climbing skins.
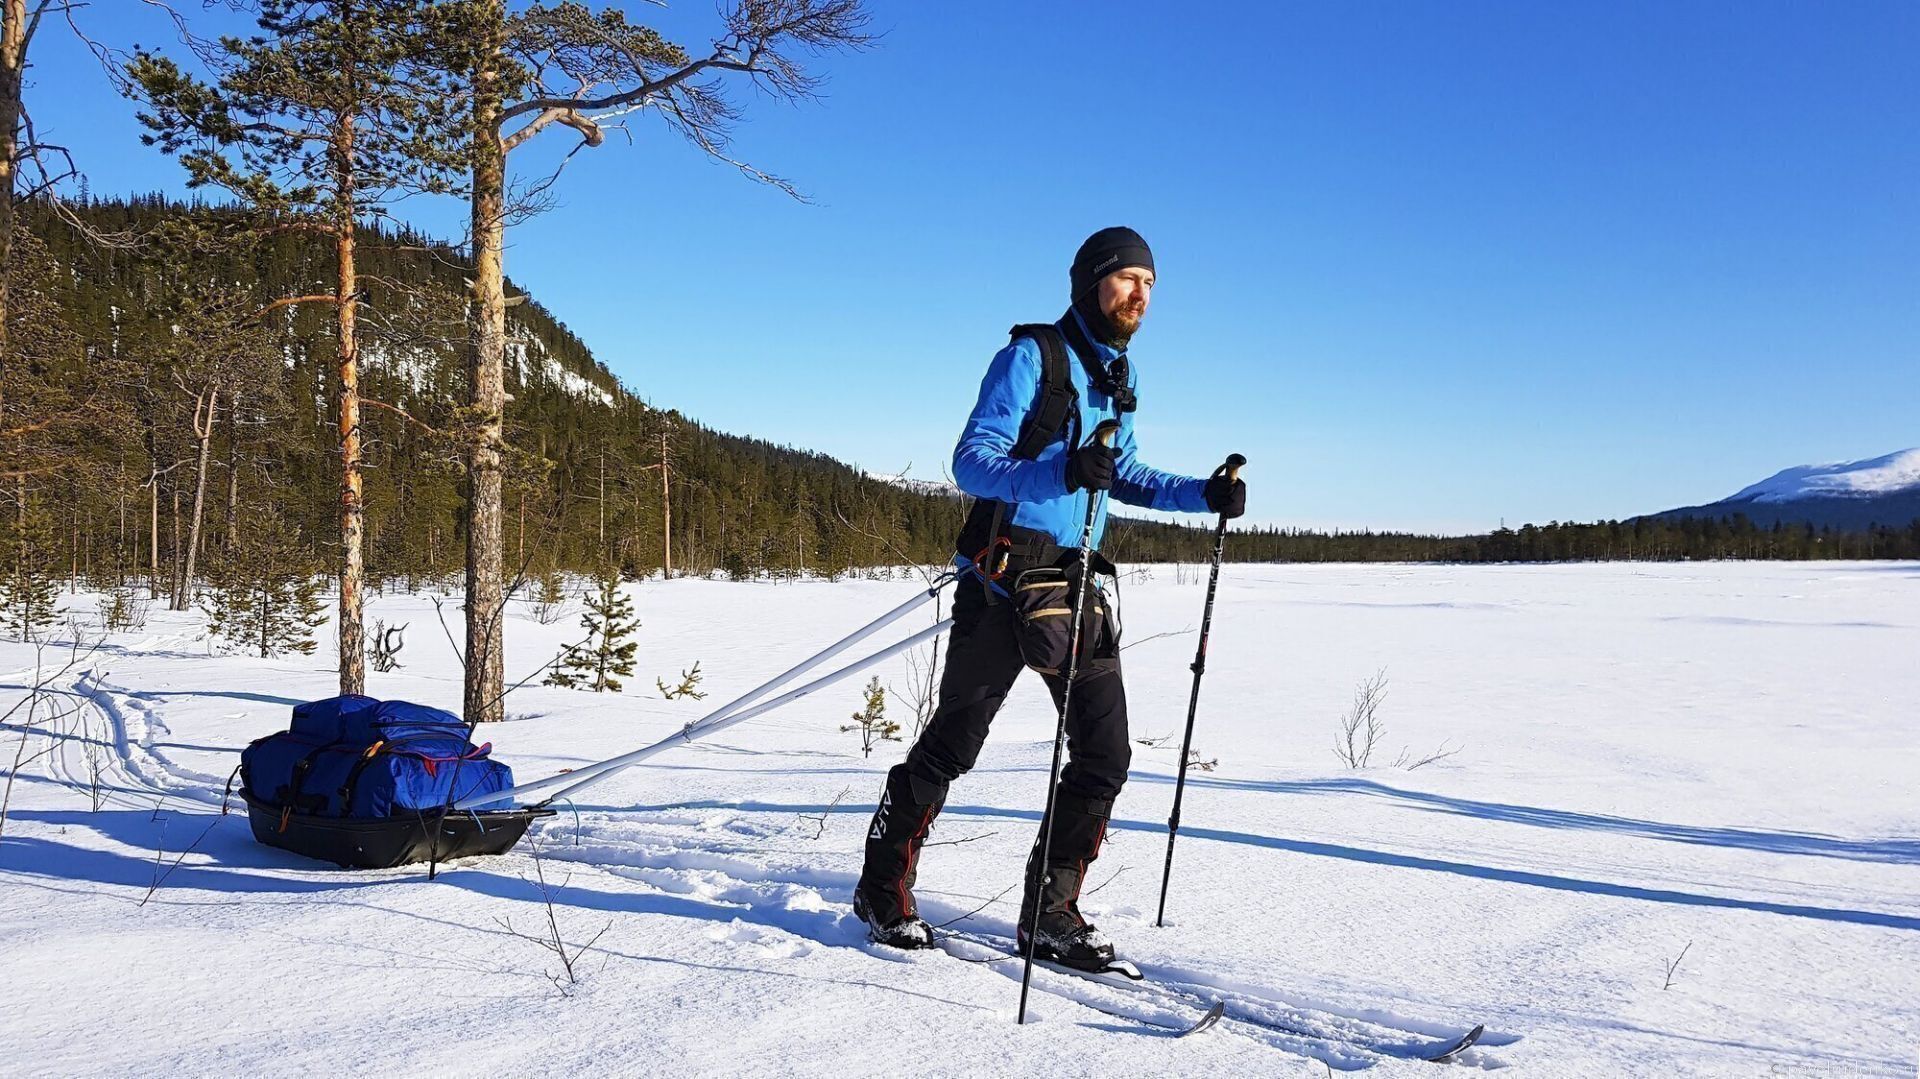
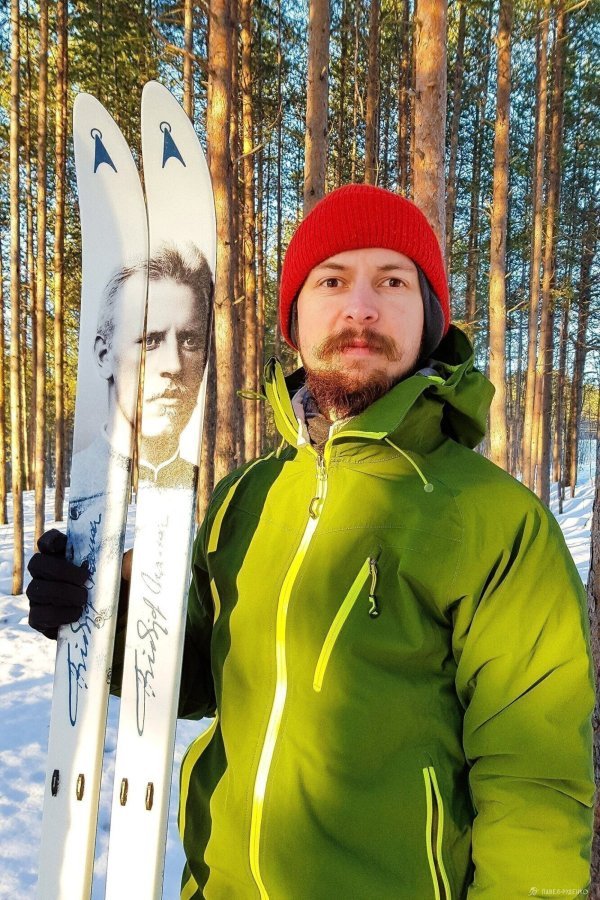
I opted for an alternative to the Travers 78 from the Norwegian brand Asnes—the Nansen 76 model with NNN BC Rottefella BCX Magnum bindings and Alfa BC Outback APS GTX boots.
Field test impressions.
The skis performed brilliantly and tracked true without fishtailing on flat sections. There was no deep powder, but I expect they will handle it just as well. The top sheet is scratch-resistant. The skins are very easy to use; in fact, I kept them on for virtually the entire trek.
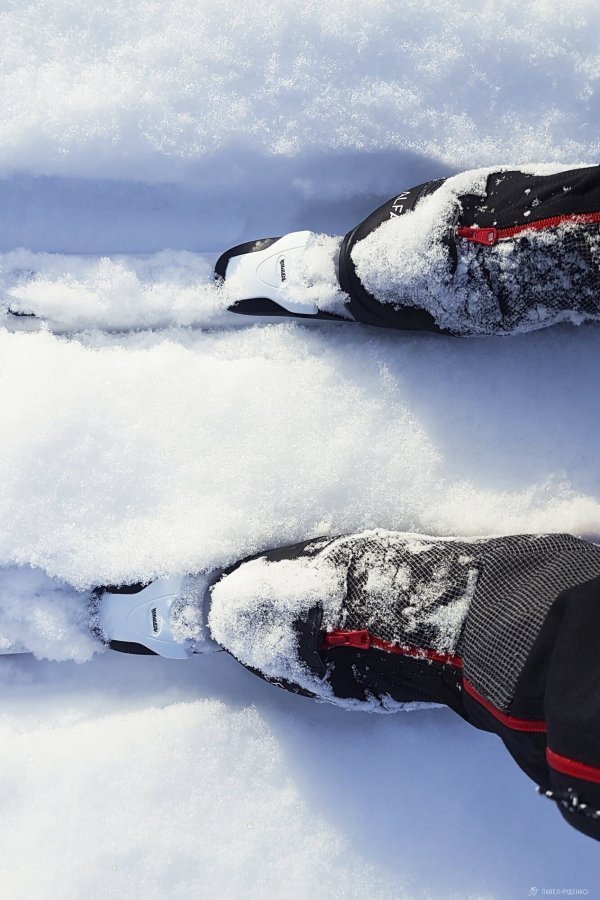
Bindings. The NNN BC Rottefella BCX Magnum provide exceptional ski control and are easy to step into and release, which is particularly valuable when wearing a pack. For some reason, the rubber bumpers popped out. Apparently, they weren't seated properly... which affected the glide feel. Replacement bumpers will be available at Sport-Marafon next year, so I wasn't too bothered. Otherwise, completely satisfied—5 out of 5.
Alfa BC Outback APS GTX are warm, technical boots with integrated membrane gaiters. Inside, they offer plenty of volume in the toe box and heel, while locking the foot securely at the instep. This is designed intentionally to maintain proper circulation and keep feet warm, while the deep heel pocket prevents blisters. I was initially worried about this design, as a tight heel lock is usually preferred. I applied tape just in case, but after a week-long trek, these brand-new, unbroken-in boots didn't cause even a hint of chafing.
The gaiters cinch down smoothly, keeping snow out and sealing in warmth. During active trail days at −7 to −15°C, they felt warm and comfortable. In the evening at camp, with minimal movement at −25°C, everything was fine and feet stayed warm. I wore just a single medium-weight ski sock.
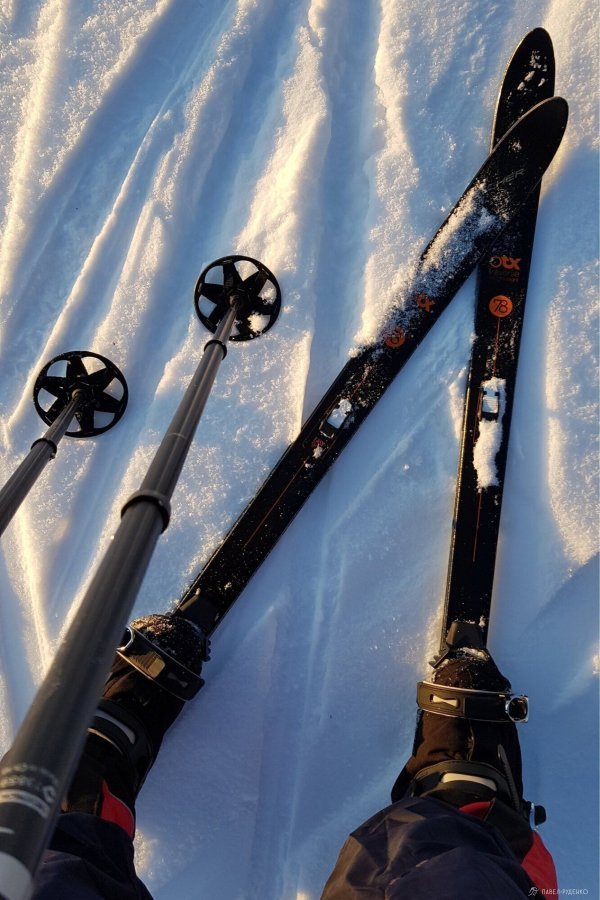
Skins. The quick-attach kicker skins under the binding allow you to tackle uphill climbs and tricky terrain, as well as pull pulkas efficiently. On descents, they help check your speed, preventing unwanted wipeouts))
Full-length skins will be ideal on steep gradients or demanding terrain when hauling heavy pulkas weighing 40+ kg.
Tent
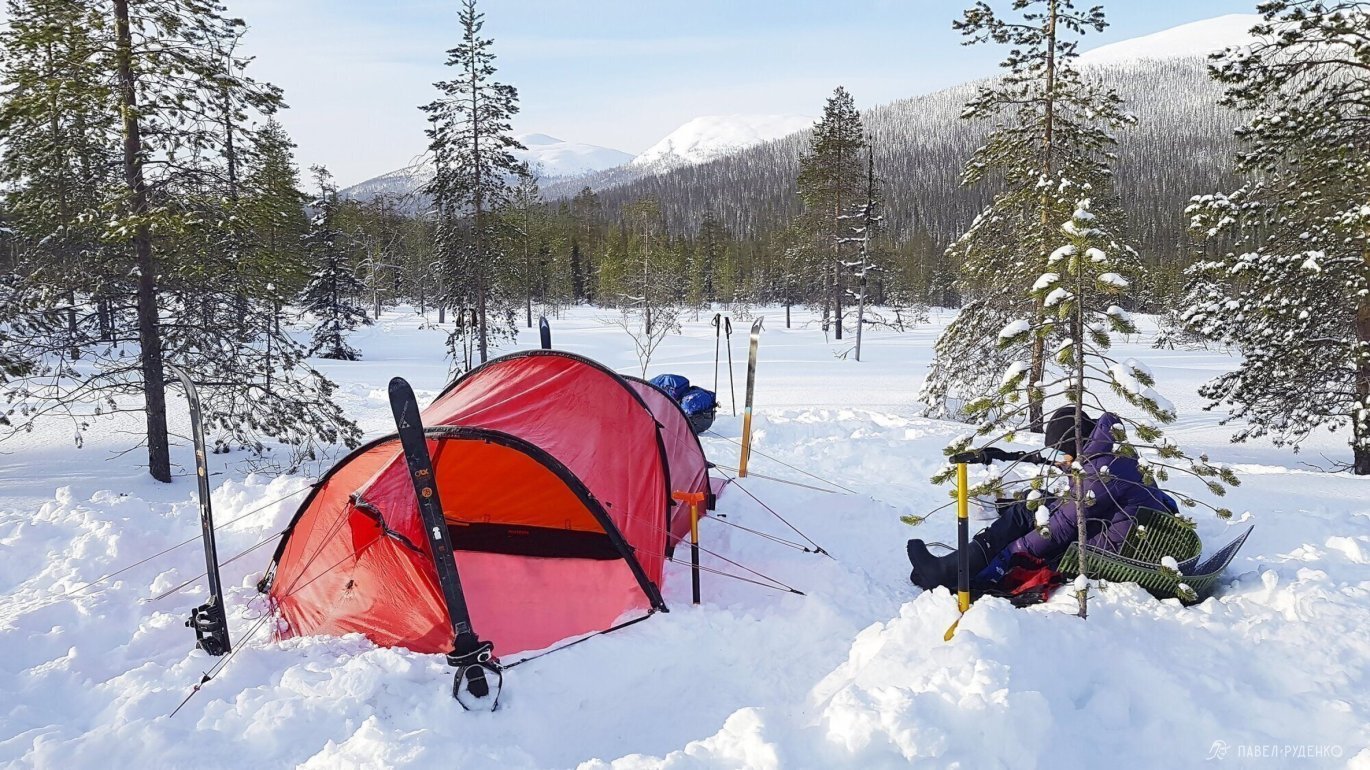
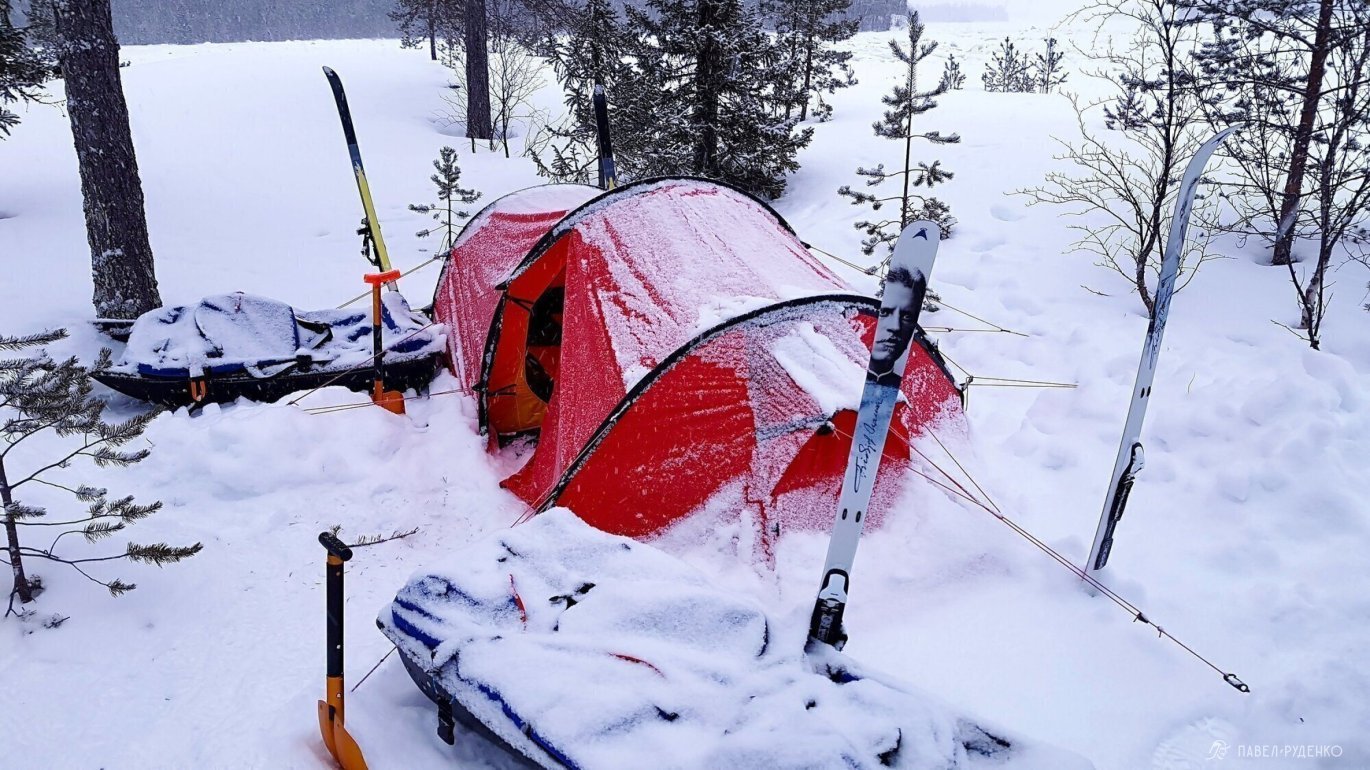
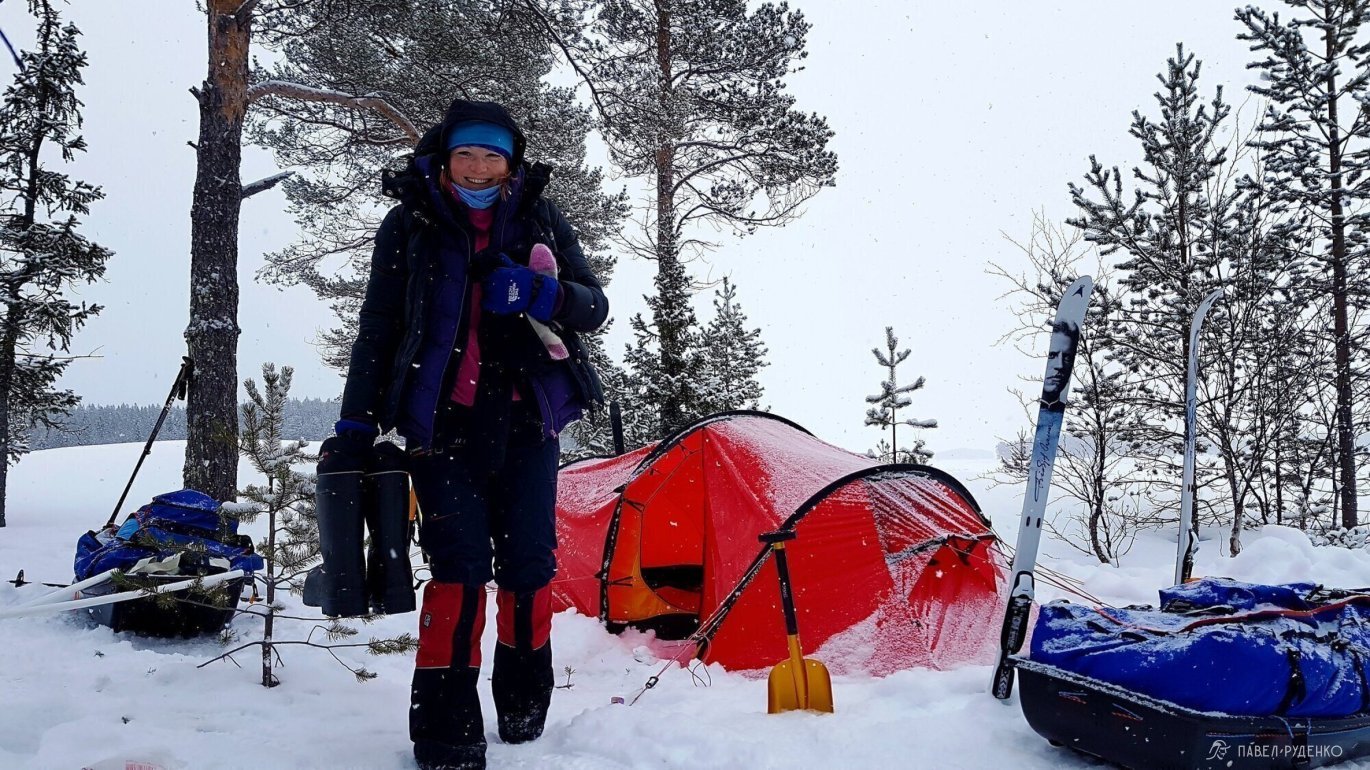
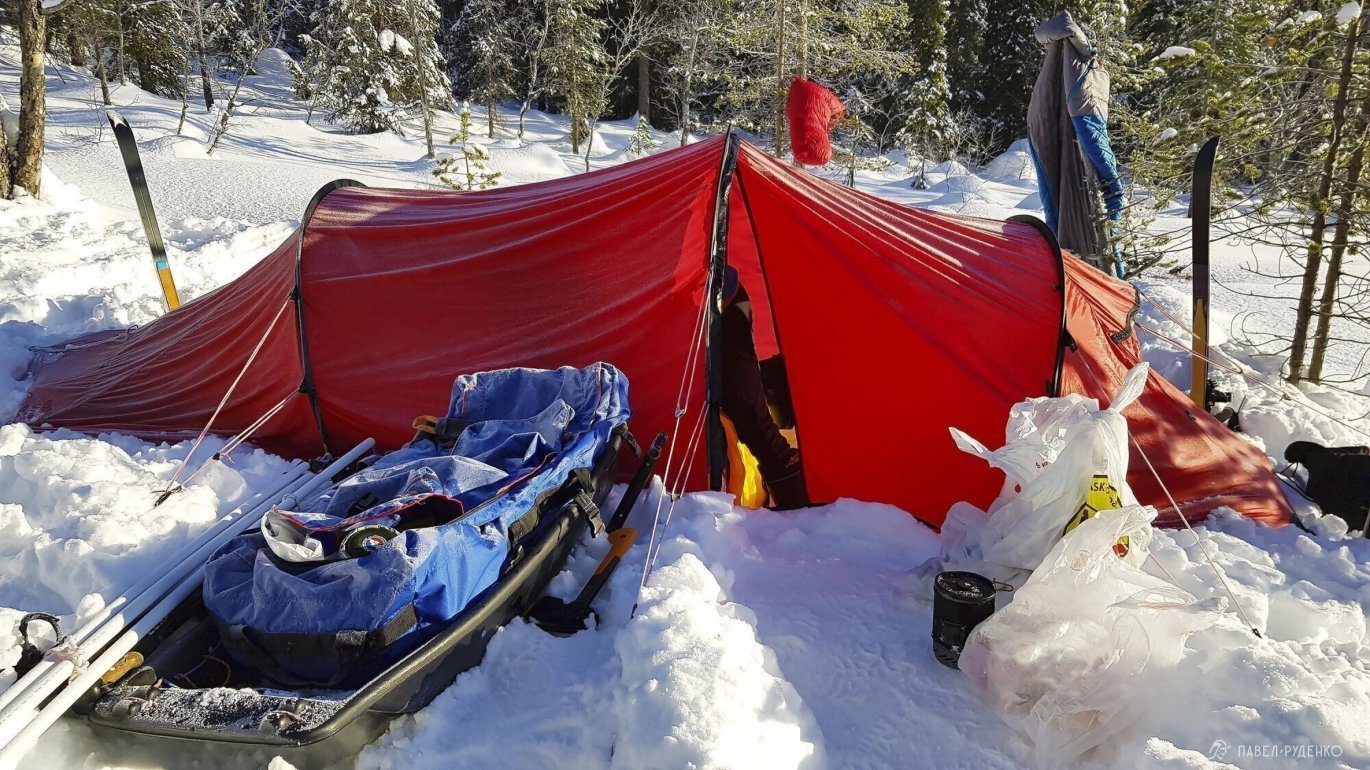
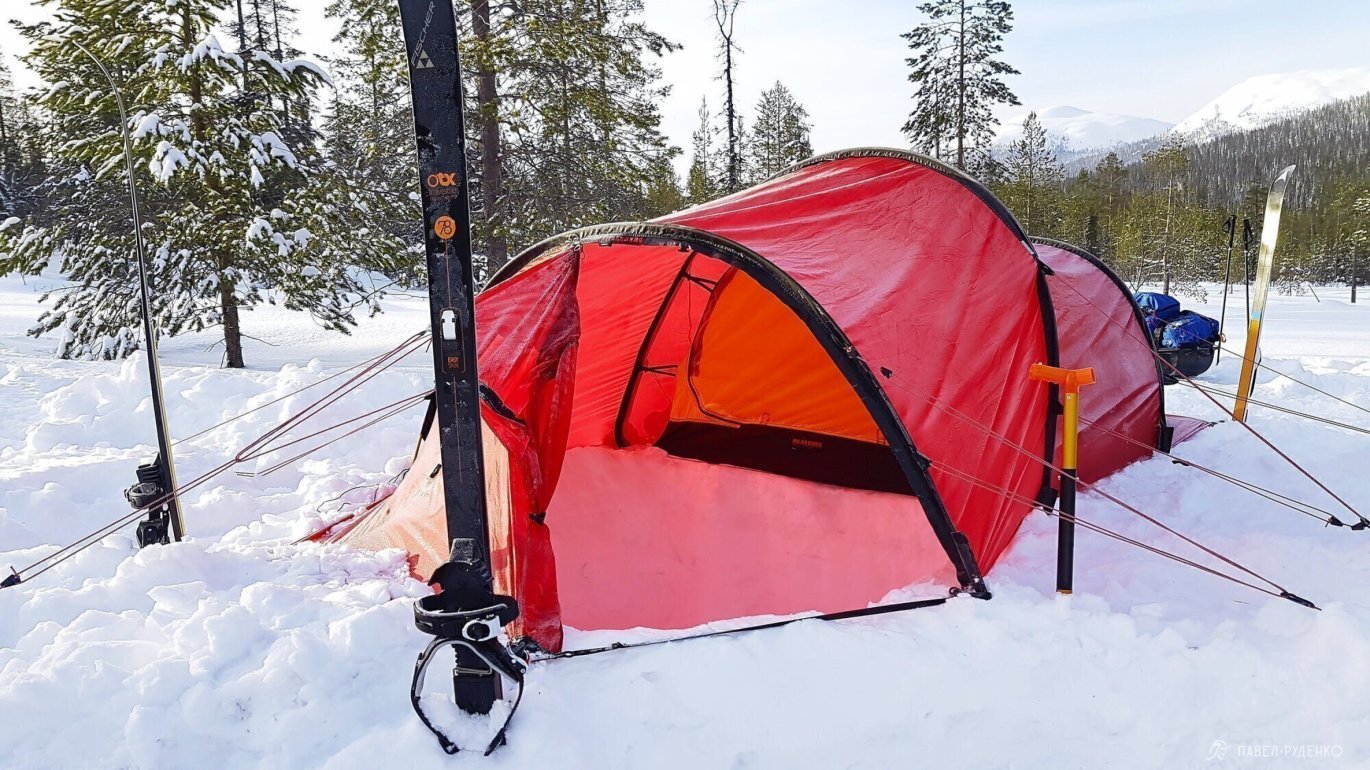
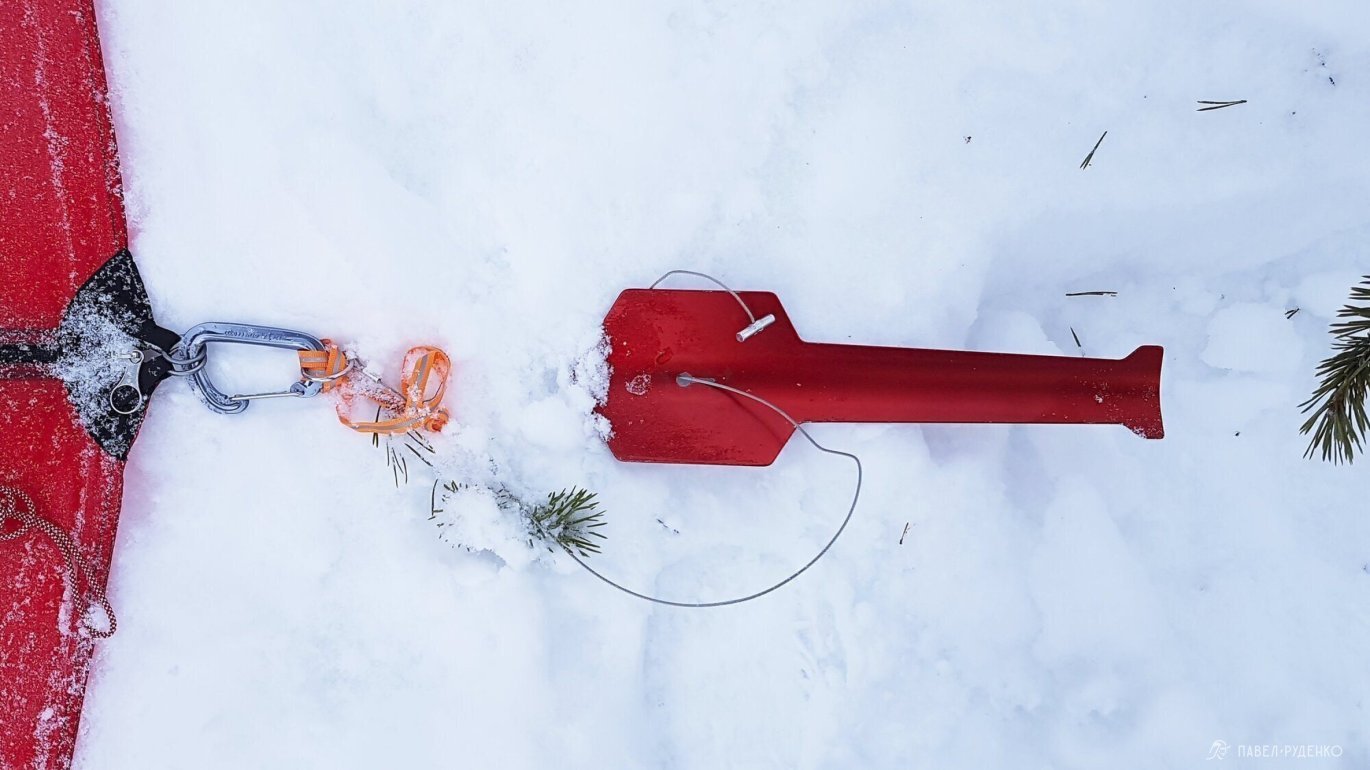
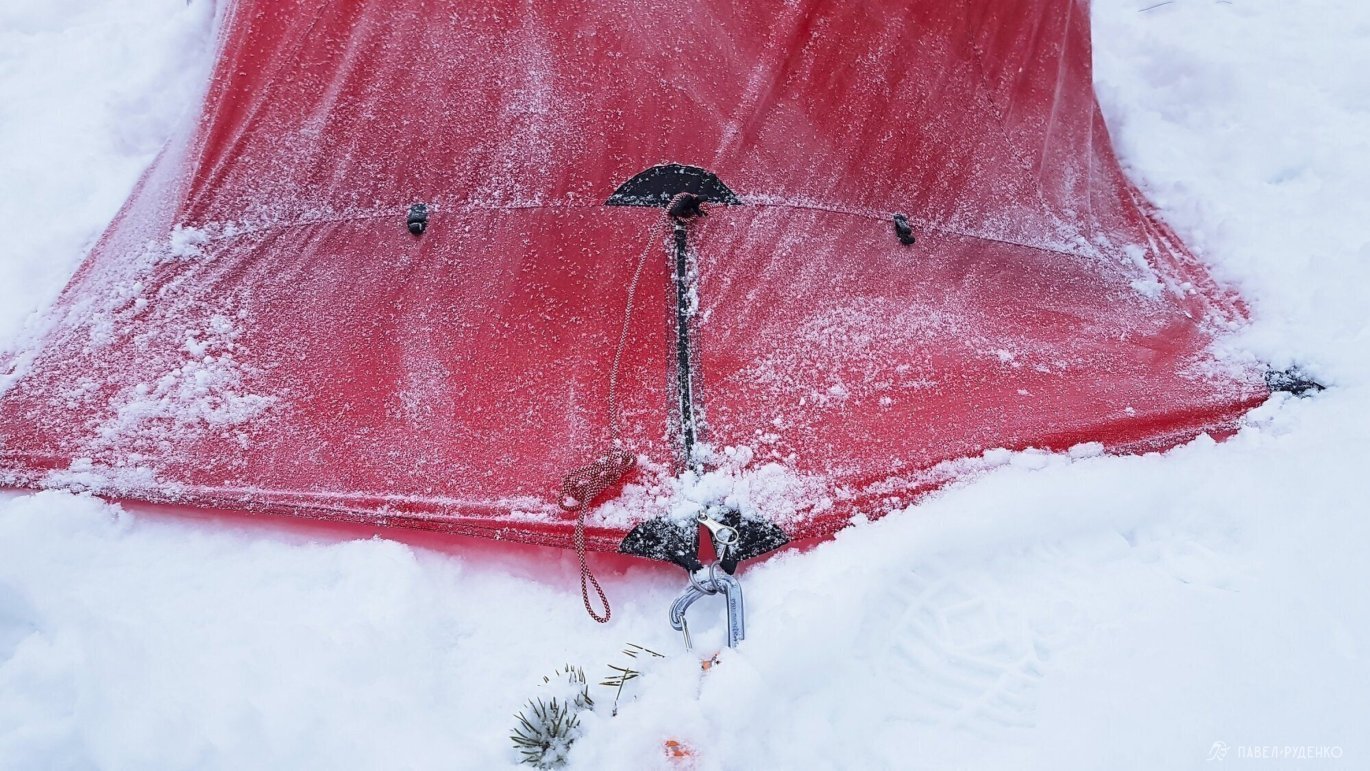
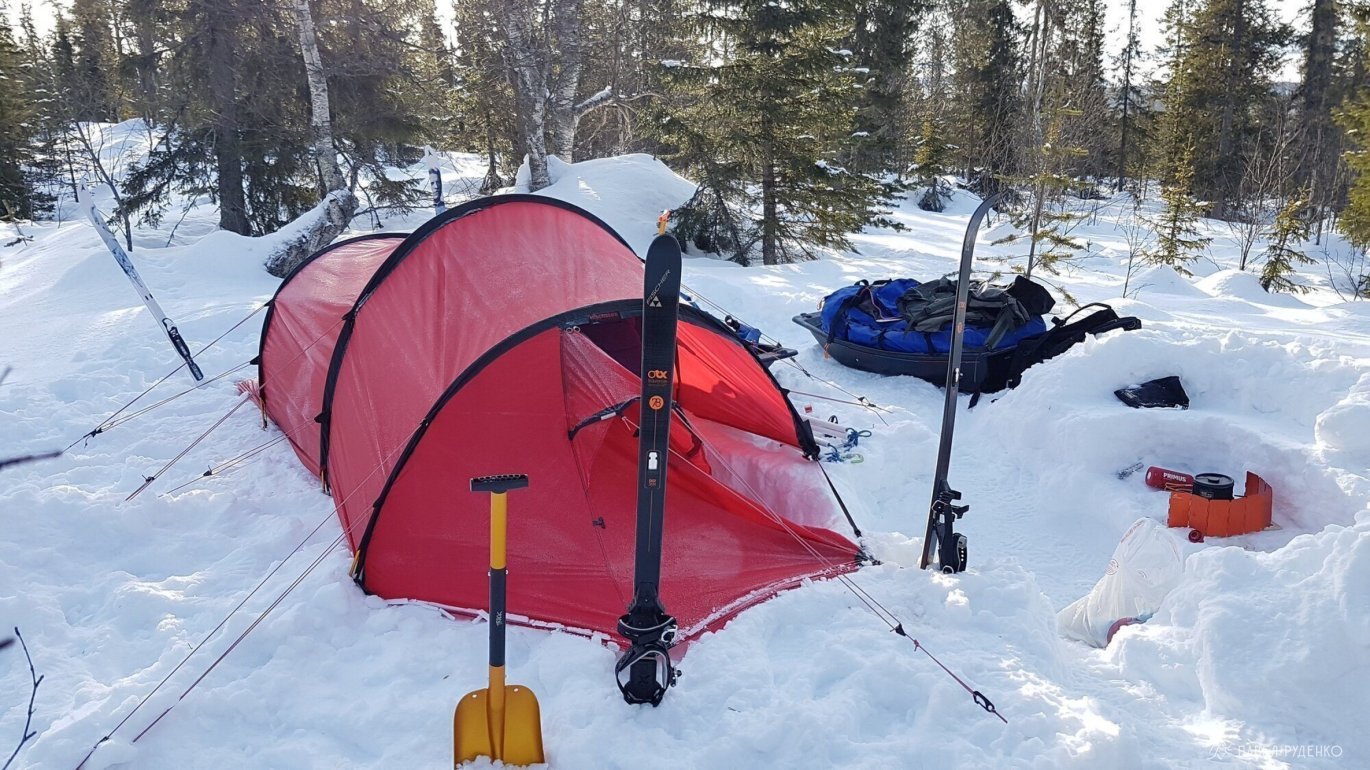
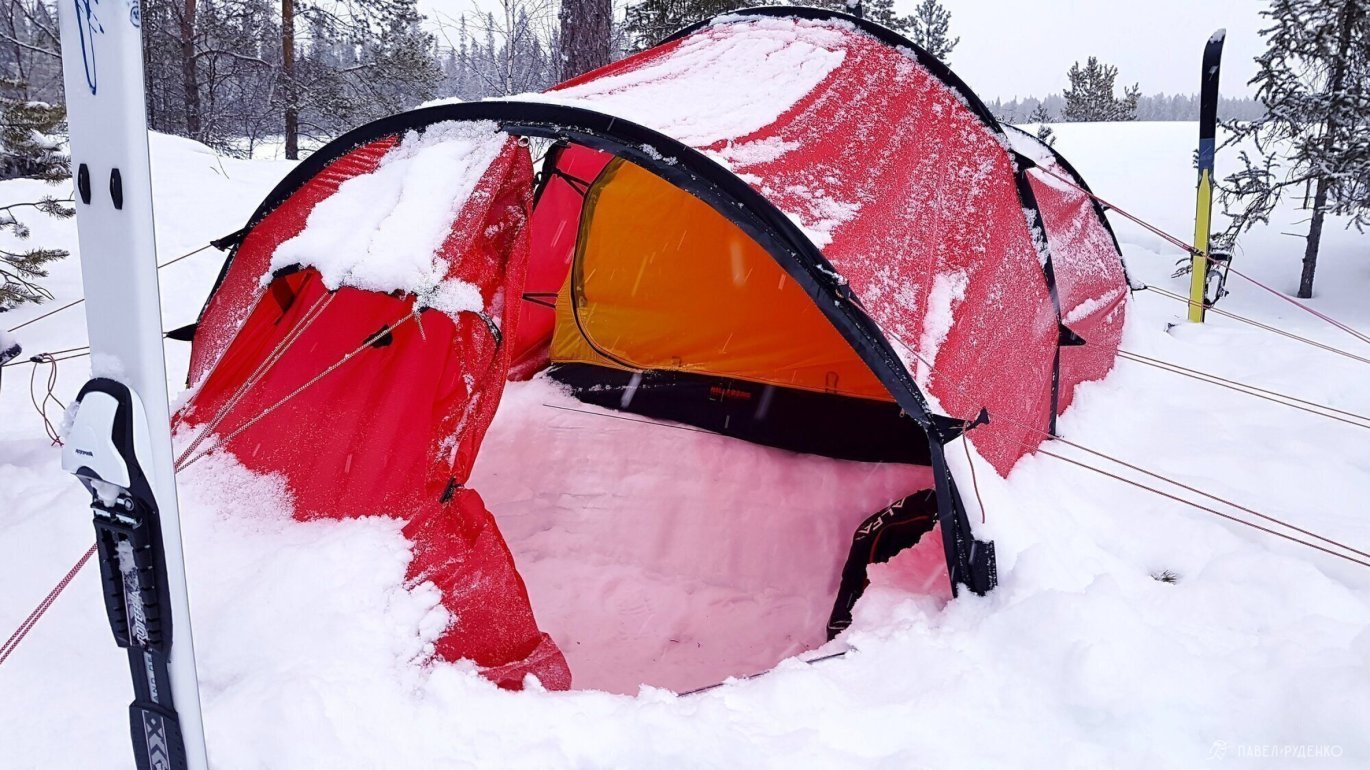
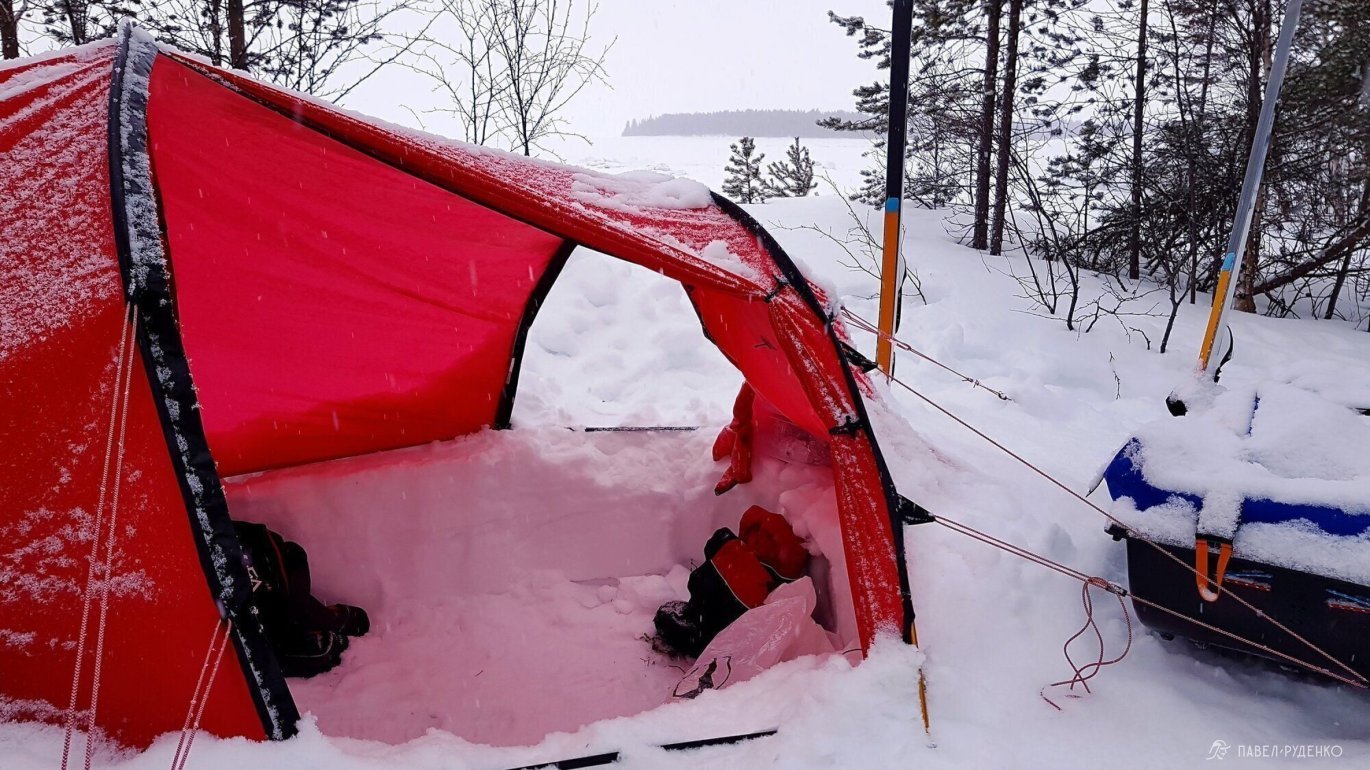
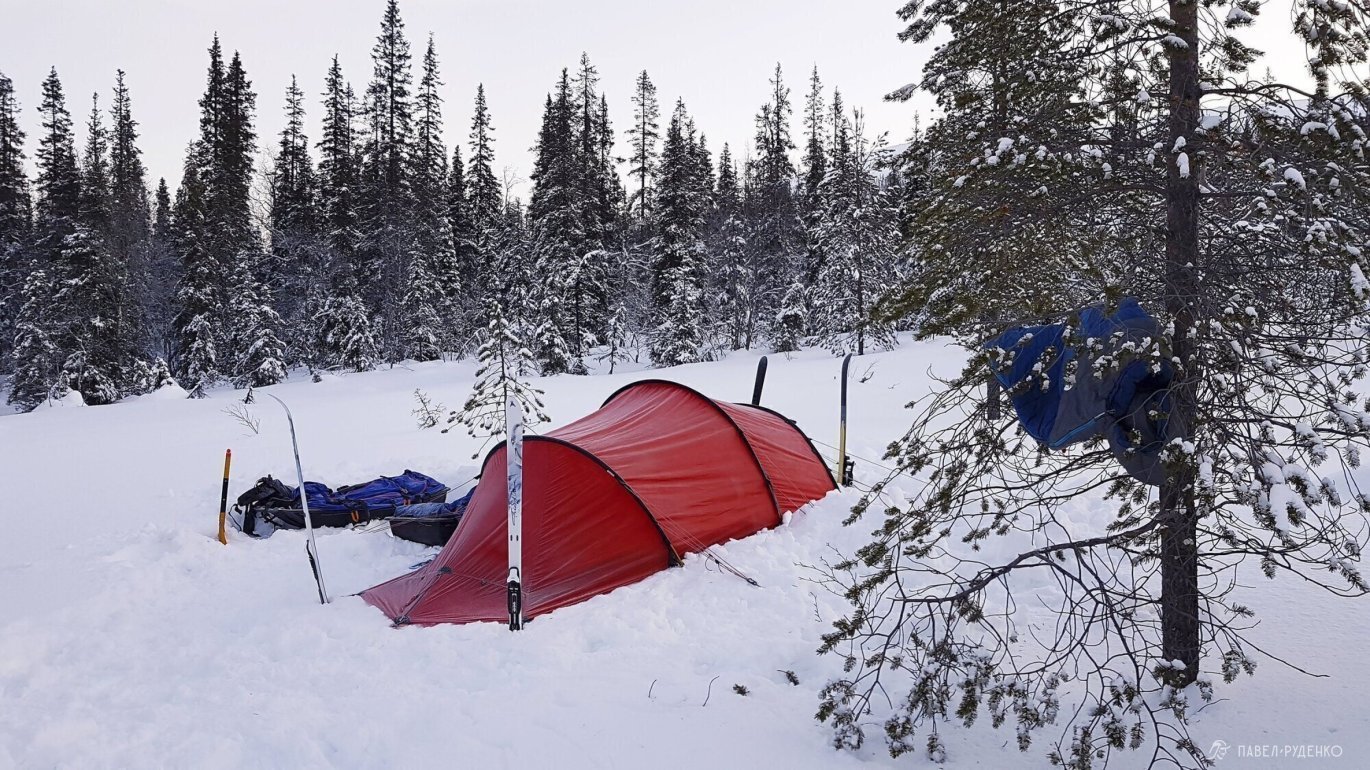
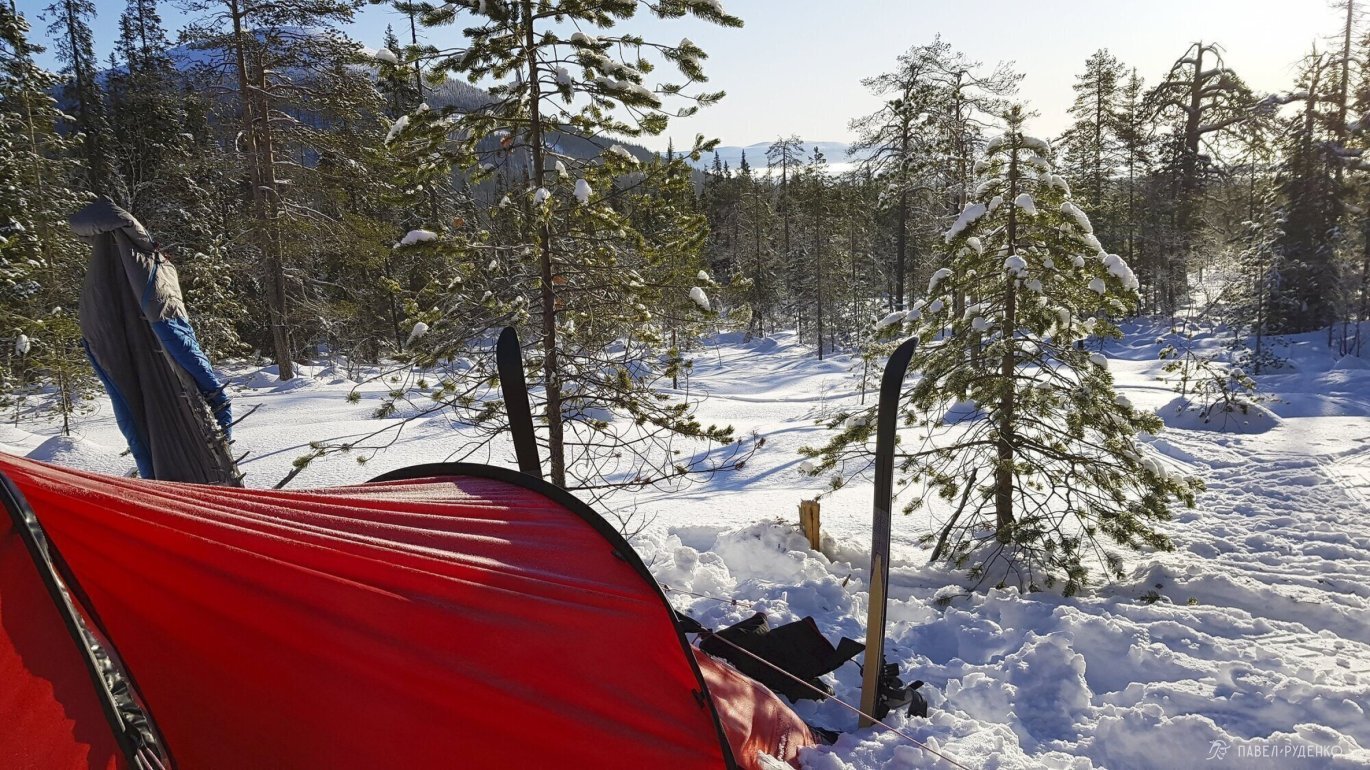
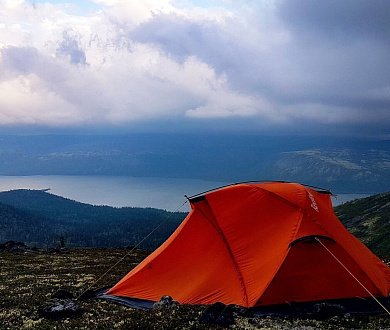
I tested the Hilleberg Nallo 2 GT, and it is simply outstanding. Every detail is well-thought-out and impressive. The huge vestibule provides ample space for gear and provisions. If needed, you can comfortably cook inside by digging out a footwell, sitting in the inner tent and dining with your legs down. It pitches easily; we secured it using snow anchors and skis. The compact inner volume warms up quickly with body heat. The tunnel tent design proved to be an excellent choice.
Sleeping bag and mat
Winter temperatures can drop unexpectedly to extreme lows; to stay safe and healthy, it is vital to use gear that eliminates any risk.
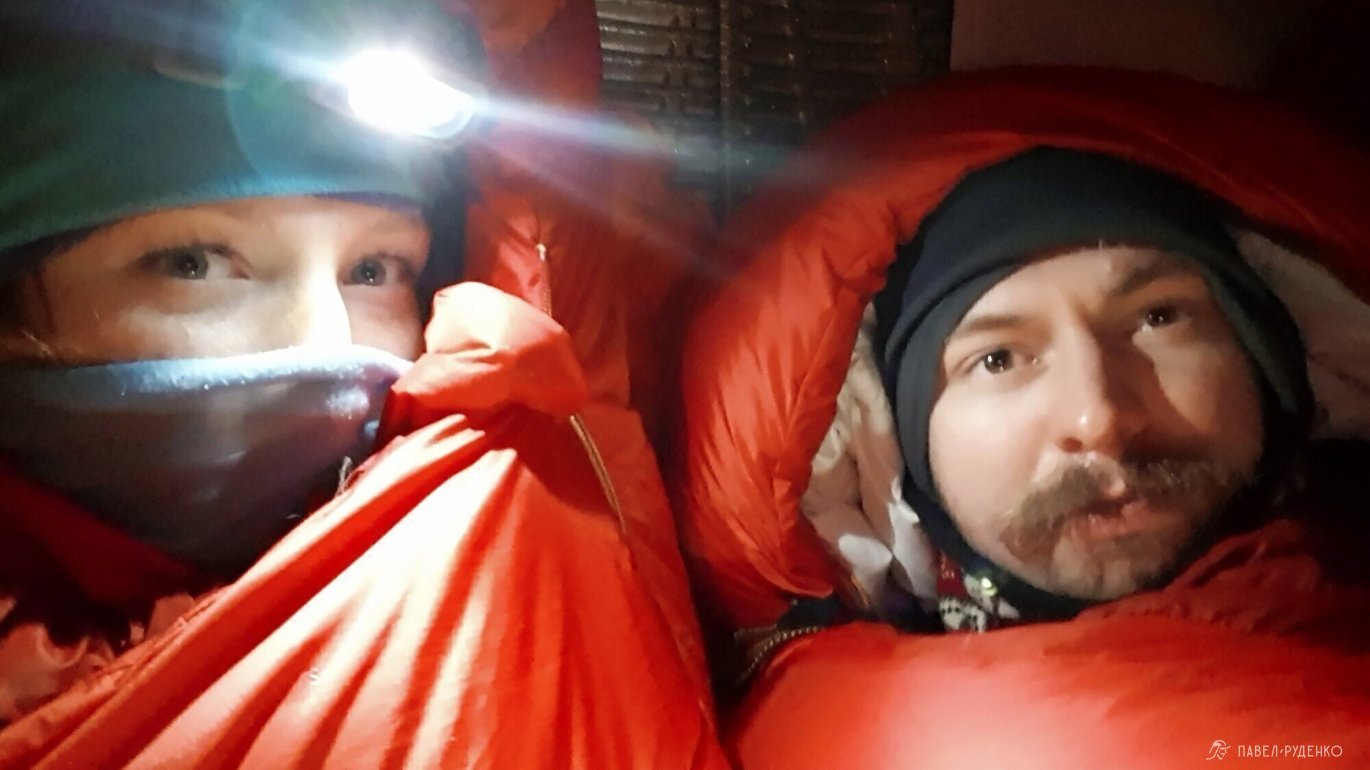
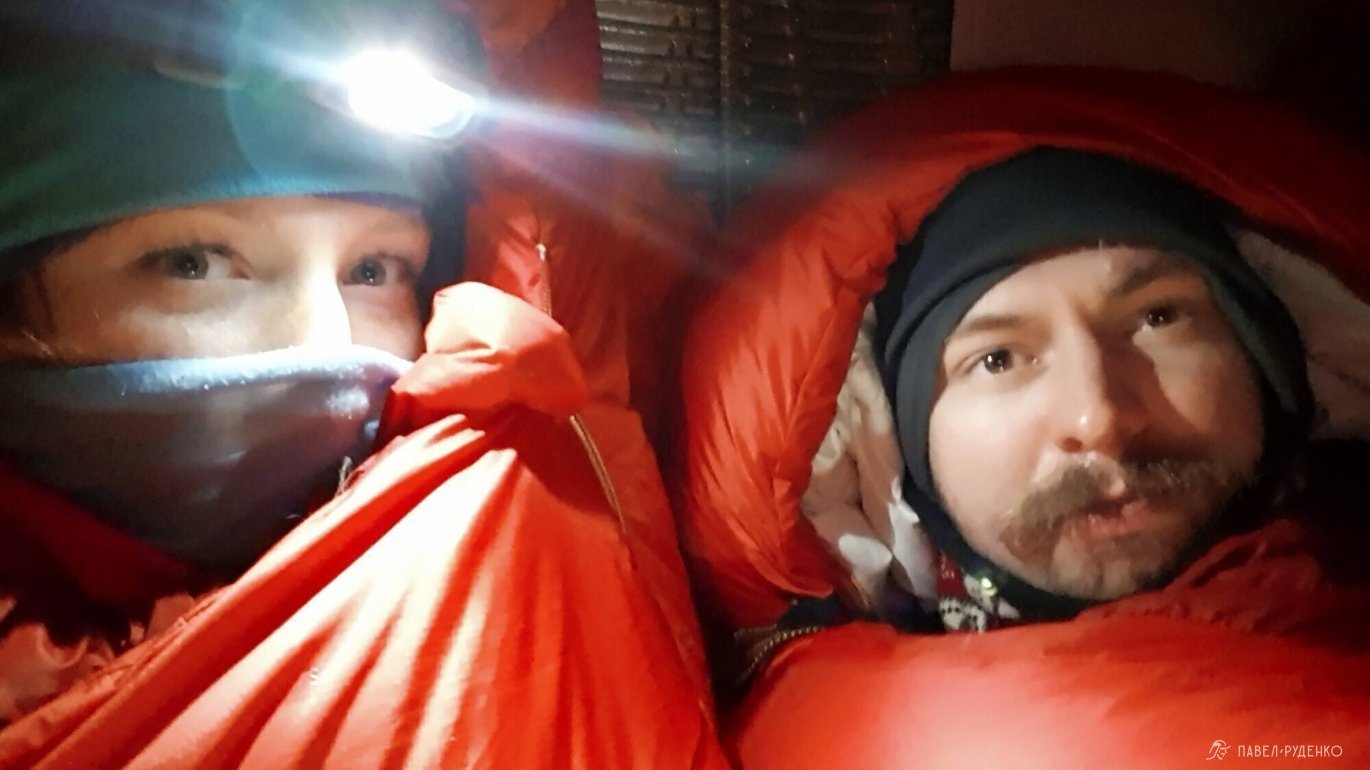
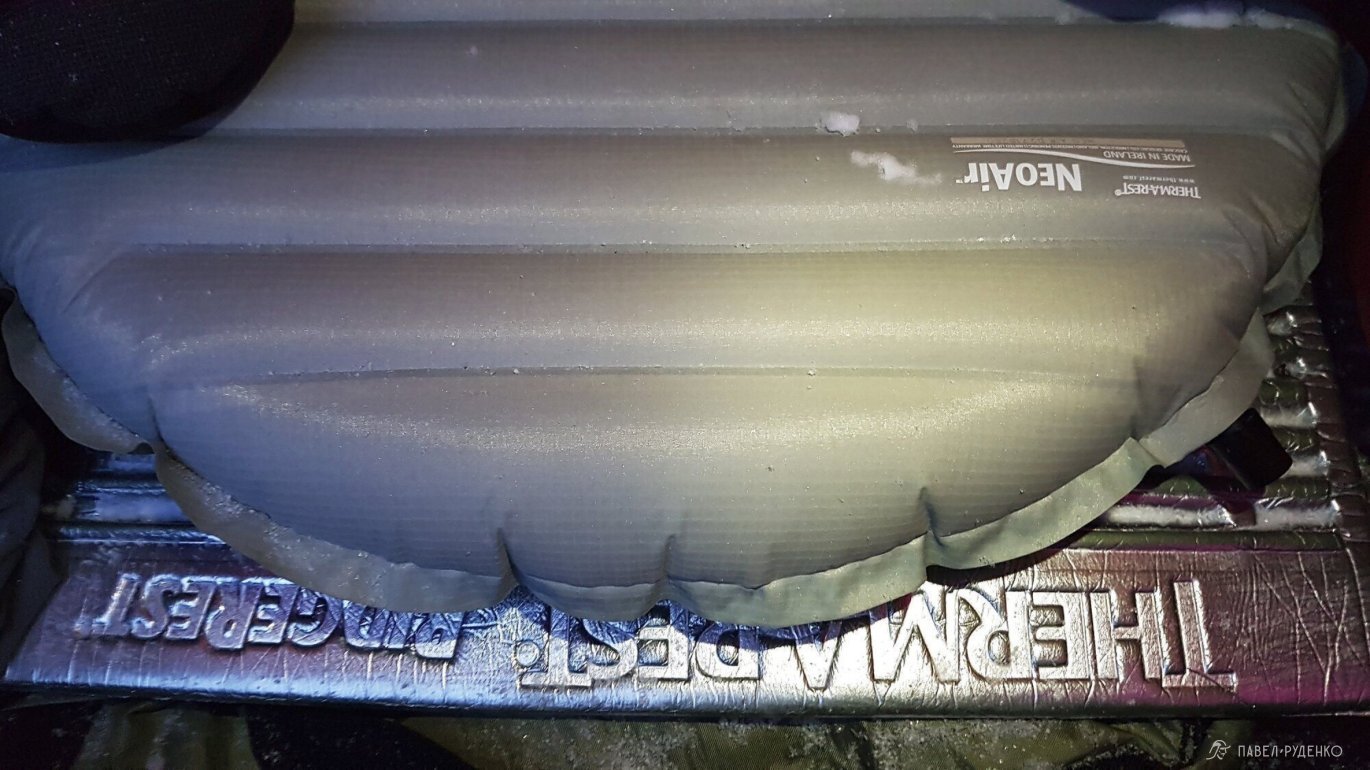
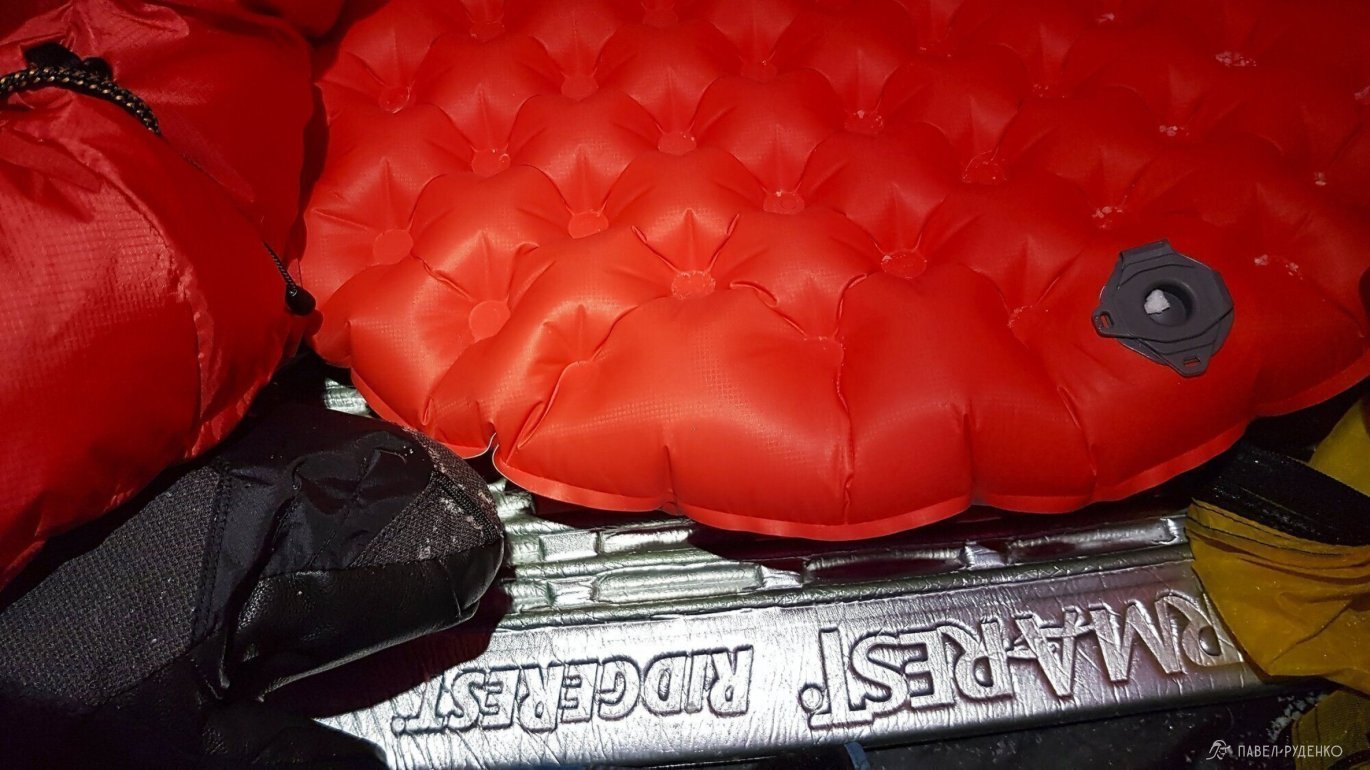
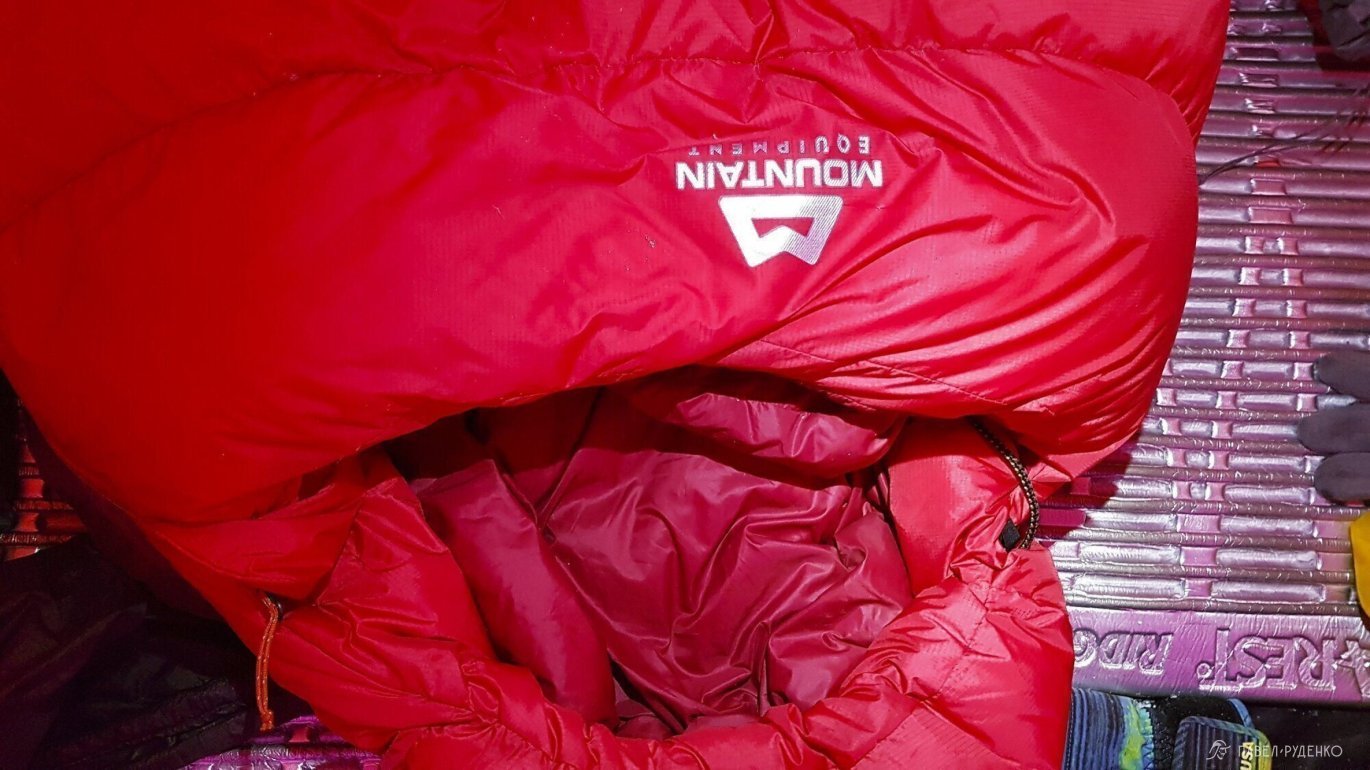
I used a Therm-a-Rest RidgeRest SOLite closed-cell foam pad (R-value 2.1) paired with a Therm-a-Rest NeoAir XTherm inflatable pad (R-value 6.9). The sleeping bag was a Mountain Equipment Glacier Expedition –35. Over the sleeping bag, we added a backup The North Face Aleutian –7 as a condensation barrier, but it wasn't needed for warmth, so next time I'll leave it behind.
Check out more expedition photos and gear reviews on my Instagram!
Pulkas
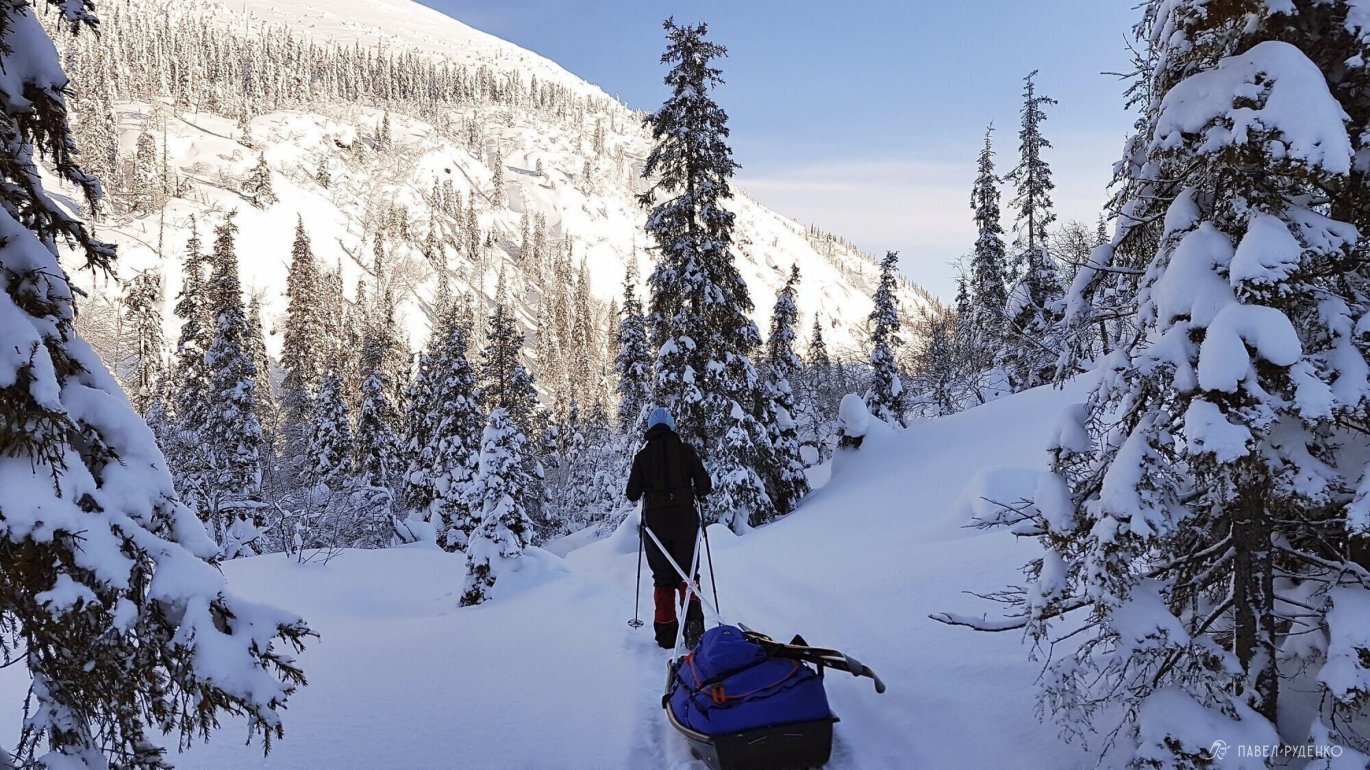
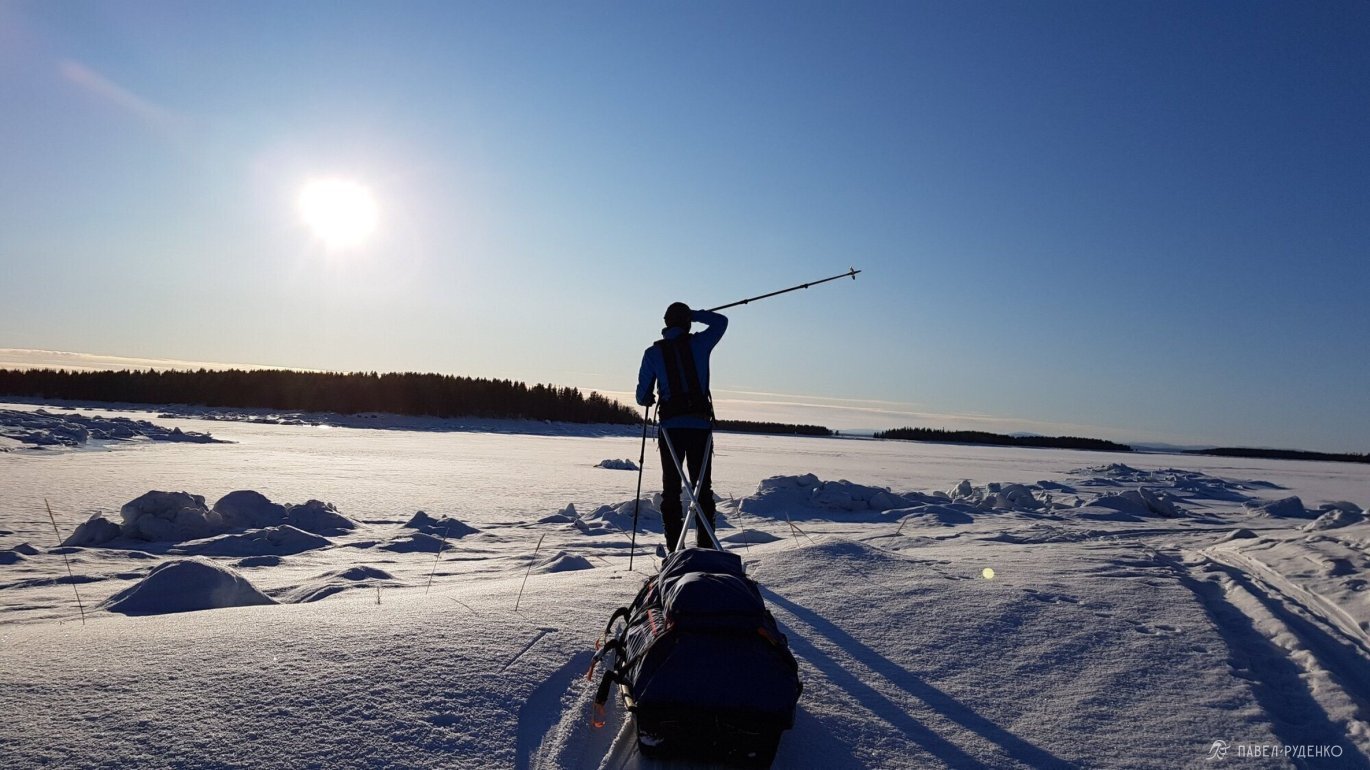
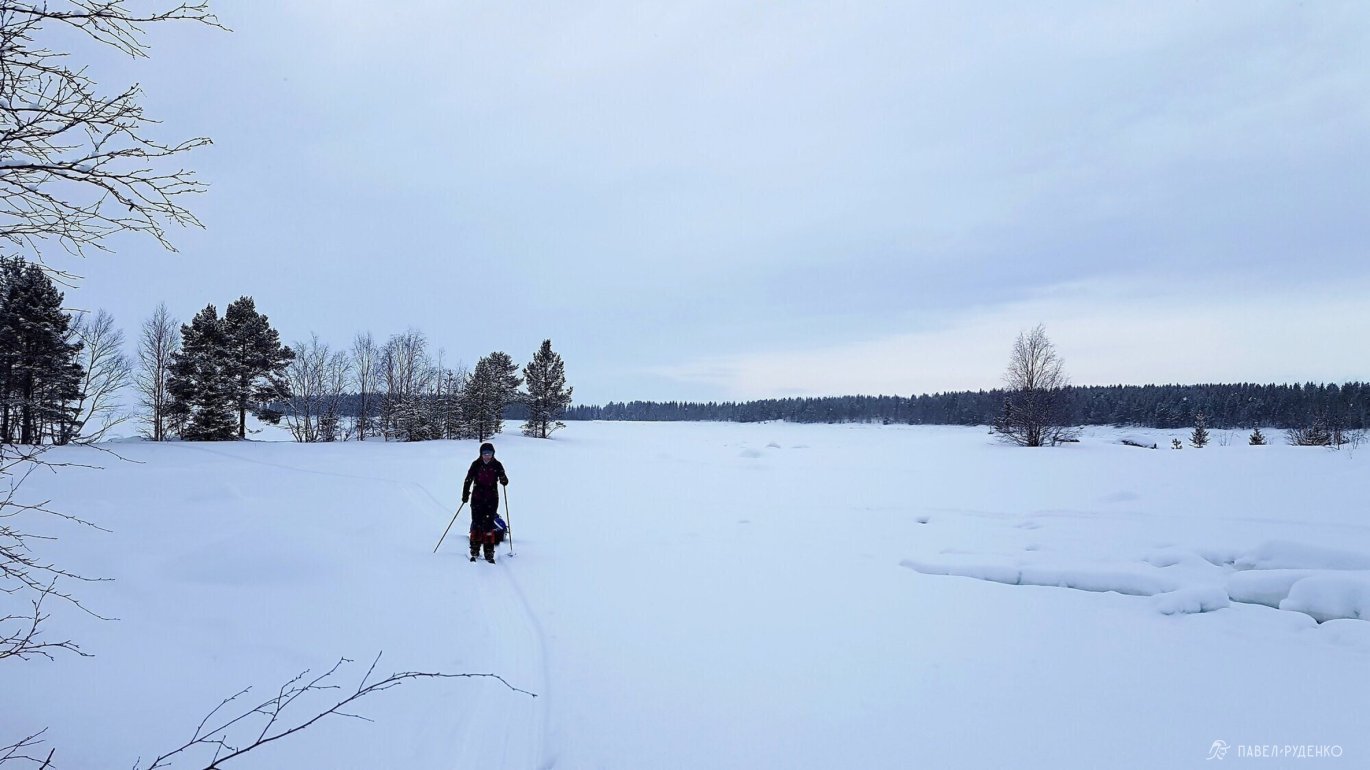
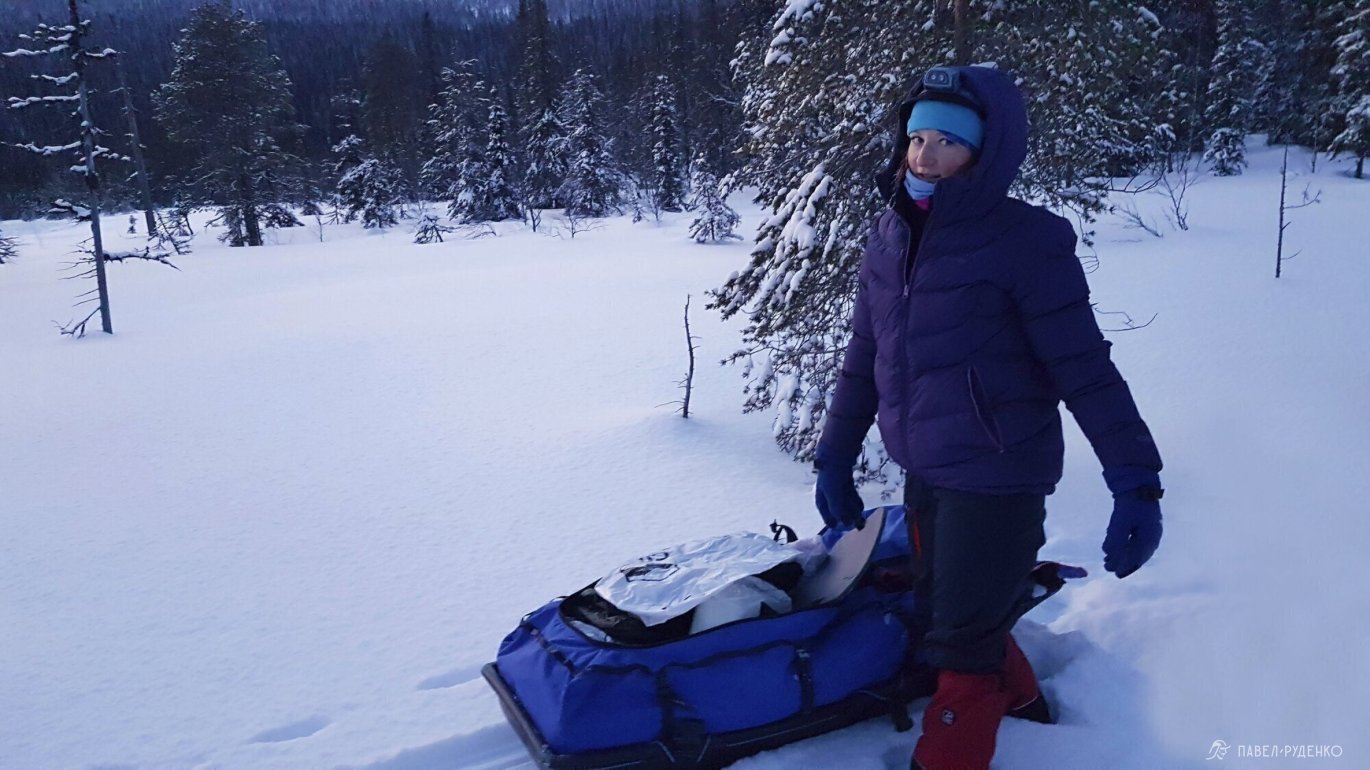
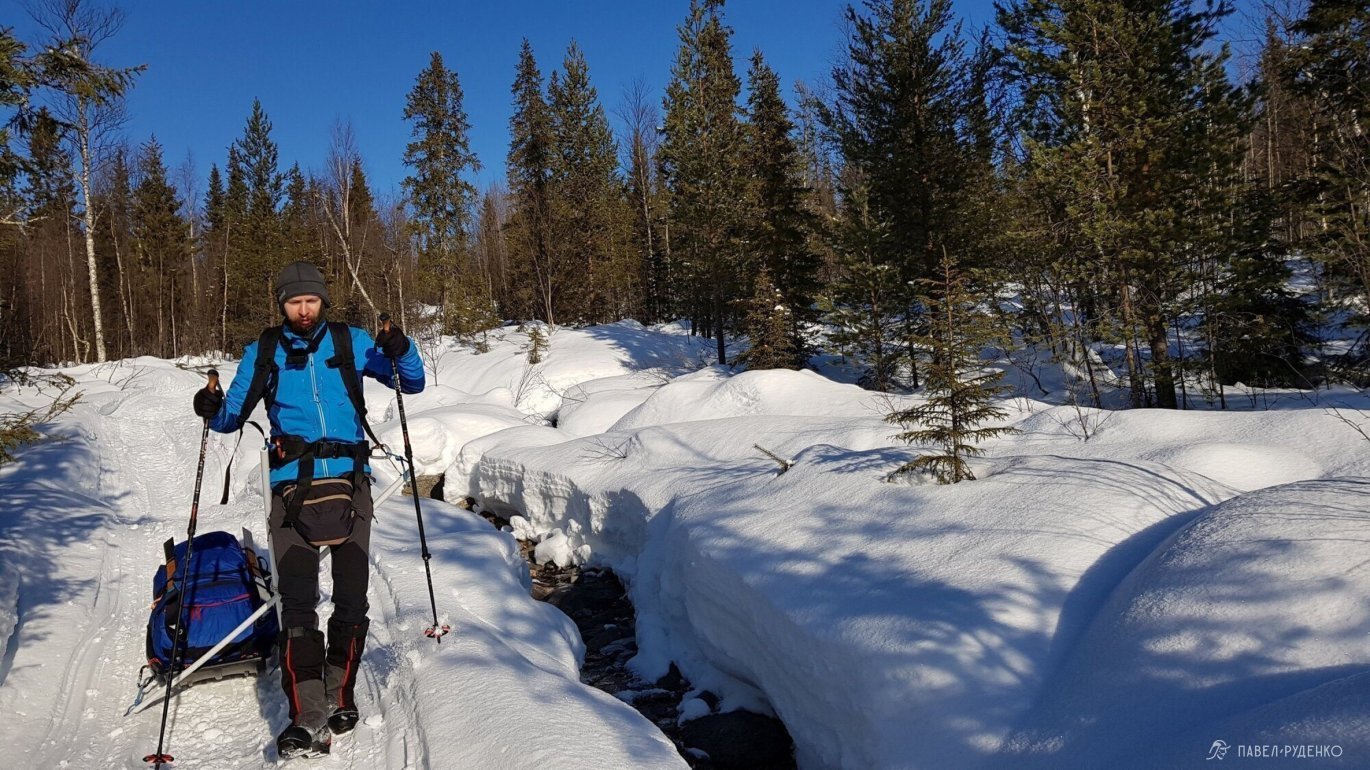
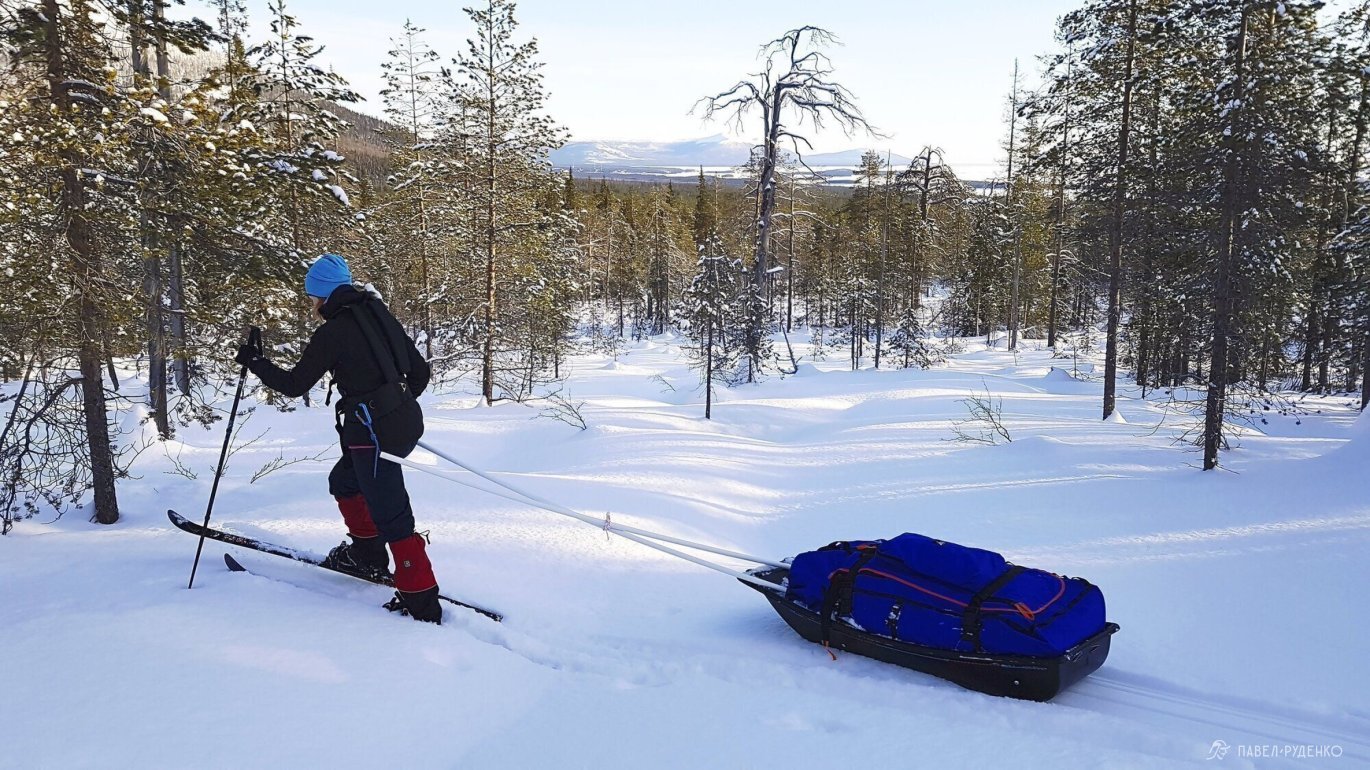
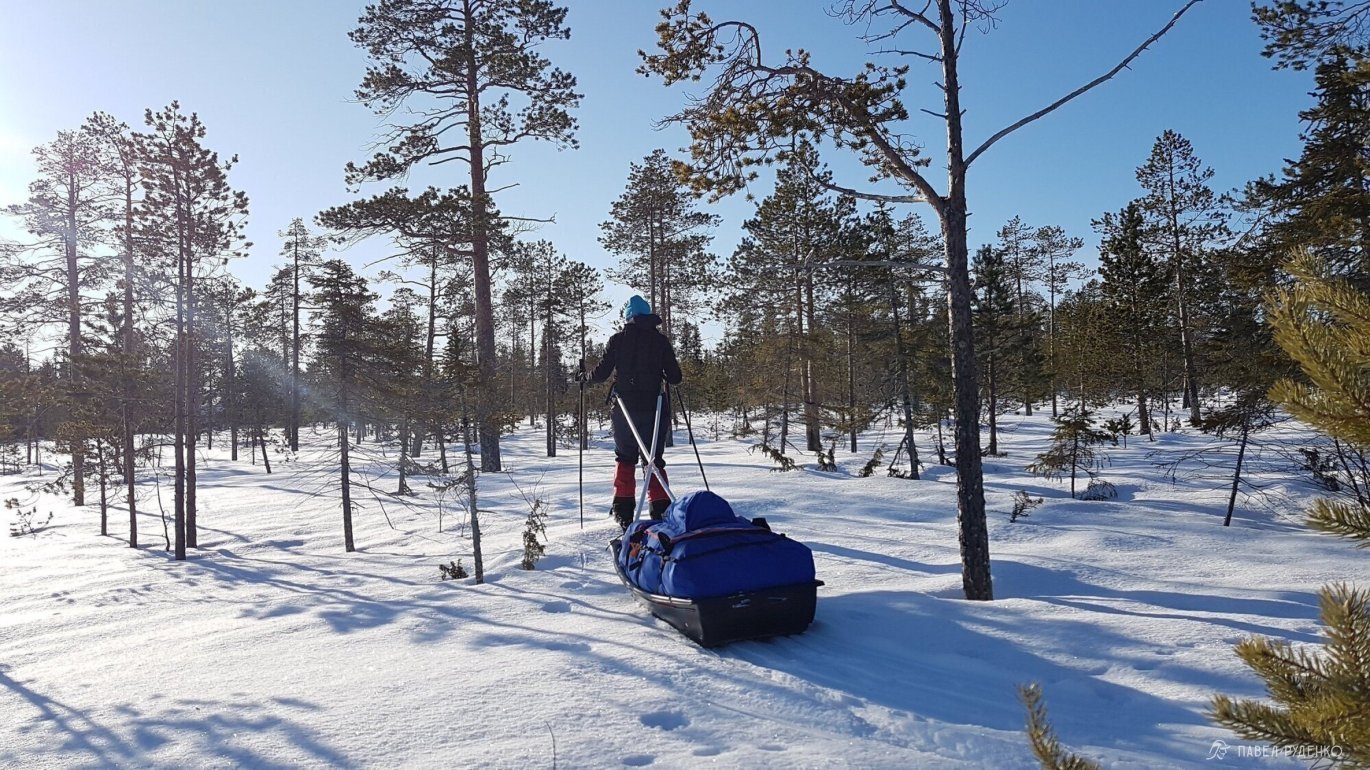
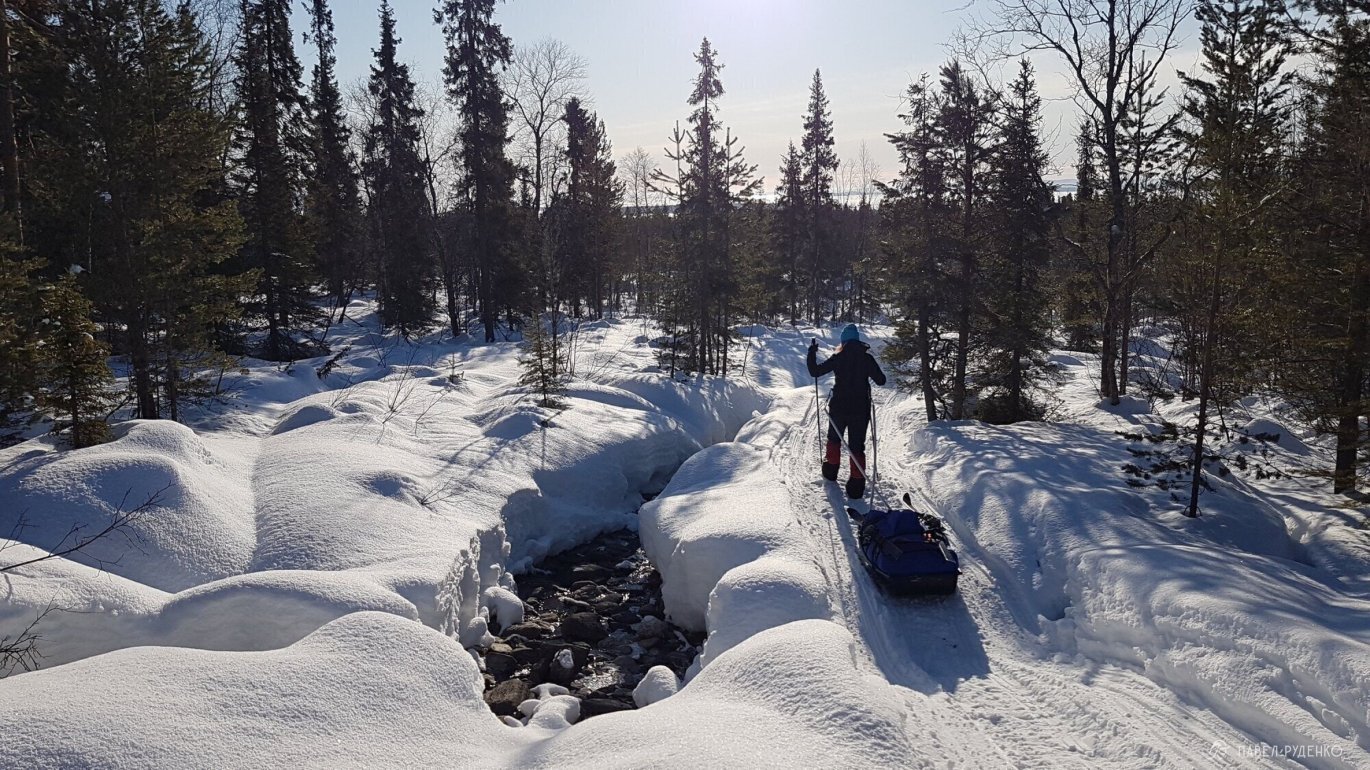
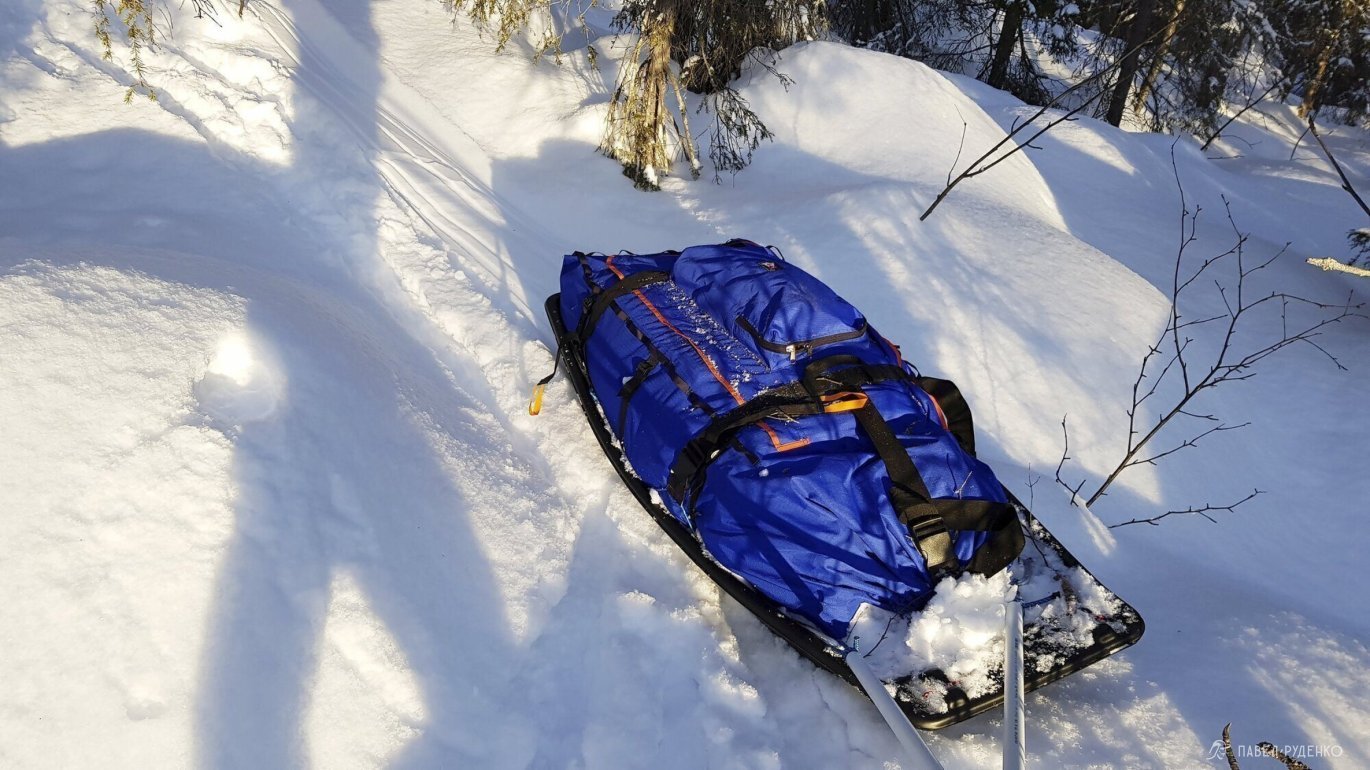
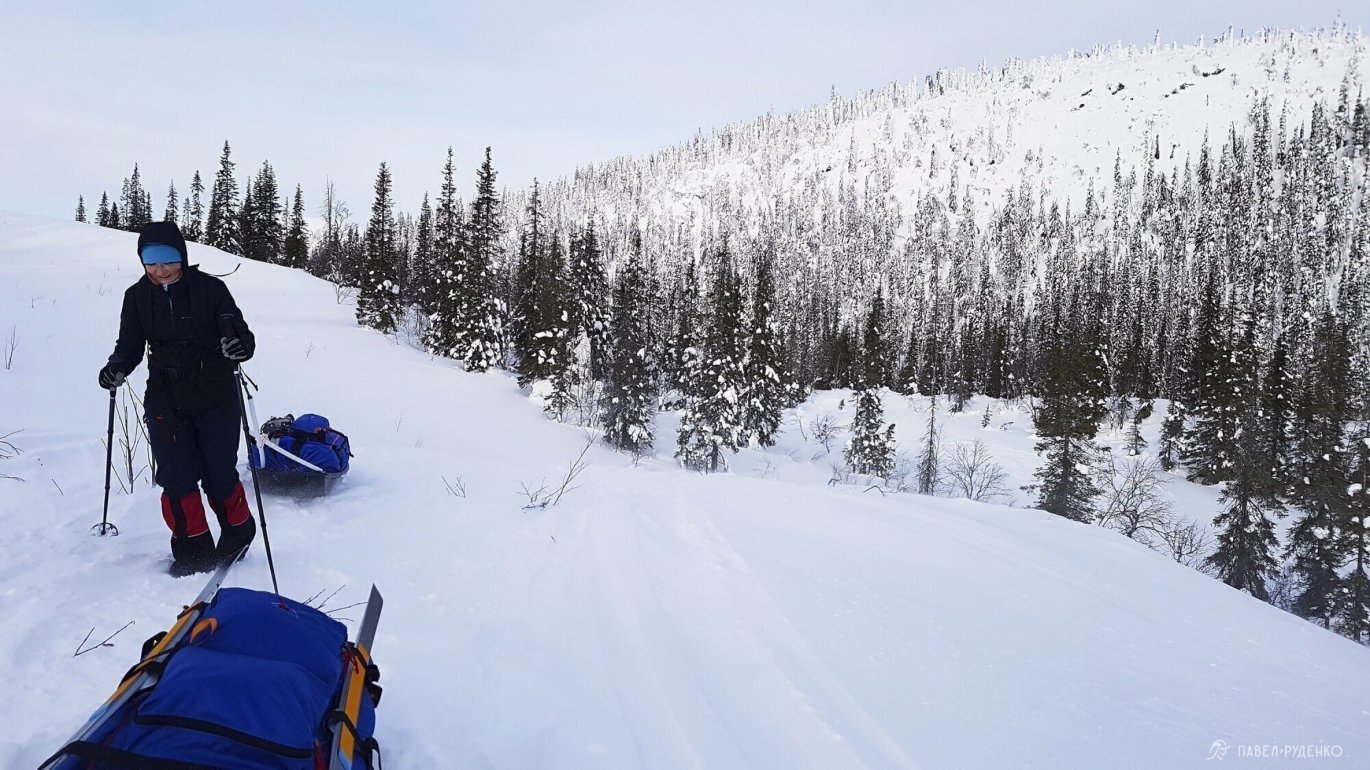
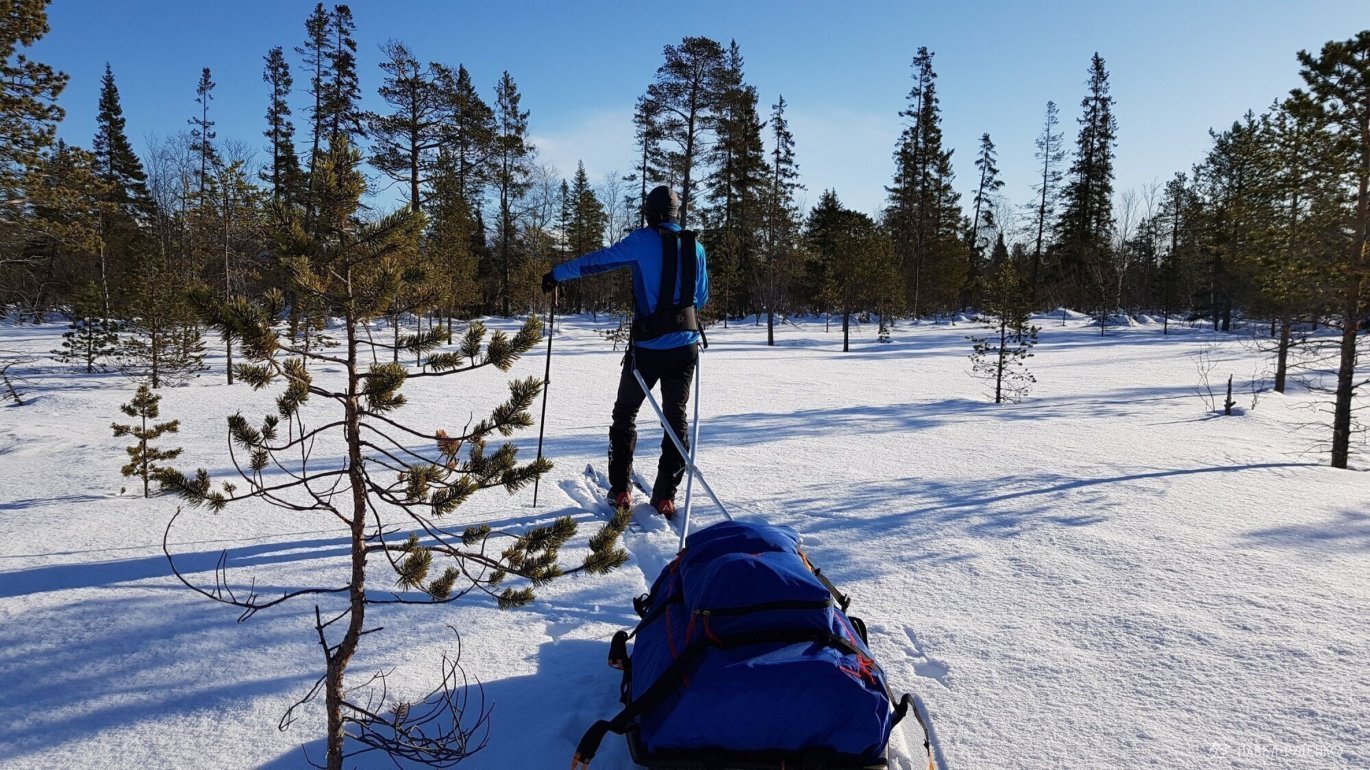
The pulkas performed exceptionally well. Treeless, flat sections were covered with absolute ease—your back is relieved of weight, stays dry, and there is no strain on the knees. On gentle inclines, the skins provide enough traction to move ahead, and on steeper sections where the skis began to slip, we navigated using switchbacks or side-stepping. Dense forest with brush, rocks, and frequent rolling terrain of several meters proved to be a serious obstacle. Our pace dropped significantly as the pulkas caught against tree trunks or slid into hollows. We had to adjust our route, keeping the line across open areas, bogs, and sparse woodlands.
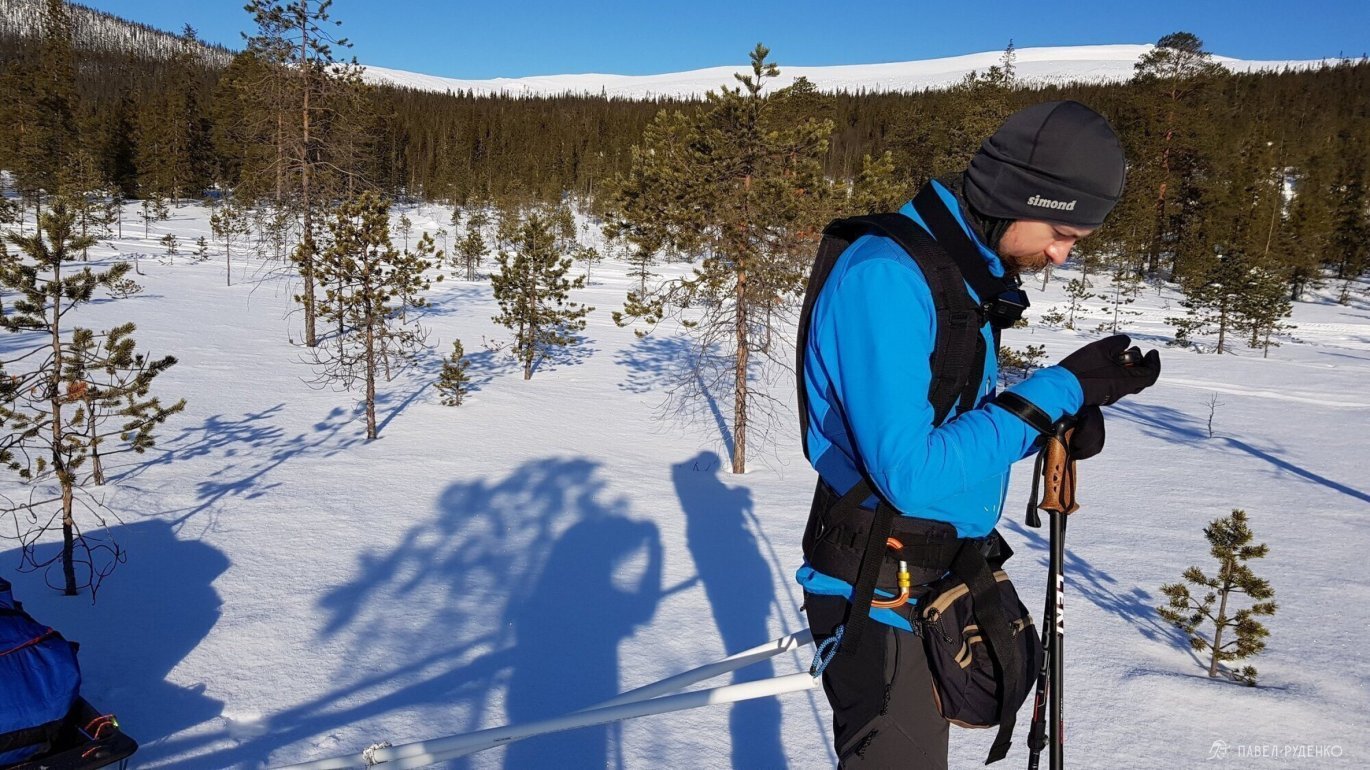
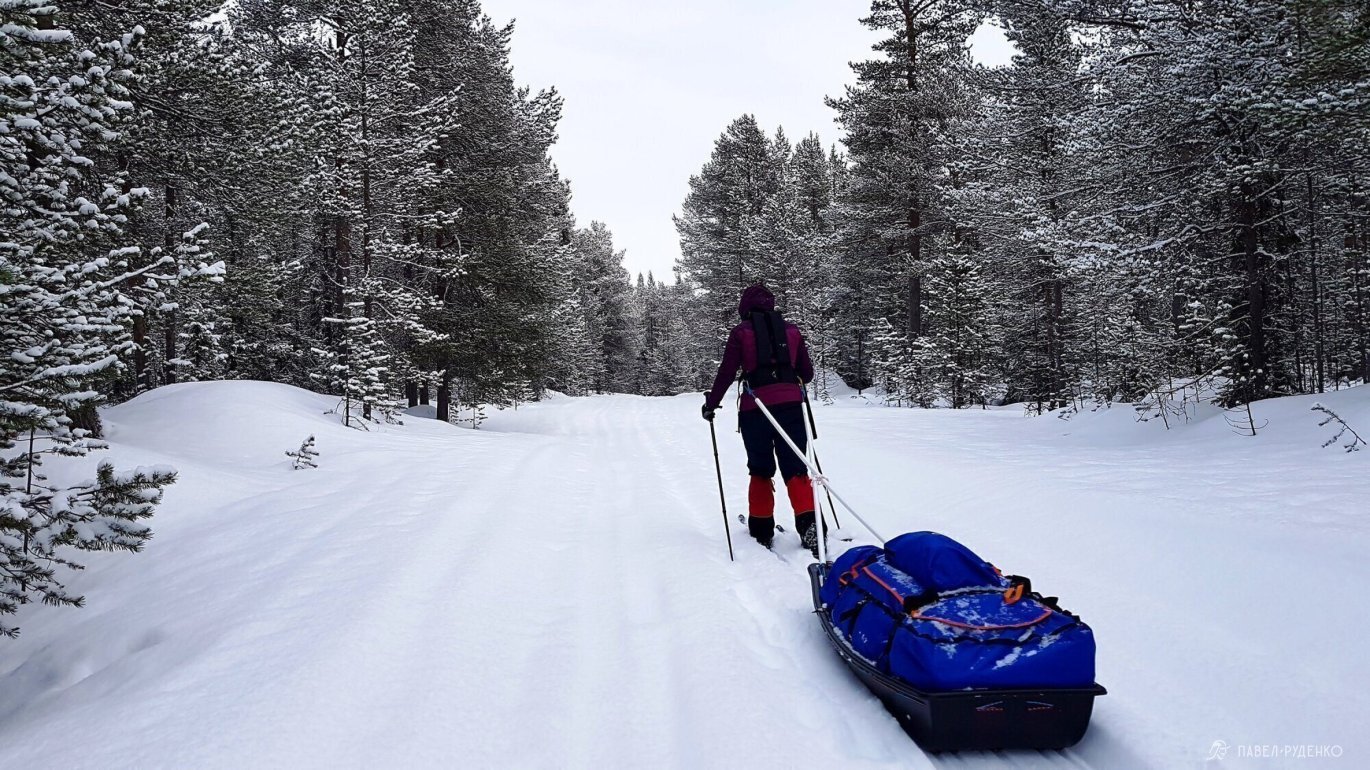
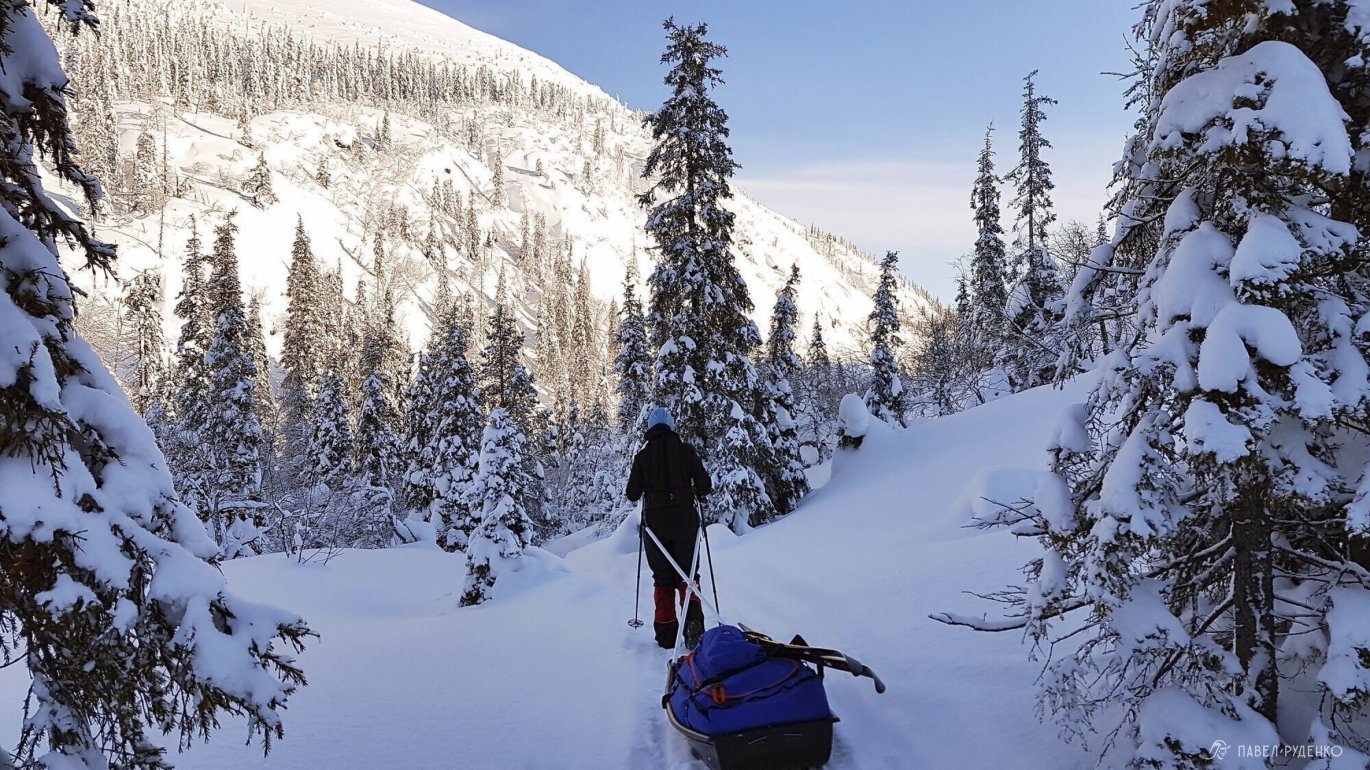
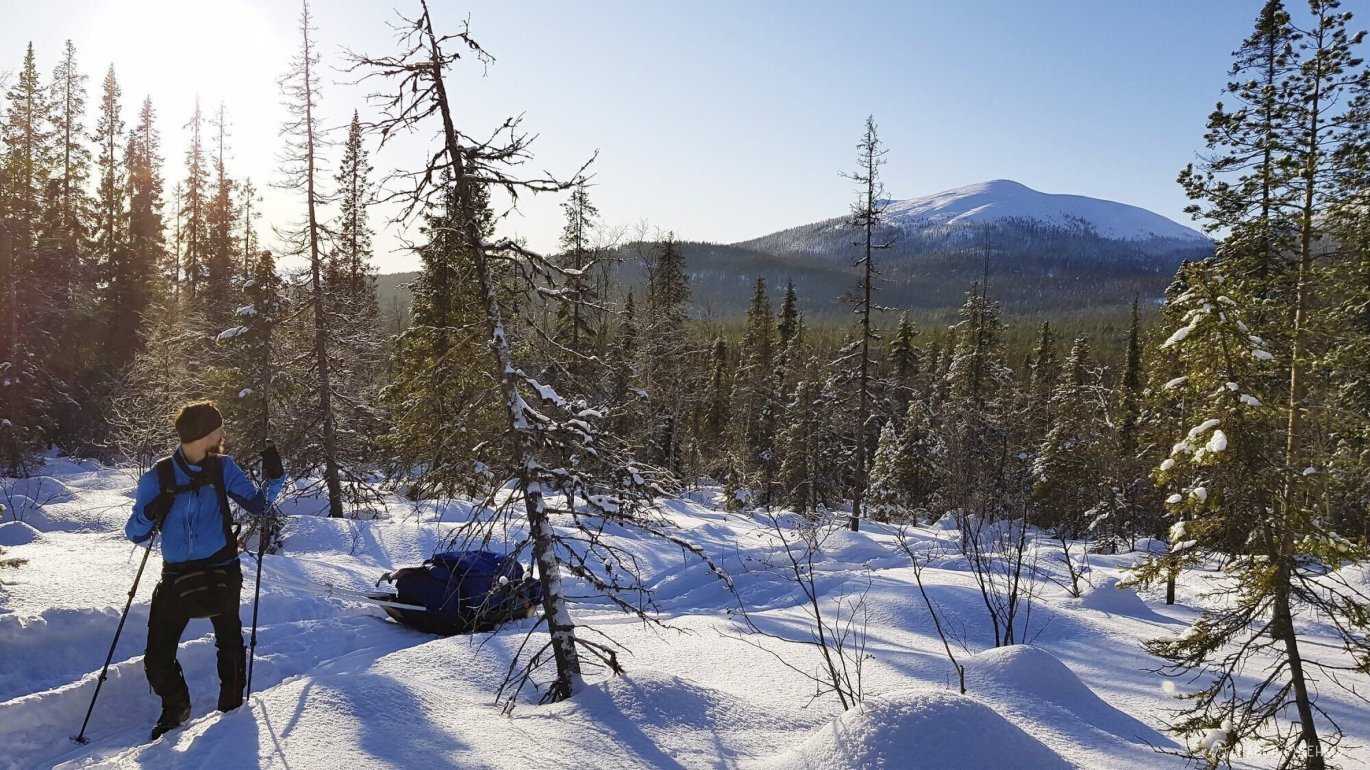
Winter expeditions are an experience everyone should try. They offer completely different emotions and reveal a whole new kind of beauty, even in familiar places. But the cold does not forgive mistakes, so thorough preparation is far more crucial to safety than in summer.



Comments (0)