
Part 1
Introduction
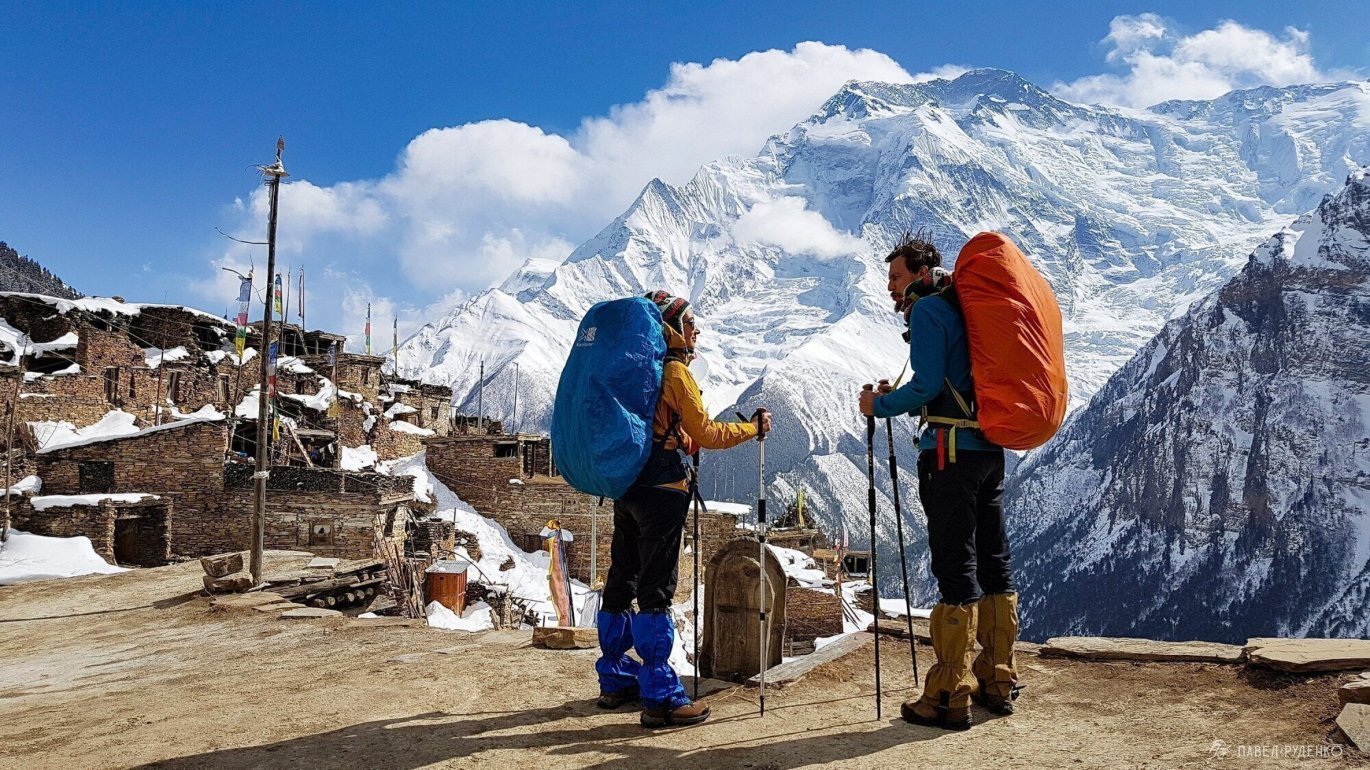
I've lost count of how many hikers I've seen struggling on the trail with terribly adjusted backpacks. After just a minute of tweaking their straps, they look at me as if I've turned water into wine, amazed at how light the pack suddenly feels.
To forget about the weight on your back and truly enjoy the wilderness on your trek, check out these rules for choosing and adjusting a backpack. I've field-tested dozens of packs, outfitted trekking groups, and spent years working in an outdoor store fitting backpacks daily—so I've got plenty of insights to share.
Define Goals and Needs
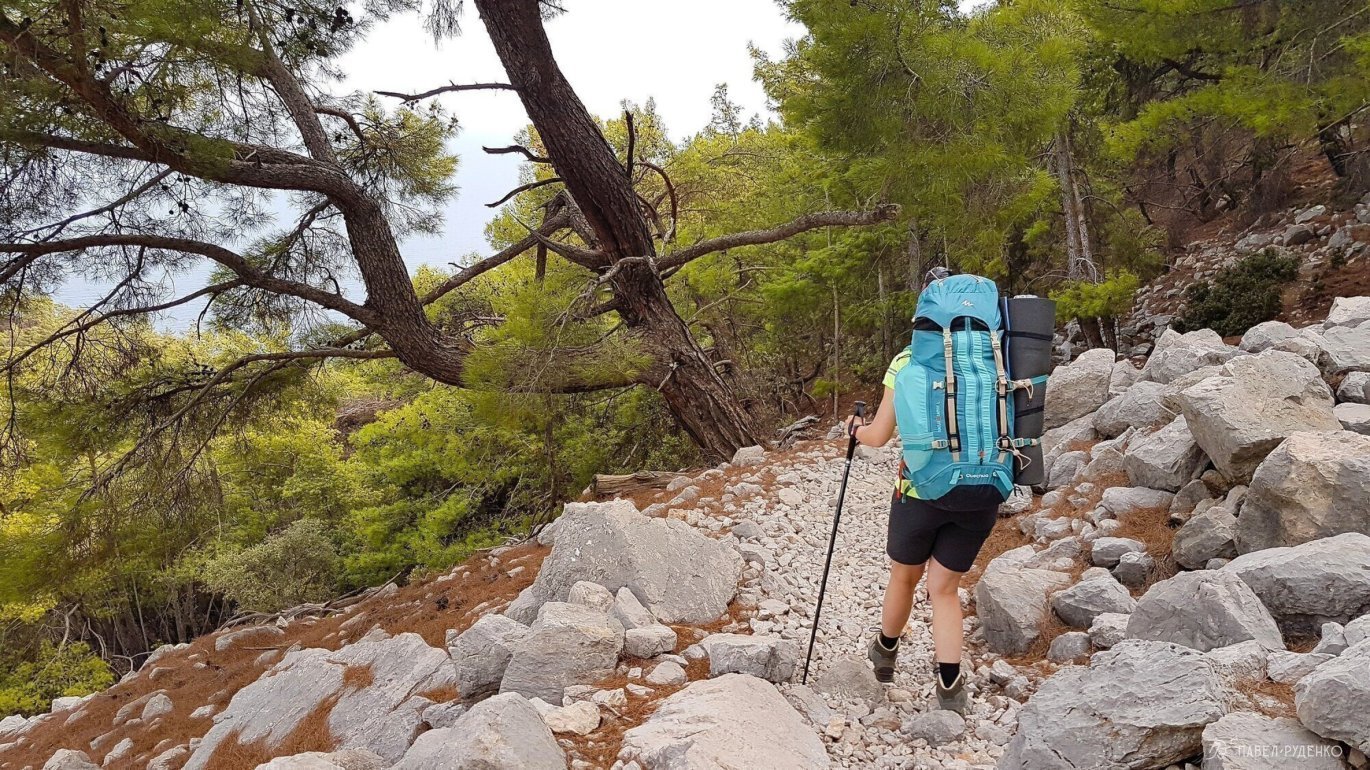
Before choosing a backpack, consider the following:
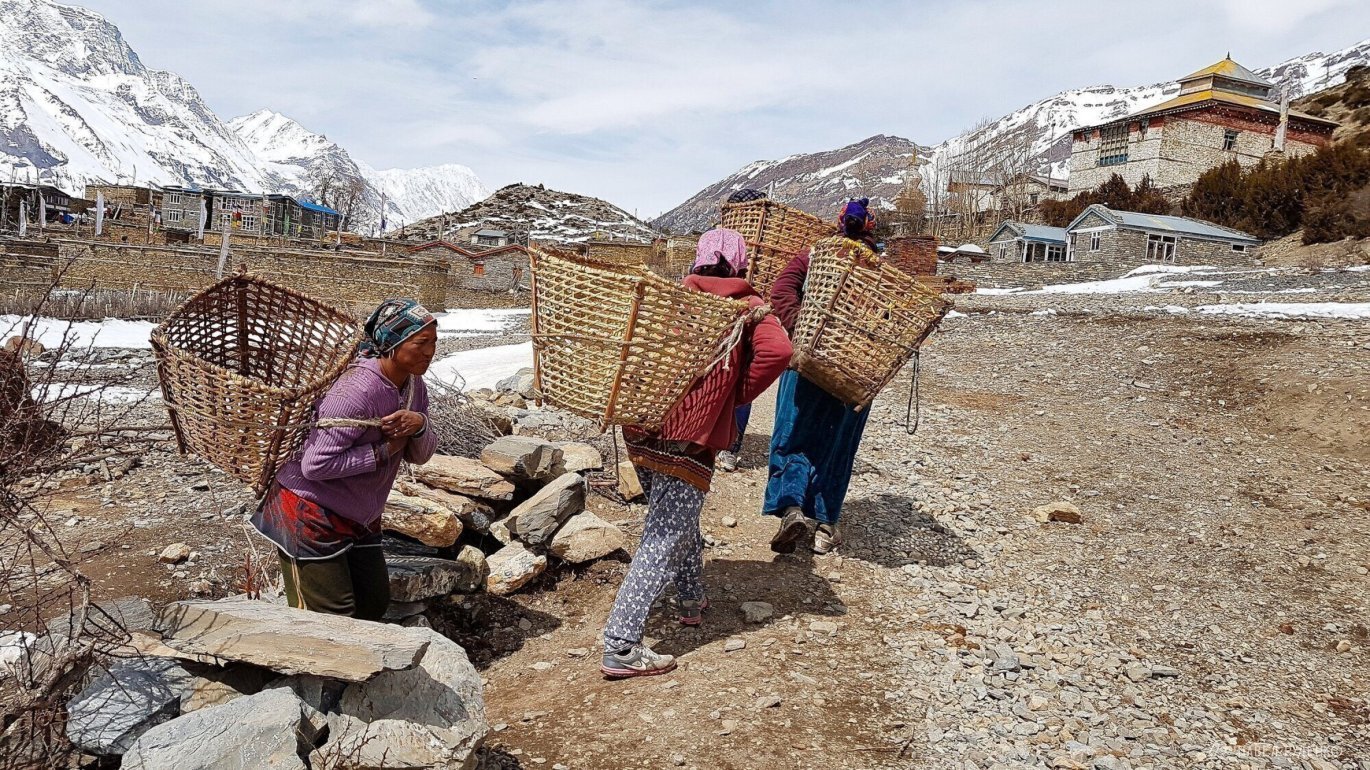
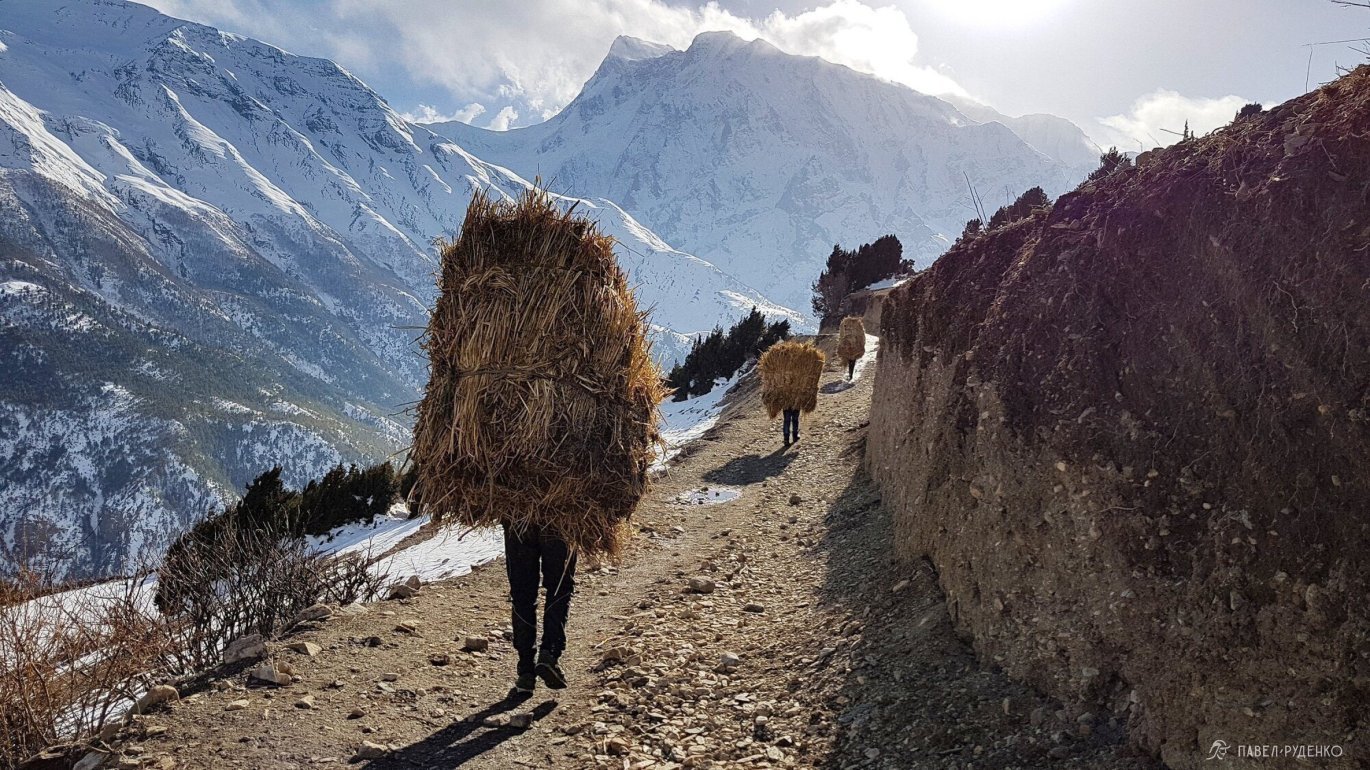
- What is your goal? Day hikes, 5-day trips, 2-week expeditions, mountaineering, bushwhacking through the taiga, cruising marked trails, or all of the above? Each scenario calls for a specific pack. To figure it out, feel free to contact me, read reviews, or consult a gear specialist.
- How bulky is your gear? Here is a general rule of thumb for pack volume: 1 day — 20–40 L, 2–7 days — 70 L, 7–14 days — 100 L. Winter expeditions for 7–14 days — 120 liters.
- How many days will you be fully self-supported? This dictates both volume and load capacity. For a 15 kg pack, a suspension rated up to 20 kg is plenty. If carrying 25 kg+, you’ll need a heavy-duty expedition pack. Finding official load ratings can be tricky, but it's essential.
- Will you use the pack on winter treks? If so, opt for extra volume to accommodate bulkier cold-weather gear.
- What are your priorities? Maximum durability, ultralight weight, or premium carry comfort? Filter models accordingly.
Remember, a quality backpack is an investment for 10–20 years. It's well worth taking the time to test several packs and dial in the fit. Sometimes expanding your budget makes all the difference between agony on the trail and true trekking bliss.

Sizing
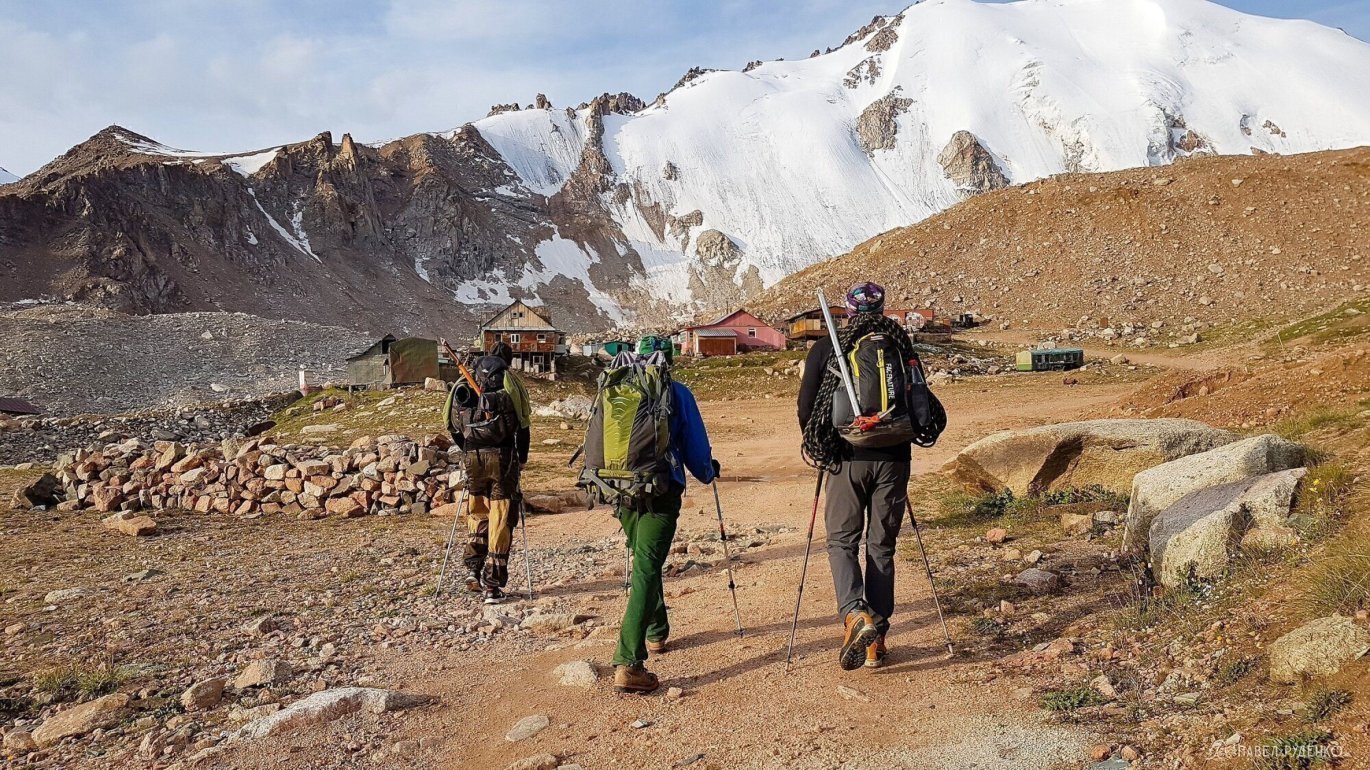
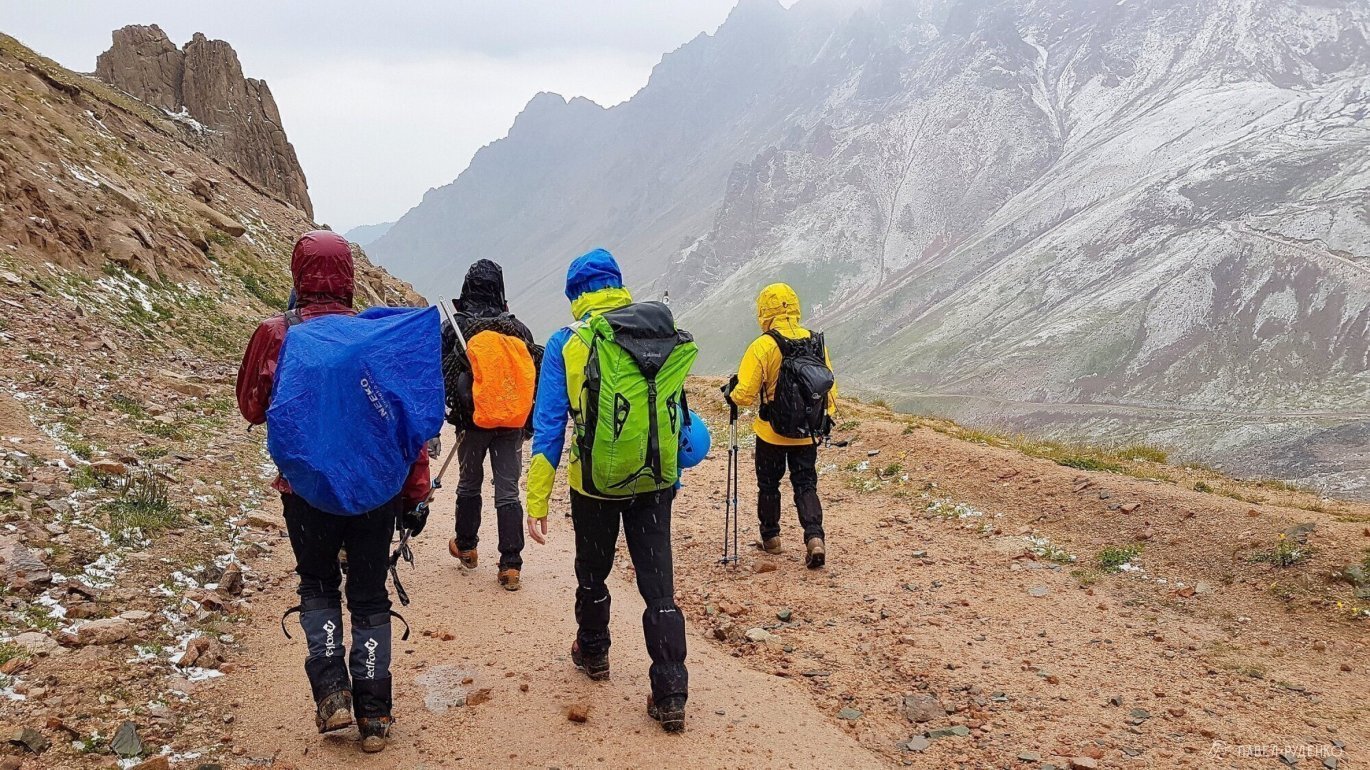
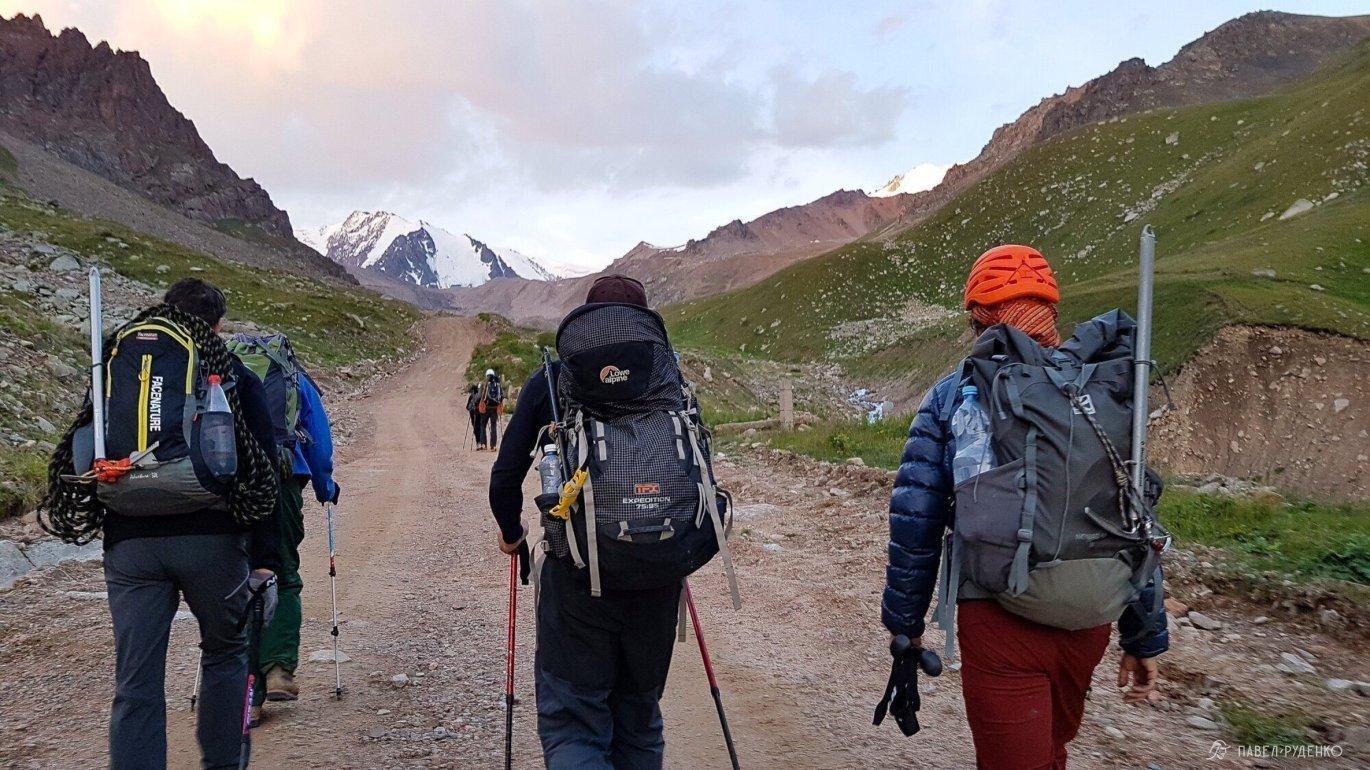
1. Backpack sizing is based on your torso length, not your overall height. To measure your torso, tilt your head forward and locate the prominent C7 vertebra at the base of your neck. Run a flexible tape measure down along the contour of your spine until you reach the iliac center—the point on your spine that aligns with the top of your hip bones (the iliac crest). Now you can determine your exact pack size. For example, my torso is 48 cm, and I use an Osprey Aether Pro in size M (46–53 cm).
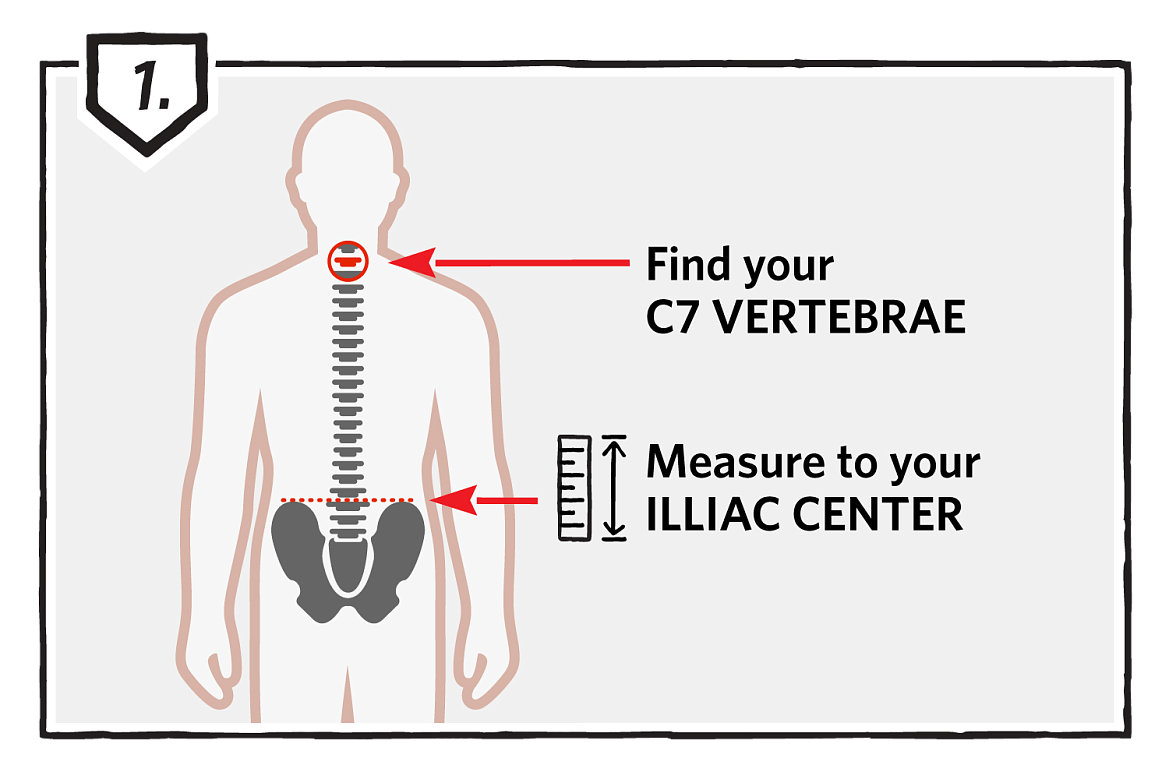
All illustrations are courtesy of gregorypacks.com. Gregory is one of the world's most innovative backpack manufacturers—they were the first to design a women-specific pack and have always prioritized carrying comfort.
Torso Sizing Systems
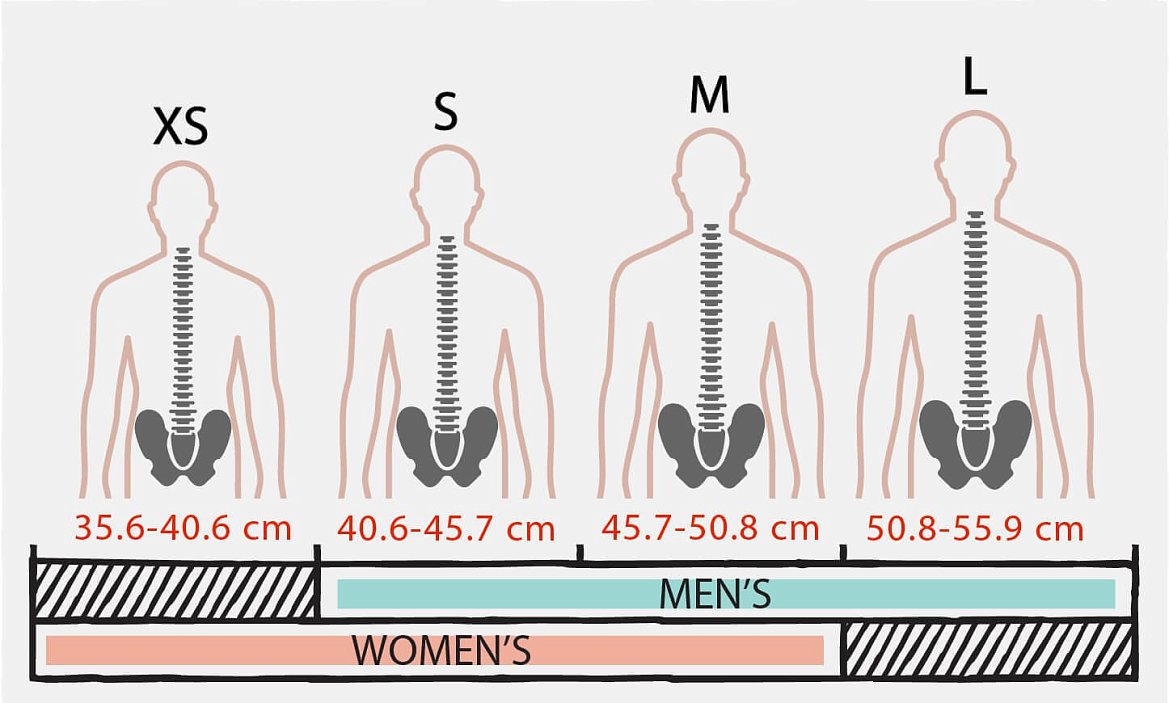
There are 4 main types of torso sizing systems. Often, the system reflects the brand's country of origin, as outdoor design traditions vary.
Type 1: Fixed sizes (XS, S, M, L). Common among American brands, designed to deliver a dialed-in fit for specific torso lengths. For example, sizes S and M differ not only in back length, but also in shoulder harness and hipbelt dimensions.
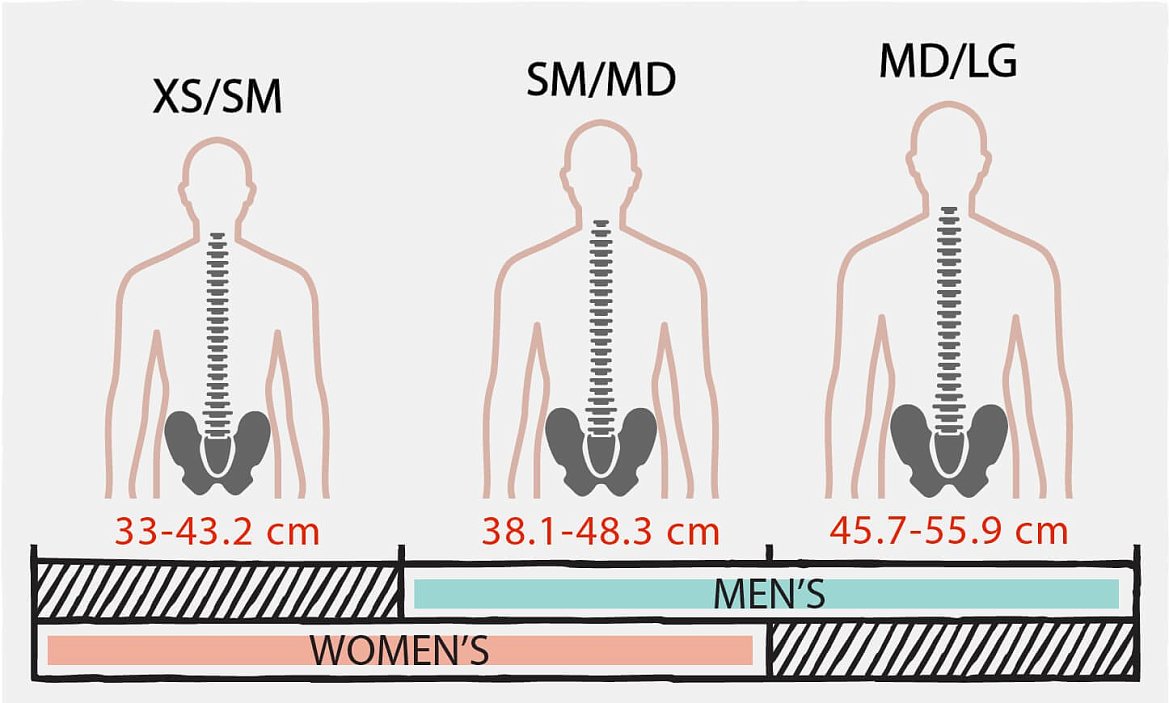
Type 2: Size ranges (XS–M, M–L). Also favored by US manufacturers, this versatile option allows you to micro-adjust the back panel within a broader range, such as M–L.
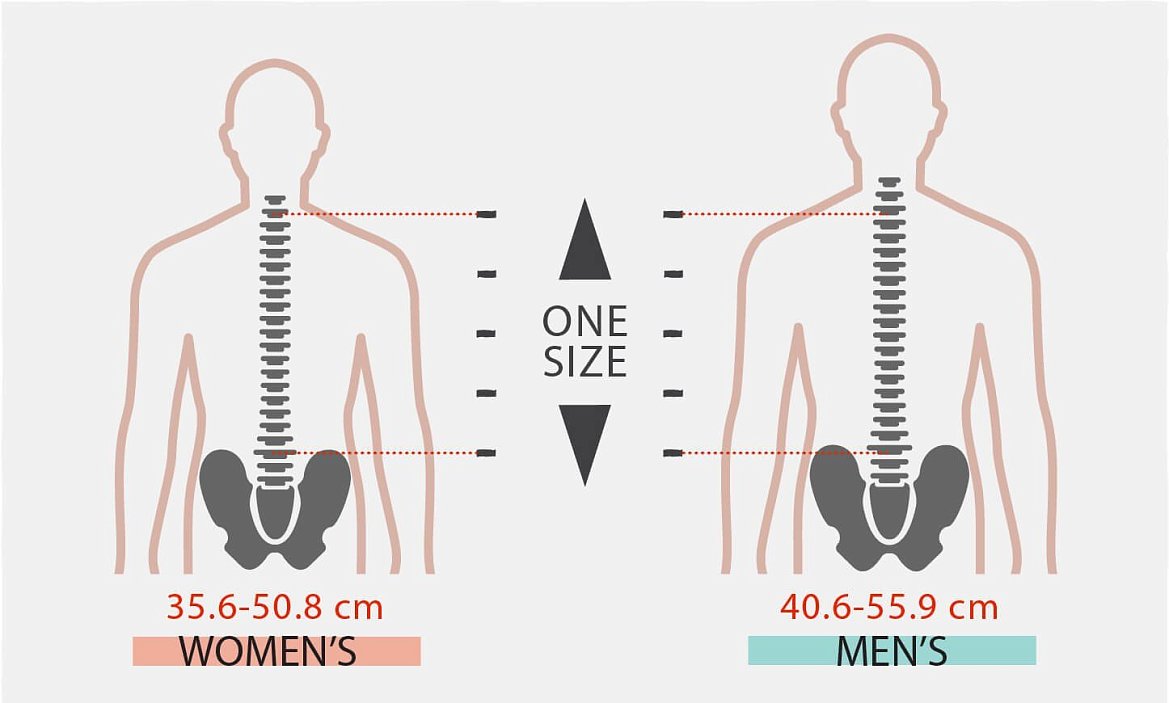
Type 3: One Size (1SZ / Adjustable). Typical for European and Scandinavian brands. The back panel adjusts continuously from XS all the way to L. It offers a versatile fit, though it may not account for unique frame proportions. It is cost-effective to manufacture and simplifies online shopping since there's virtually no risk of picking the wrong size.
Type 4: Fixed non-adjustable back. Most common in daypacks and smaller packs (15–45 L). It either fits your back or it doesn't.
Women-specific models feature shorter back panels, tailored harnesses, and contoured hipbelts.

Part 2
Prepping the Backpack for Fitting
Now that we've covered sizing, let's look at what a proper fit looks like. First and foremost, you must load the pack correctly. Let's take a 75-liter pack as an example. Place a sleeping bag at the bottom—this mimics real trail use and cushions the lumbar area. Then add test weights: at Sport-Marafon, I usually pack a 7 kg weight plus two 5 kg weights. An ideal test weight is around 13 kg for women and 17 kg for men, adding more if needed.
Next, tighten all compression straps (side and front) so the load stays as close to your back as possible.
Always lift a loaded pack using two points: the haul loop and one shoulder strap. If it's heavy, hoist it onto a bent knee first before slipping your arms into the harness.
Proper Fit: The Hipbelt
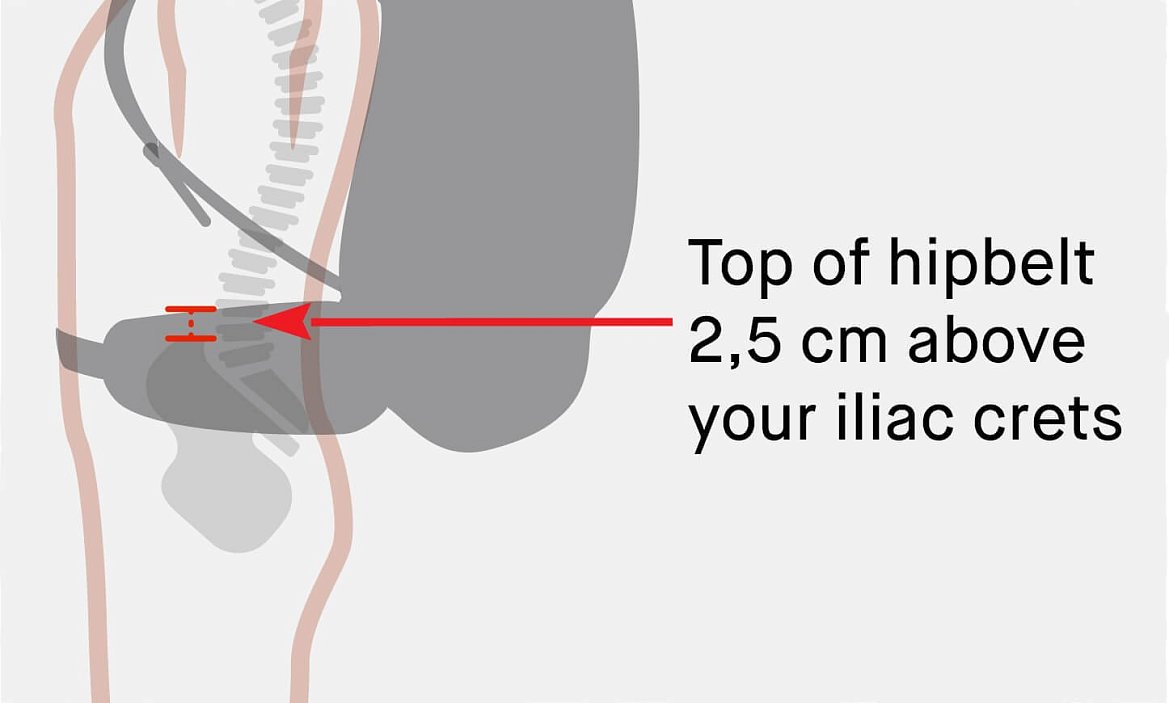
The hipbelt transfers the load to your hips instead of your shoulders. A pack's load capacity largely depends on how rigidly the belt connects to the frame stays. For an optimal fit, position the belt so its center sits about 2.5 cm above the iliac crest. Once you get the feel of this placement, you'll be strapping in correctly without even thinking about it.
Position it too low, and the pack will slip down off your pelvic bones, pulling the shoulder straps up and causing strain.
Position it too high, and it will pinch soft tissue and internal organs, restrict blood flow to your legs, and pull the shoulder straps down uncomfortably.
Shoulder Straps
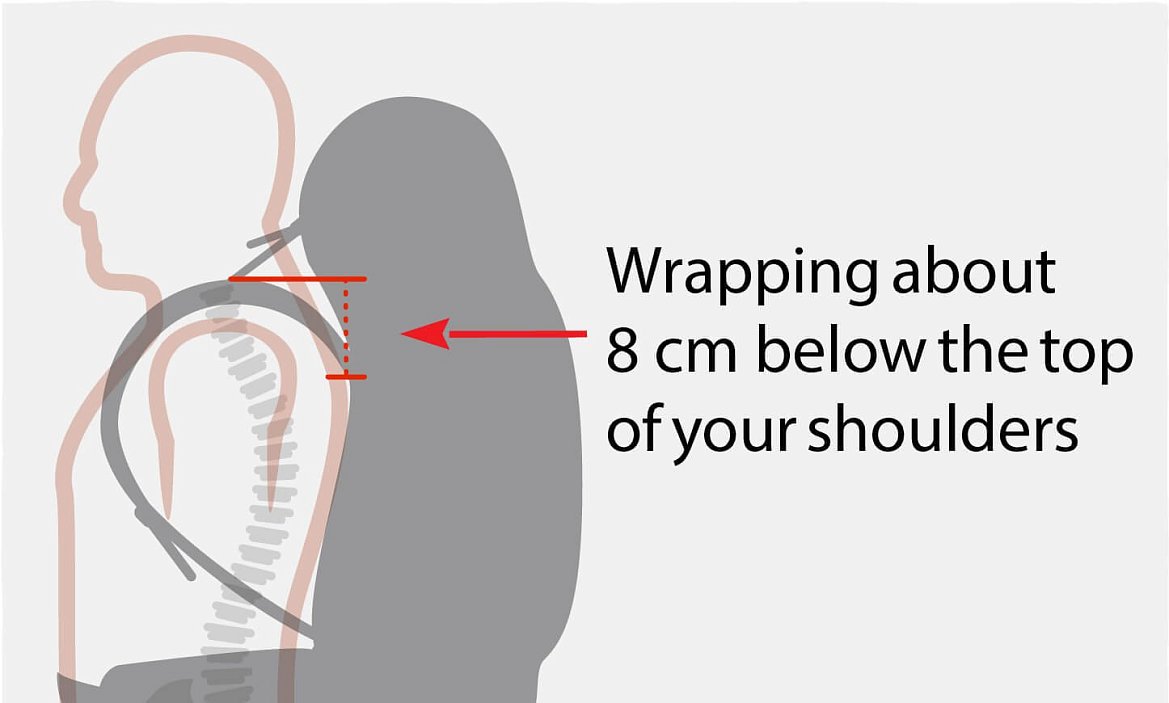
The straps should wrap flush over your shoulders without excessive pressure, since the hipbelt bears the bulk of the load. However, they should never gap or float in mid-air! Shoulder harnesses are anatomically contoured; when fitted properly, they follow your body's shape. Otherwise, they can chafe your neck or armpits. The anchor point of the strap should sit about 8 cm below the top of your shoulder blade, as shown in the illustration.
Sternum Strap
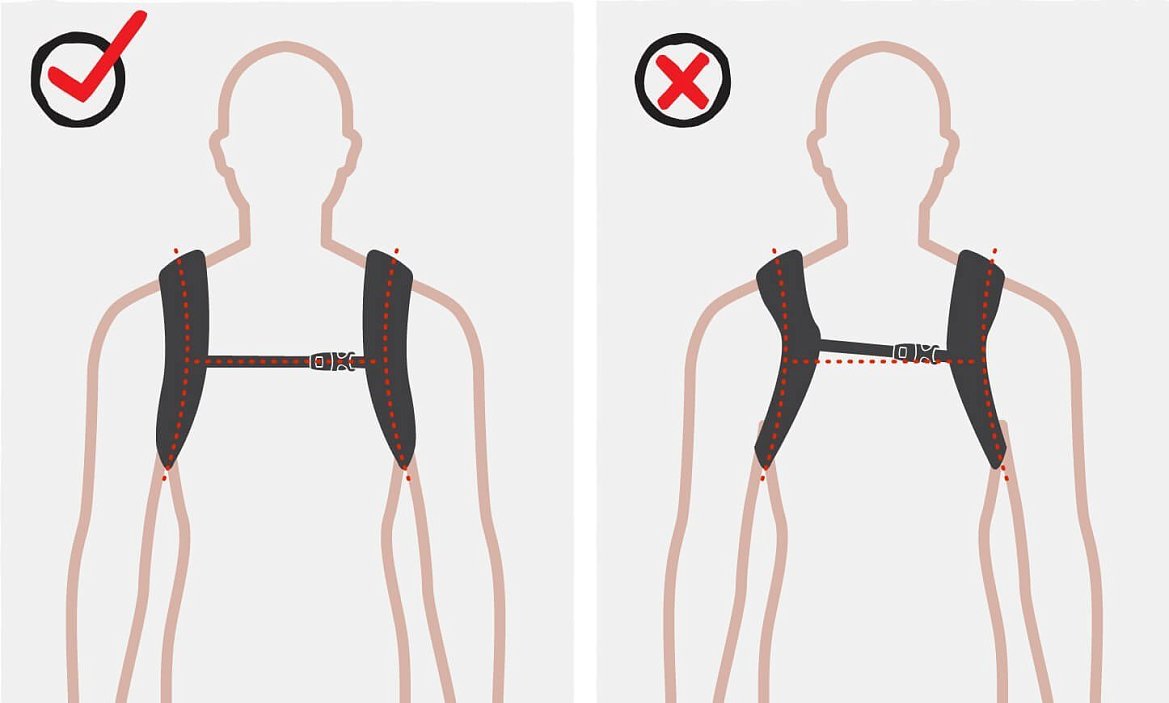
The sternum strap adjusts vertically and clips across your chest. It stabilizes the shoulder harness on rugged sections of the trail, preventing straps from slipping off or digging into the outer edges of your shoulders. It should never pull the straps together so tightly that it deforms them or restricts your breathing. The position of the sternum slider is an easy indicator of whether the torso length is dialed in. Using the chest strap is optional—hikers with broad shoulders often hike comfortably without it.
Load Lifters
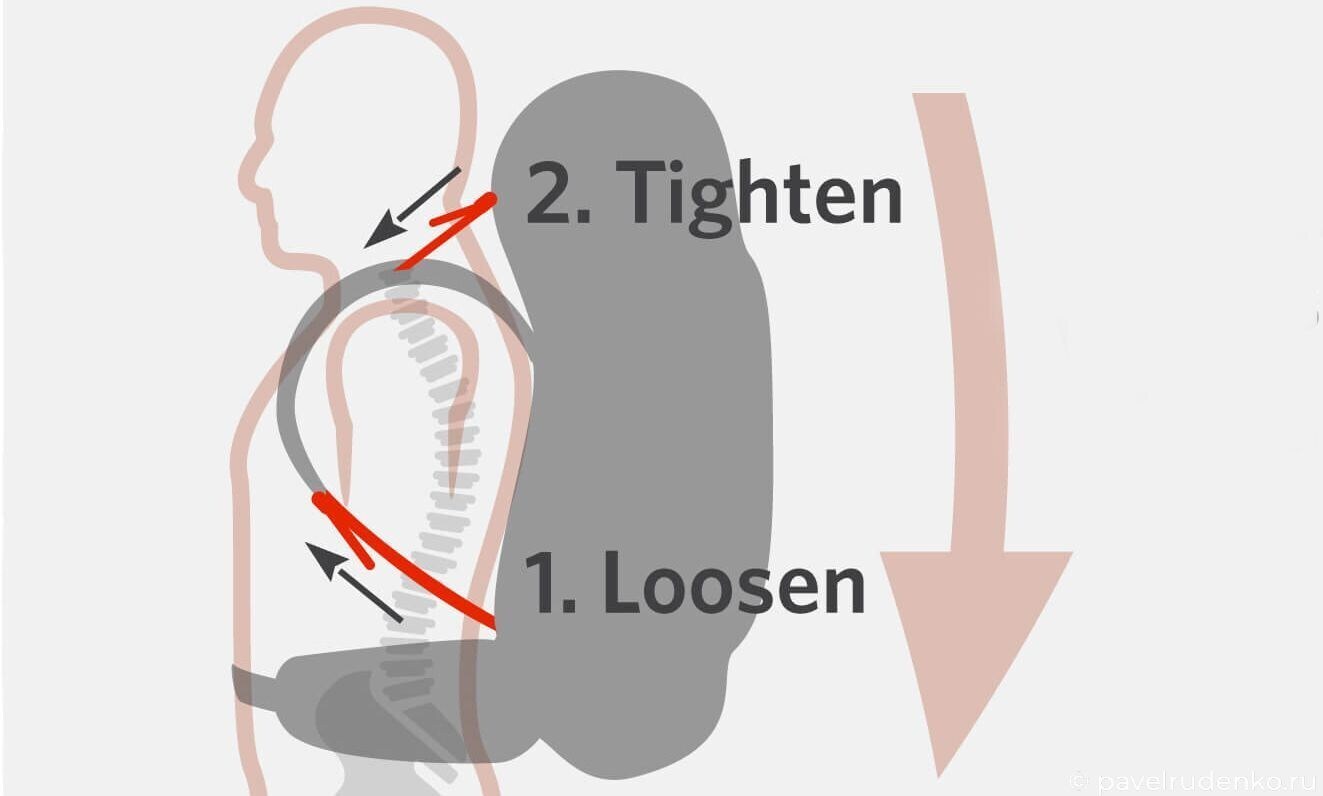
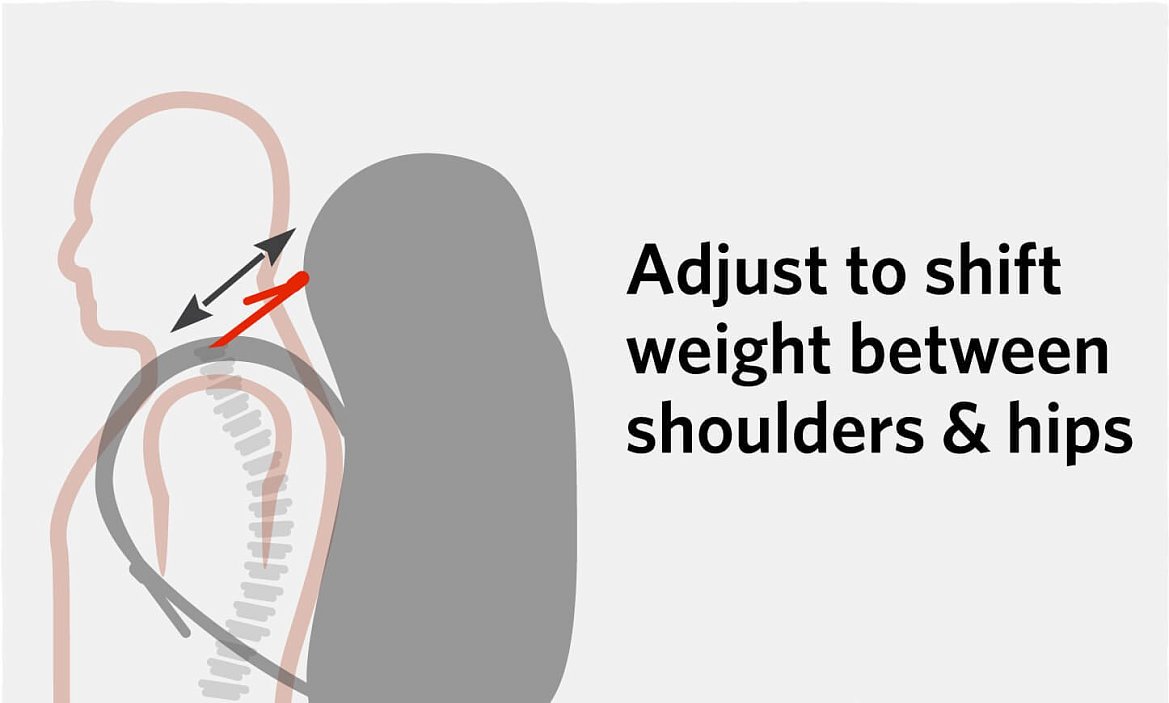
Load lifters are crucial yet frequently overlooked straps connecting the shoulder harness to the upper pack frame. They pull the pack's center of gravity closer to your body, enhancing stability, conserving energy, and helping transfer the load off your upper body down to your hips. You will immediately feel the load distribute evenly and comfortably across your back. Avoid over-tightening them; cinch them smoothly until you find the sweet spot.
Fine-Tuning
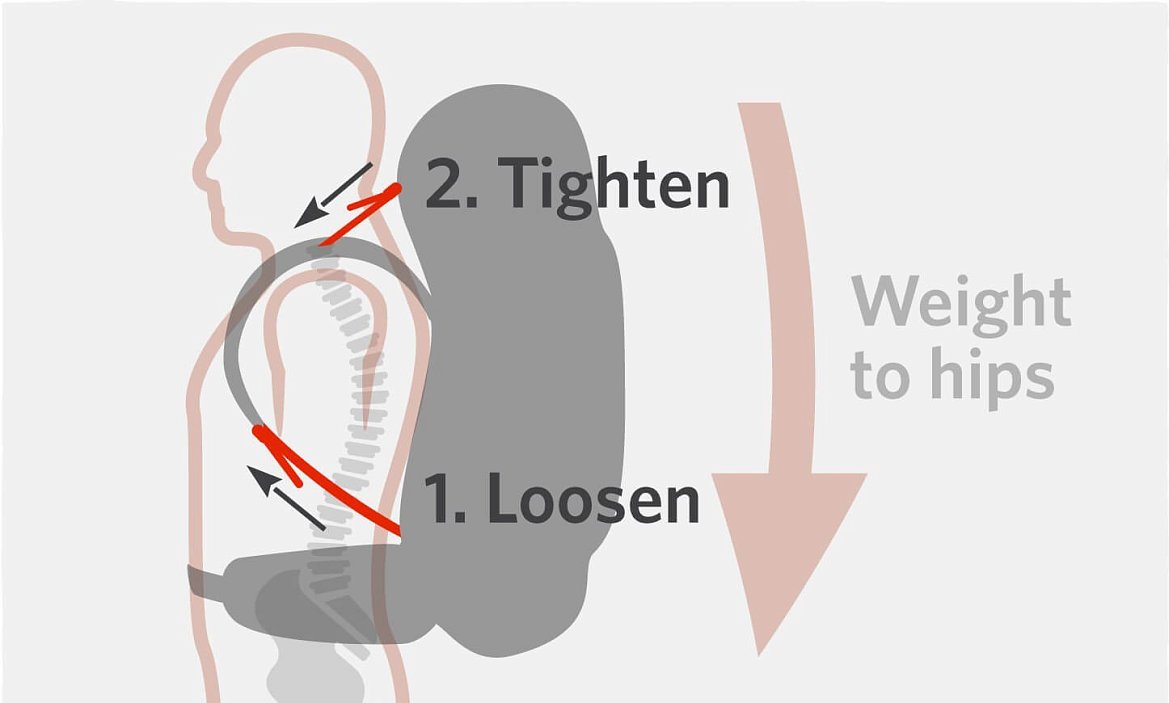
Now that the basics are set, it's time for fine-tuning. To relieve pressure from your shoulders, slightly loosen the main shoulder straps and gently snug the load lifters—this shifts more weight directly onto the hipbelt.
How It Should Fit
Once you have chosen the right size, adjusted the back system, packed it properly, put it on, and tuned all the straps to your body, it is essential to walk around for 5–10 minutes or even longer to feel how the backpack sits. It should not dig into your lower back — that is where most issues occur. It is best to do the fitting in your hiking clothes; otherwise, a belt or jeans rivets will create uncomfortable pressure points. The same applies to your shoulder blades, where the shoulder straps begin. For a beginner, it is impossible to tell if a backpack fits well by trying on just one, so be sure to test 2–4 suitable backpacks — comparing them makes it much easier to find the perfect match. Ideally, it should feel like an extension of your body. That is your backpack — grab it and head to the checkout!))
Remember, choosing a backpack is first and foremost about the fit, not the color, pockets, weight, or anything else.
If you want to learn more about backpacks, watch my video:



Comments (0)